HAY, how art you? I love to go for bullet journal themes that look minimal, clean and unique. For the month of June, I decided to center my spreads around the ampersand symbol (&) – the punctuation we use for ‘and’. I find this symbol very beautiful and timeless, especially when it is set in a serif font. If you are interested in how I set up my spreads in this elegant bullet journal theme, keep reading!
***
Plan With Me Video
Watch the bullet journal setup process in the following video:
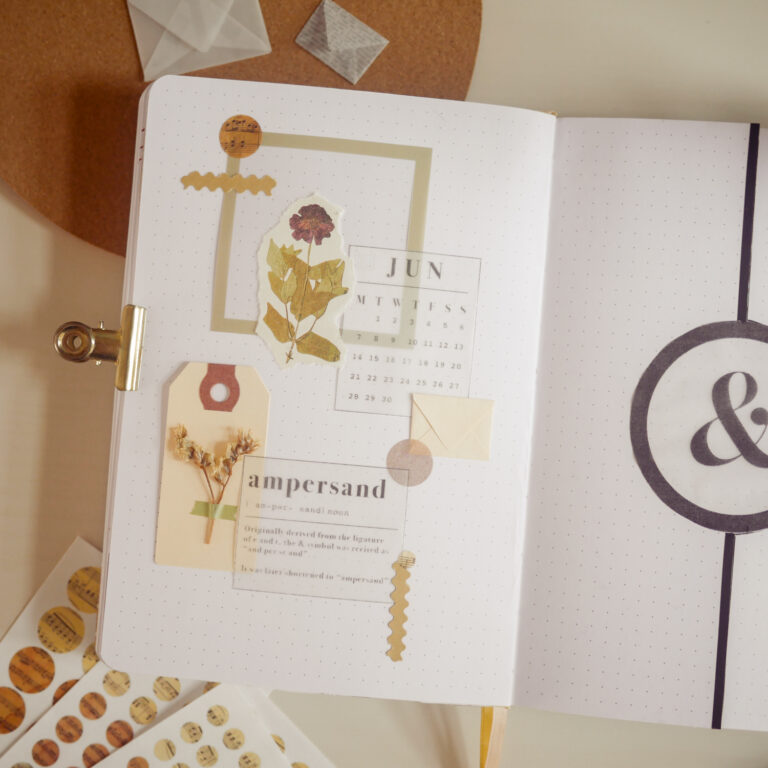
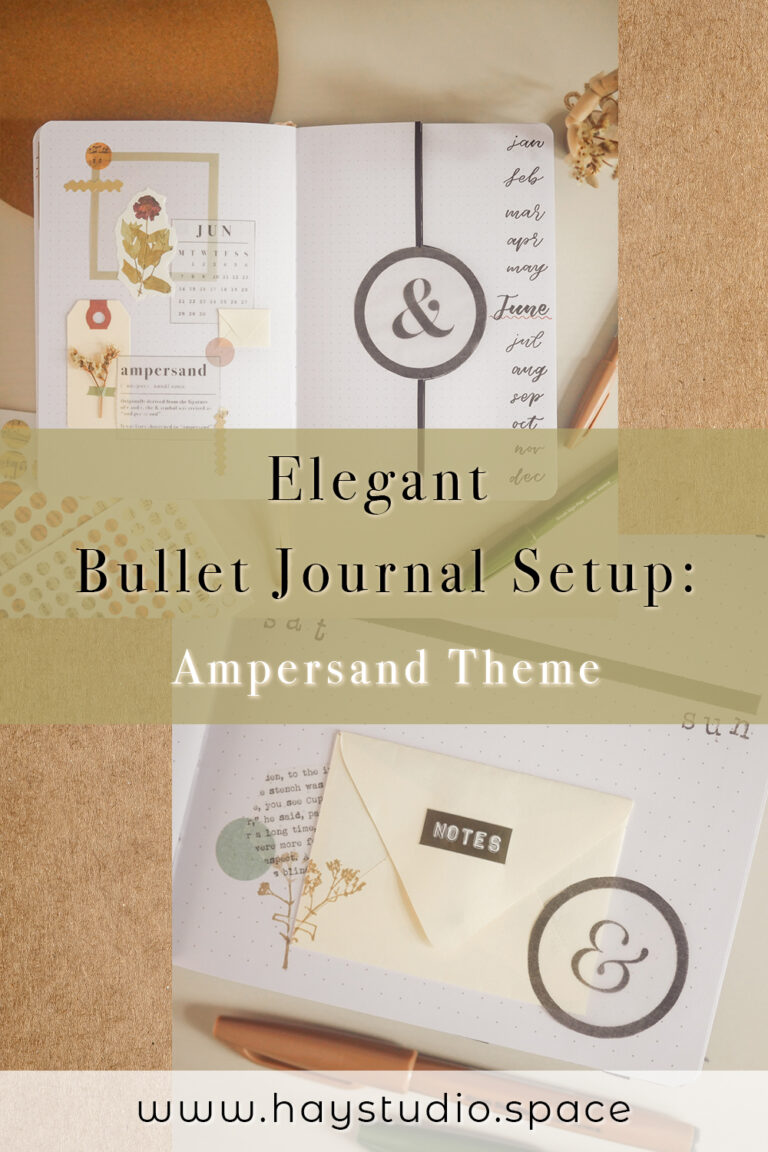
The cover page features an ampersand symbol enclosed in a bold black outline. It was designed in Photoshop, along with the ampersand definition and mini June calendar. Then, I printed my designs on vellum paper and I think they look really elegant and classic – which is the style I’m going for this month! To match the classy vibes, I used colours like cream and muted greens and browns for the collage on the left side, as well as on most of the other spreads. Thedried flowersadds a touch of daintiness and grace. The cream coloured tag is one of my recent favourite purchase, and you can get similar ones on Amazon here.
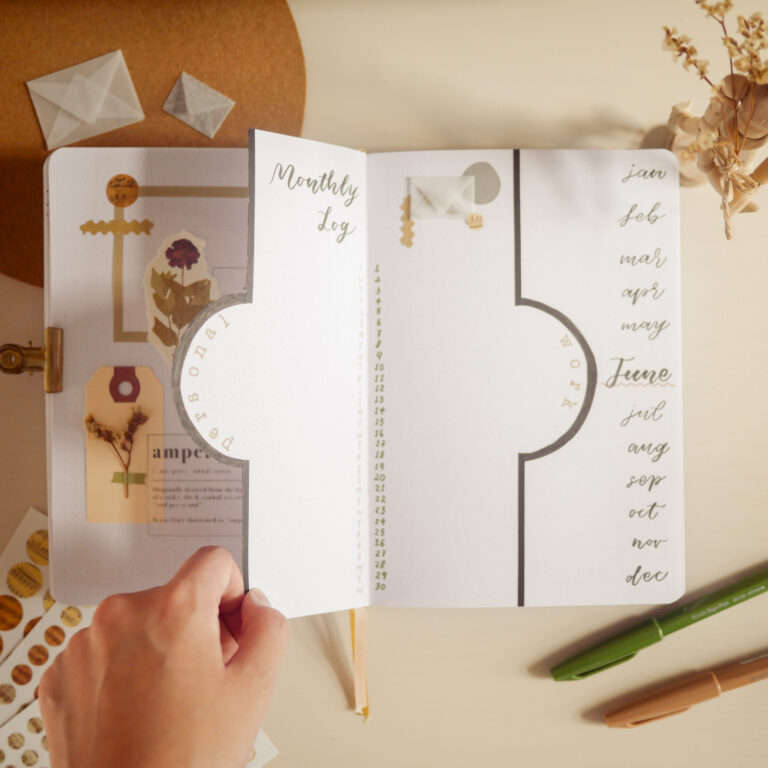
I pasted the ampersand symbol in the middle of the page and cut the page into half around the symbol’s curve to create a dutch door. It was my first time cutting a page in my bullet journal so I was kind of nervous yet excited to try out something new!
Elegant Bullet Journal Setup – Monthly Log
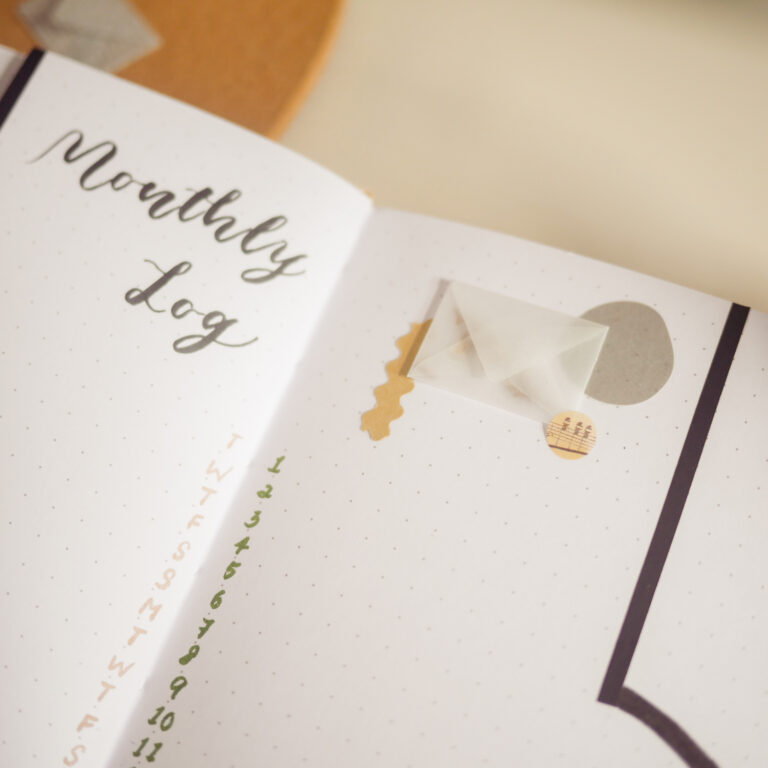
On the other side of the dutch door is my monthly log of personal and work events. This is my all-time favourite layout – it is really easy to set up, plus the events and dates are evident at a single glance. All the lettering and writing were done using the Pentel brush sign pens. They never go wrong!
Have you noticed the mini envelopes on the collages? I have been enjoying making them using different papers and I think they are really fun and cute embellishments to add to a journal spread. A set of printable templates for these envelopes are available on my Freebies page!
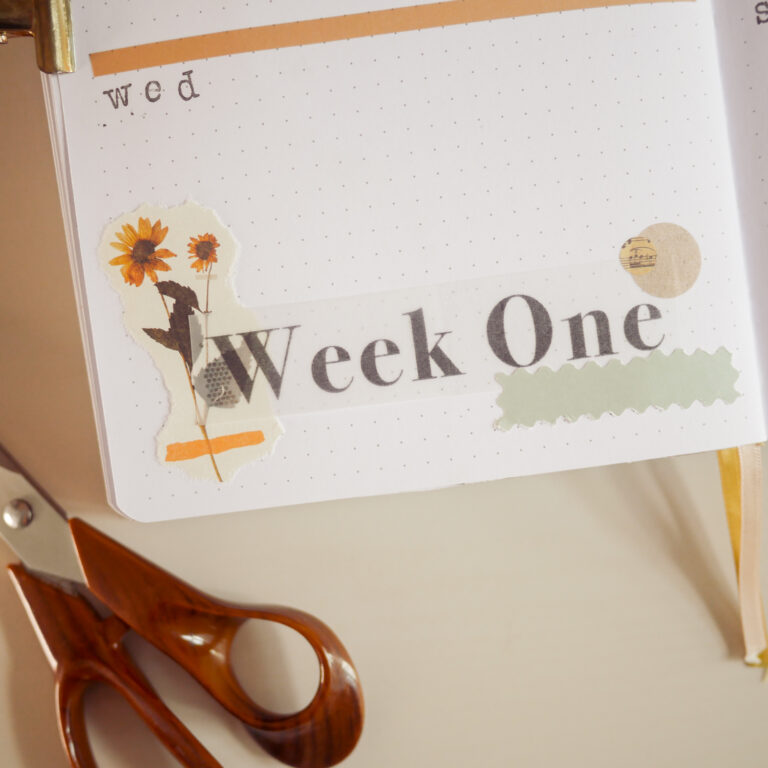
Elegant Bullet Journal Setup – Weekly Spread
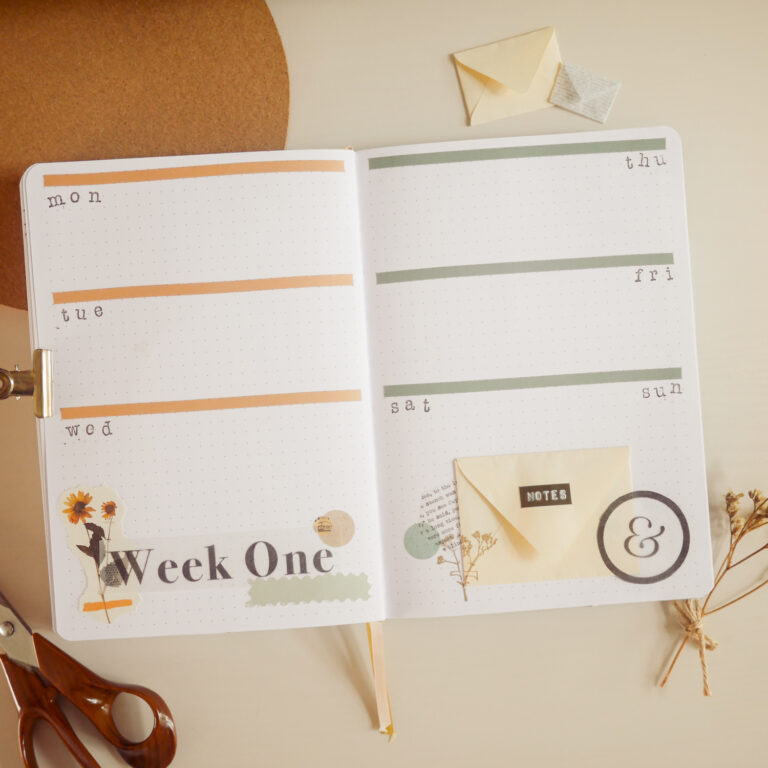
I printed out the headers for each week on vellum paper to ensure that the spreads stay consistent throughout the month. The highlight for this weekly spread is the envelope for notes! It is totally functional as I have a blank paper inside for me to jot down my notes for the week. The label is made with a Motex label maker – a retro analog stationery tool.
I usually feel tired after making three spreads, but I was feeling kinda in the flow the day I set up this theme so I worked on Week Two’s weekly spread too! The highlight for this one is the big ampersand symbol and the vellum envelope. Those tiny words on it are actually affirmation sentences, and this design will be part of my free printable set, going live on my website end-May!
Also, how precious is that tiny ampersand symbol? It is part of an alphabet wooden stamp set. You can get a similar set from Amazon here!
More bullet journal Theme Ideas
Subscribe to my YouTube channel for more bujo content! Check out these videos for some of my past bujo setups:
***
I hope you had fun reading this elegant bujo setup article. Have fun creating your own spreads!
If you enjoyed this article, share the love with your bujo pals! To stay updated on future blog posts, subscribe here.
Disclaimer: Some of the links above are affiliate links, meaning I earn a small percentage of commission via those links, but it doesn’t cost you anything extra!
Enjoyed this post? Spread the joy!
☆ Pin this image to help this article reach more people. ☆