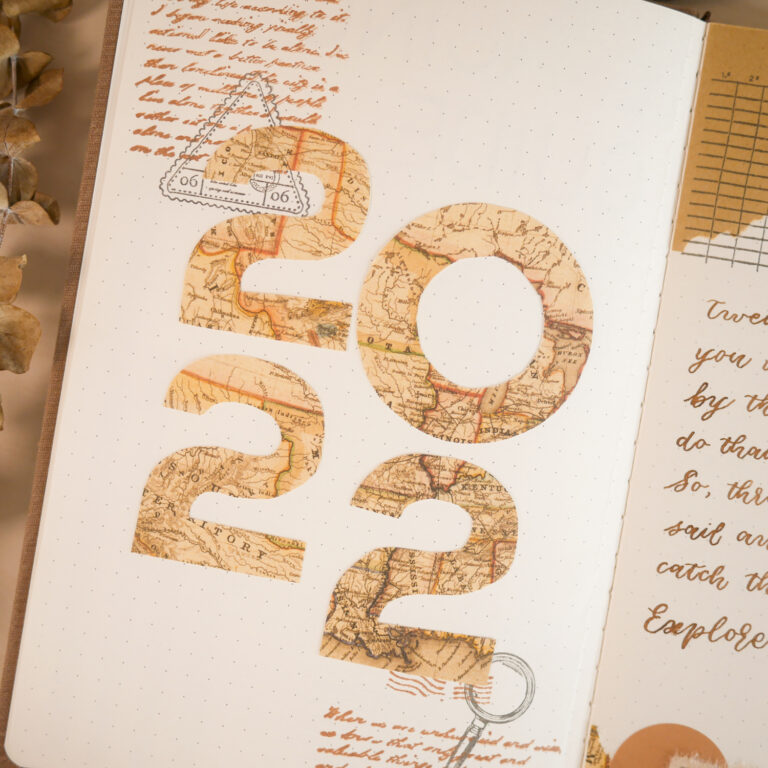
HAY, how art you? We have come to the end of 2021 and it is time to migrate to a brand new bullet journal for 2022! I was really excited to set up my journal, which is an A5 dot grid linen cover notebook from Tittle&Jot. Ever since I did a review and pen test on this journal a few months back, I have been looking forward to using it because of its smooth cream-coloured pages. The theme that I am going for this coming new year is “Explore“, and I used elements like postage labels, stamps and map textures to gel the theme together. I’ve also kept the colour scheme to brown, black and yellow mainly for some vintage vibes. Keep scrolling to see my 2022 bullet journal setup!
***
Check out the following video to watch the setup process and plan with me!
Here is a list of supplies I used for the setup this month:

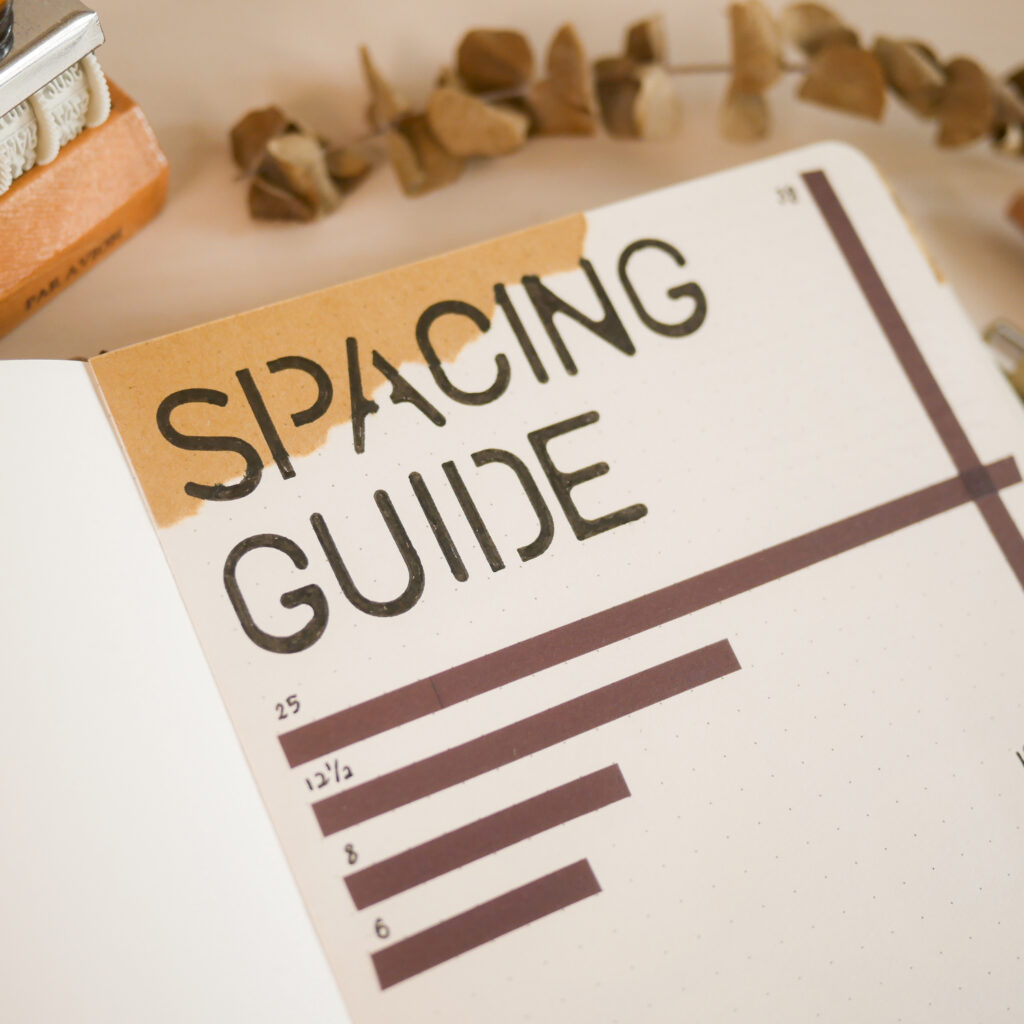
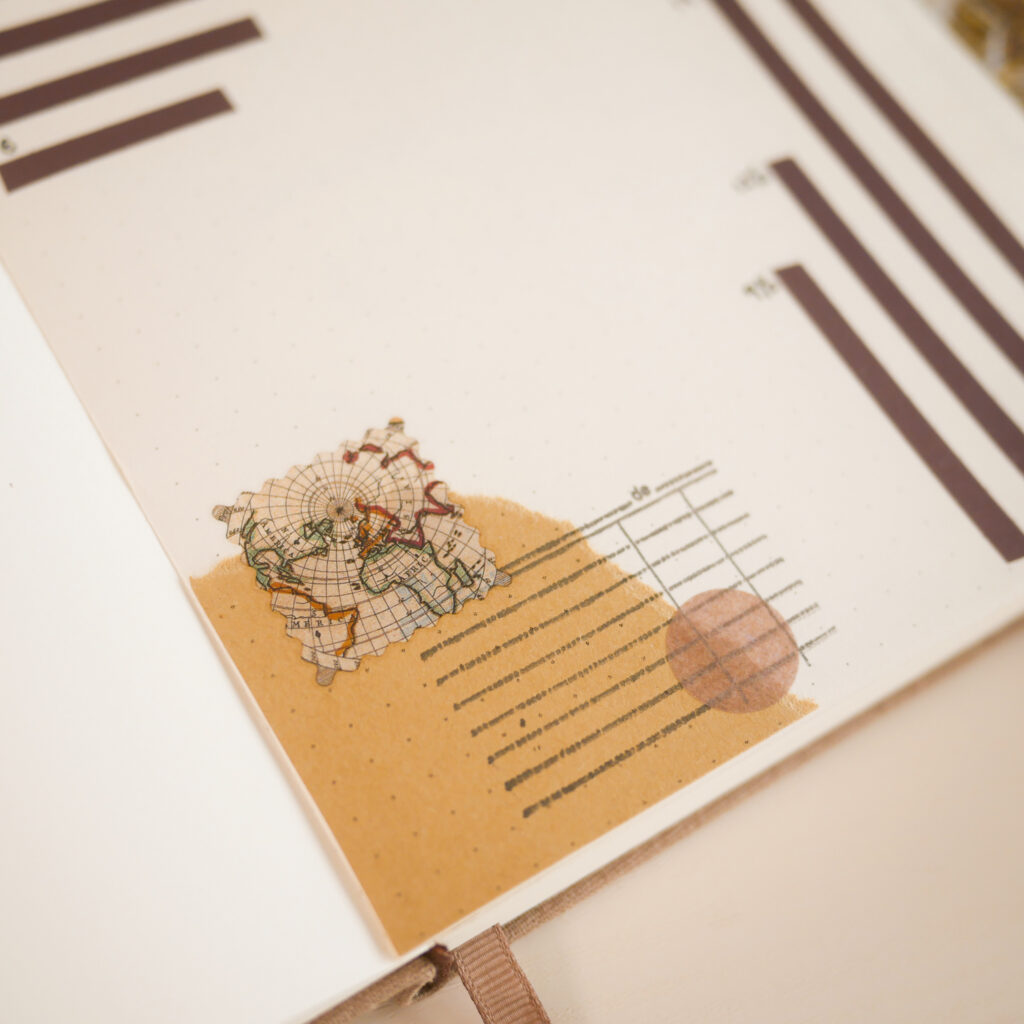
No new bullet journal setup is complete without a grid spacing guide! The first page of a journal usually opens up in an awkward manner, so I set up my spacing guide right on the first page. I used a thin brown washi tape to mark out section (full, halves, thirds and quarters), and wrote the number of grids next to each one. It is a simple but visual way of marking the spacings, plus it is not too time-consuming to create. I used an alphabet stencil for the heading, and the font is a surprisingly good match for the vintage style! Lastly, I finished off with a small collage section at the bottom left corner to fill up the remaining space.
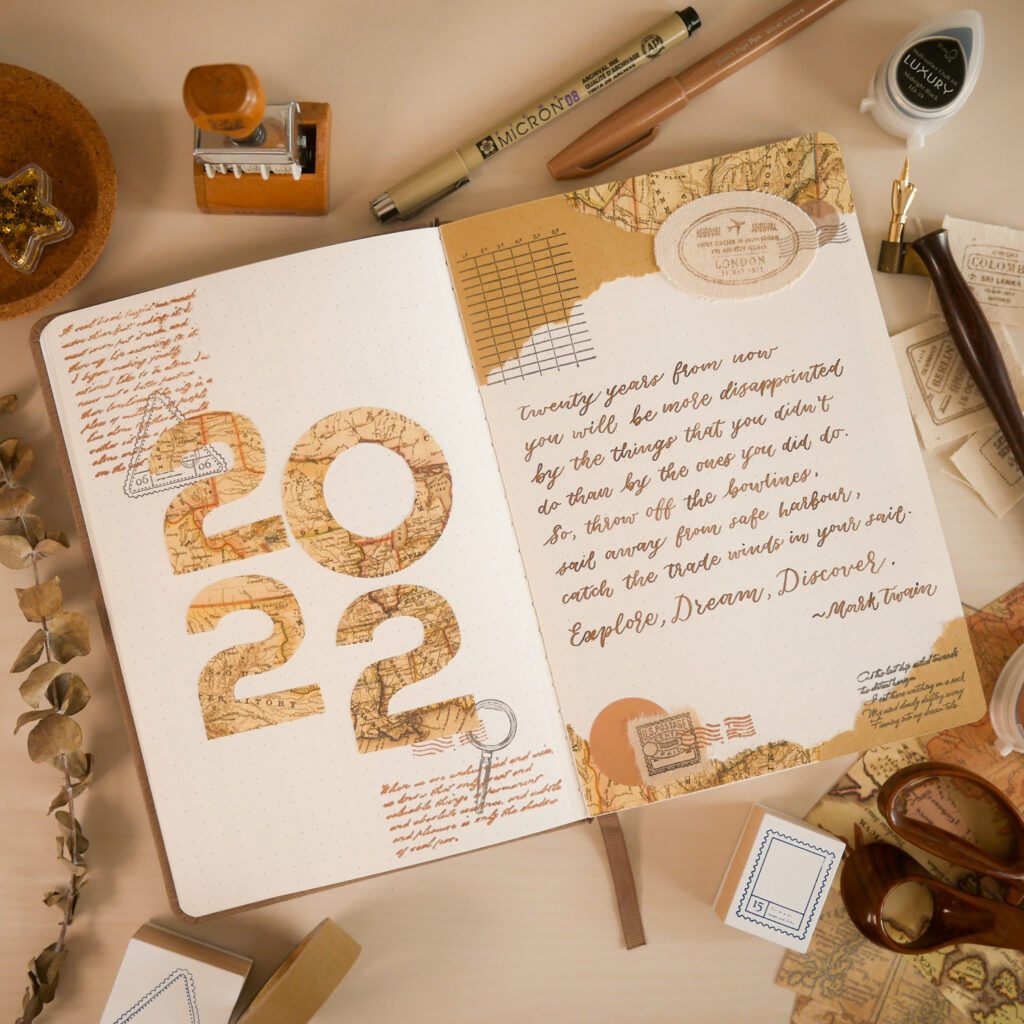
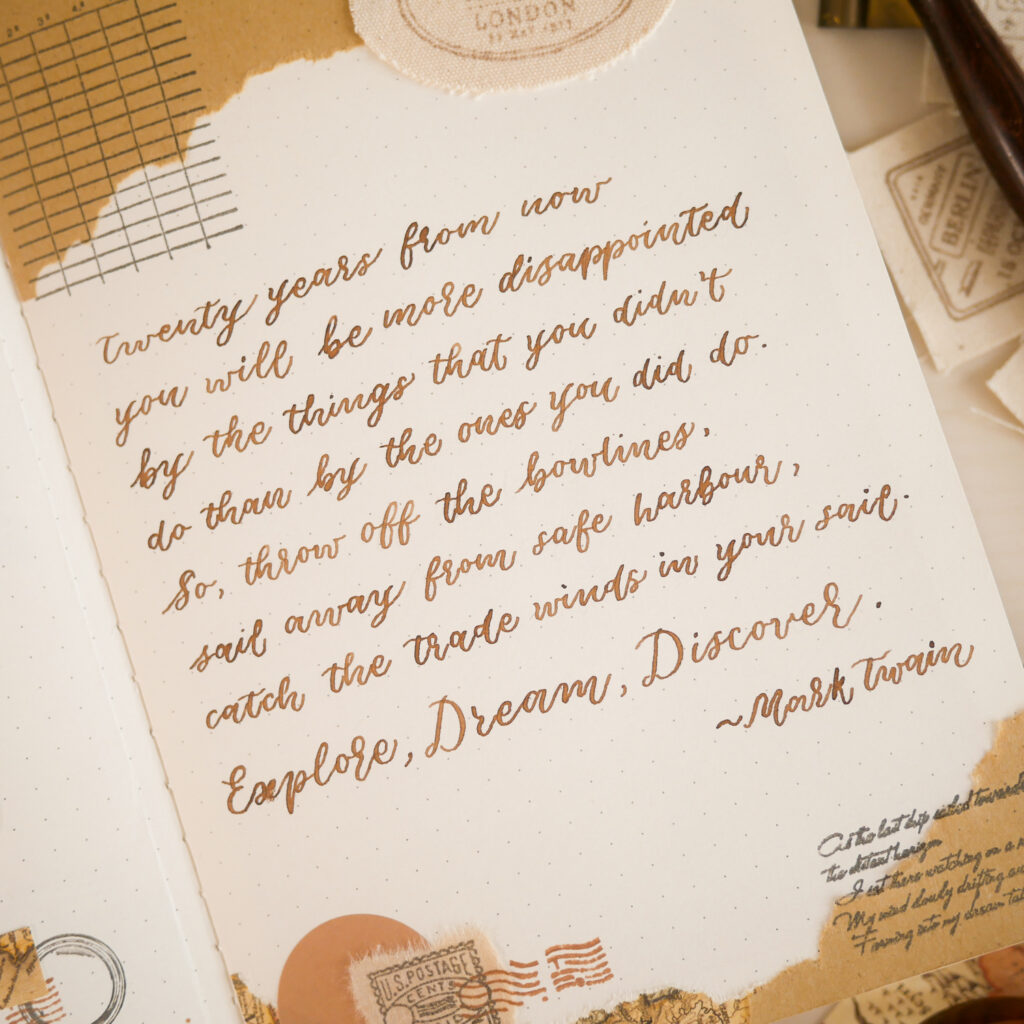
The cover page is the most fun to set up in my opinion, and I love combining it with a quote of the year for a dose of motivation. I picked the following quote from Mark Twain for 2022:
“Twenty years from now you will be more disappointed by the things that you didn’t do than by the ones you did do. So, throw off the bowlines, sail away from safe harbour, catch the trade winds in your sails. Explore, Dream, Discover.”
Here’s a fun fact – the theme “Explore” is inspired by this quote!
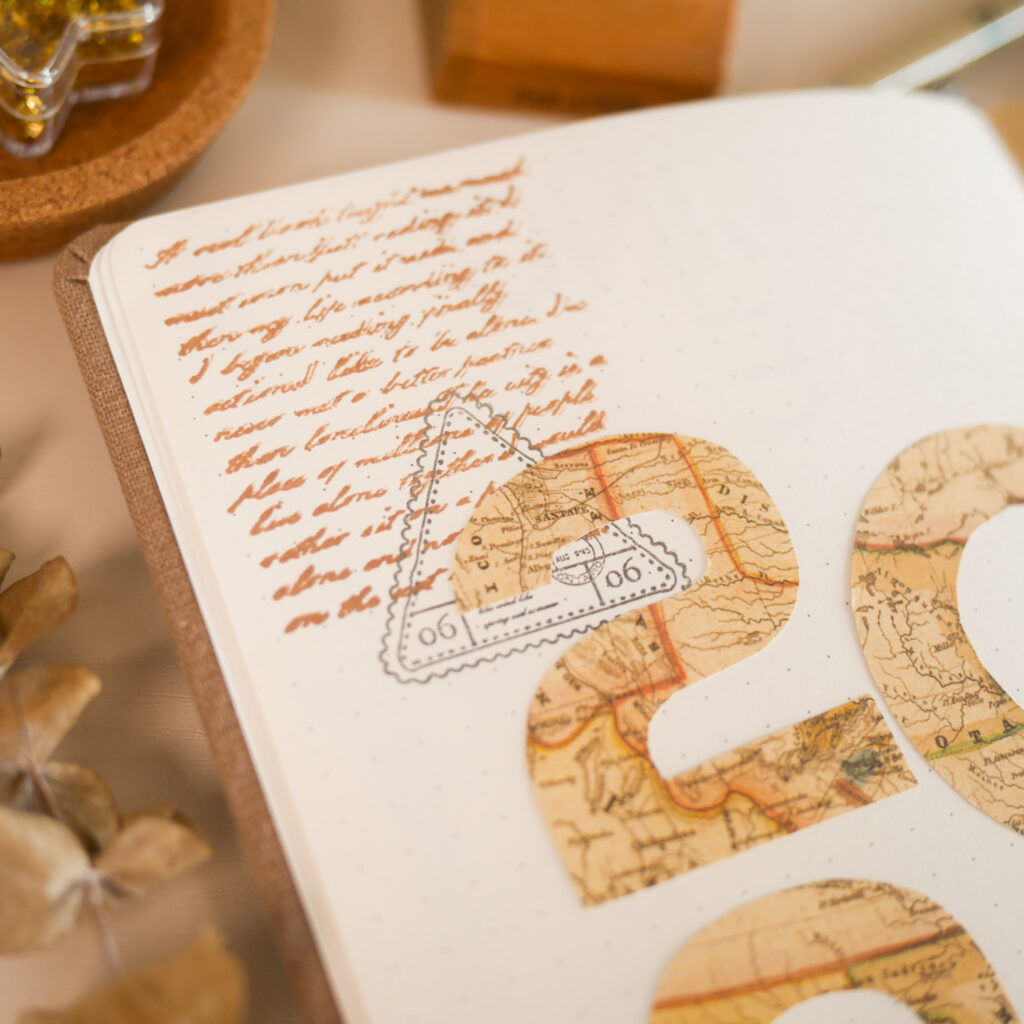

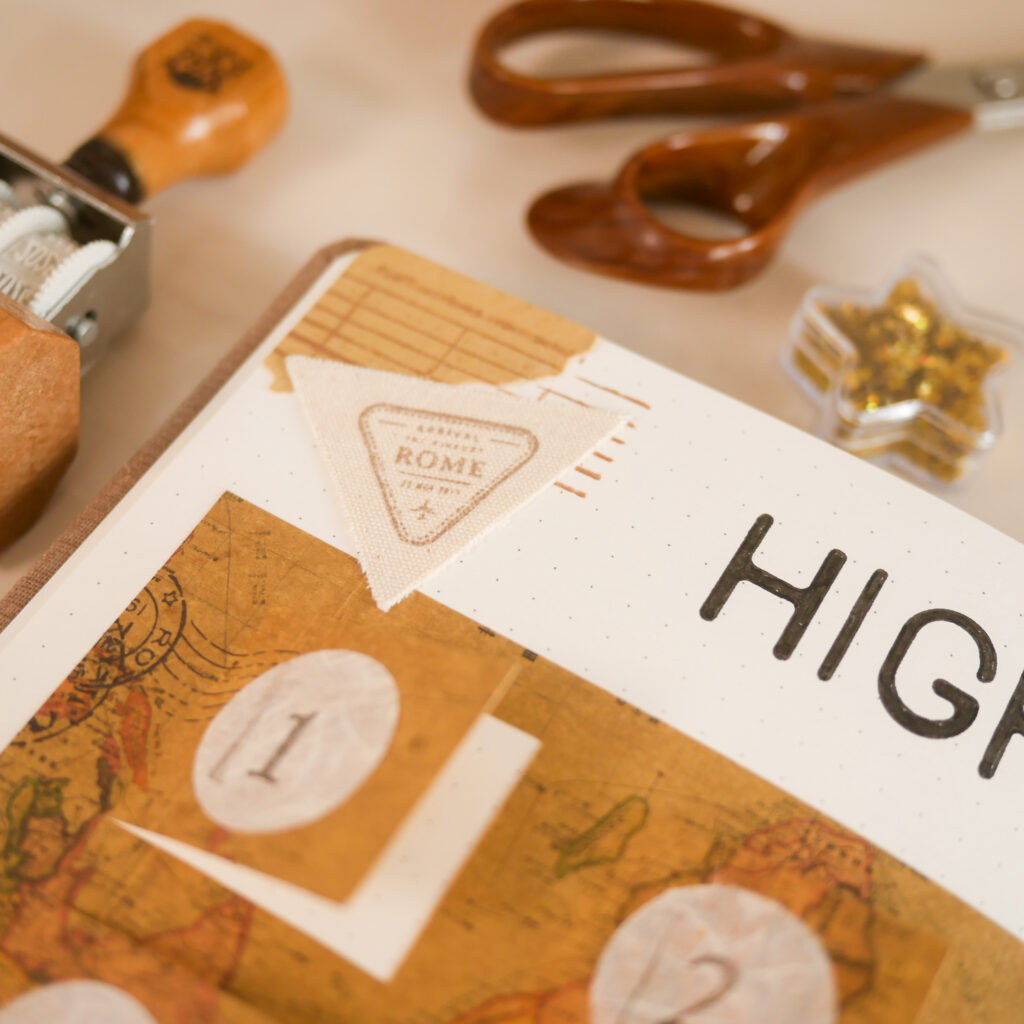
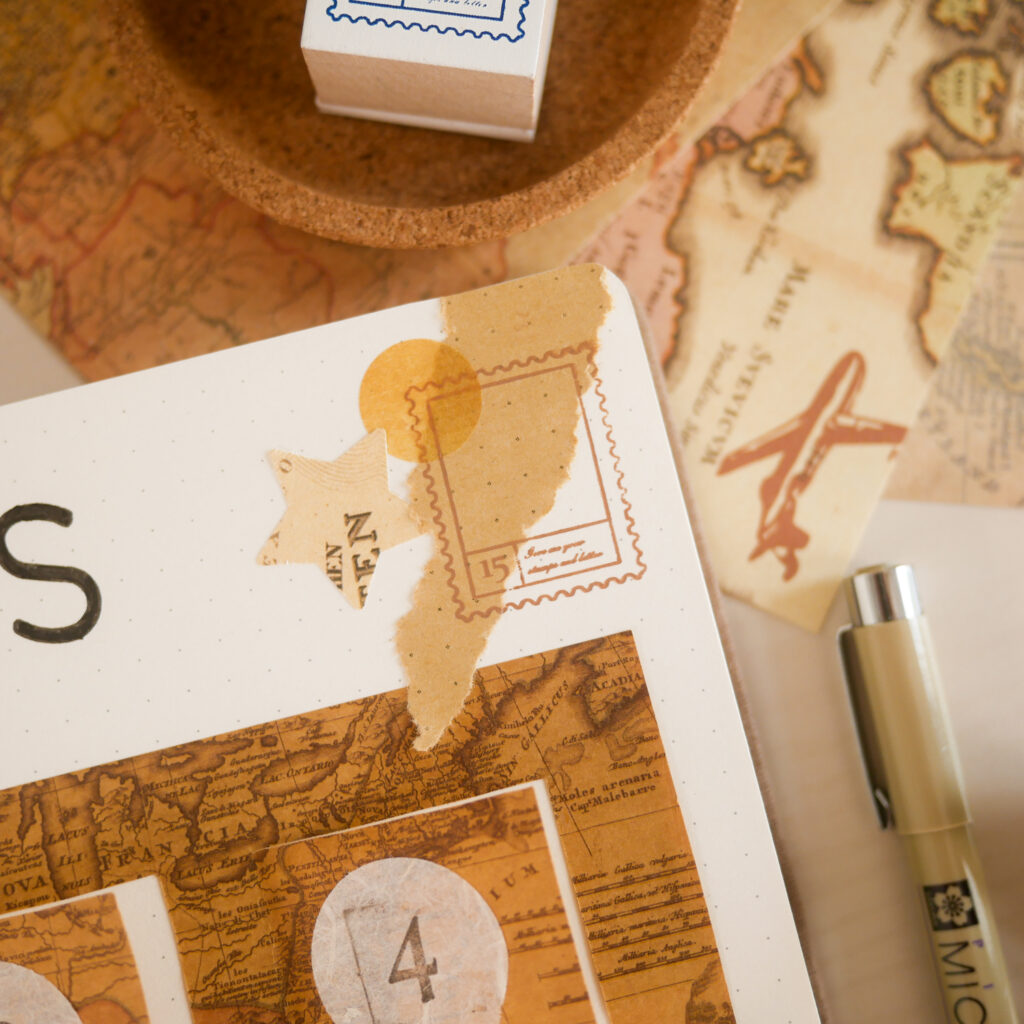
I wanted a clear visual spread showing my highlights for the entire year. These map-printed papers that I own inspired me to create this spread with little flaps that can be opened to reveal each month’s highlights.
To create the flaps, simply mark out six boxes on each paper and use a cutter to cut three sides of each box (check that you are slitting the correct sides, especially if the orientation of the print matters!). Since the map prints are pretty dark, I used a circle-shaped puncher to cut circles from a cream-coloured paper, and stamped on numbers to label each flap.

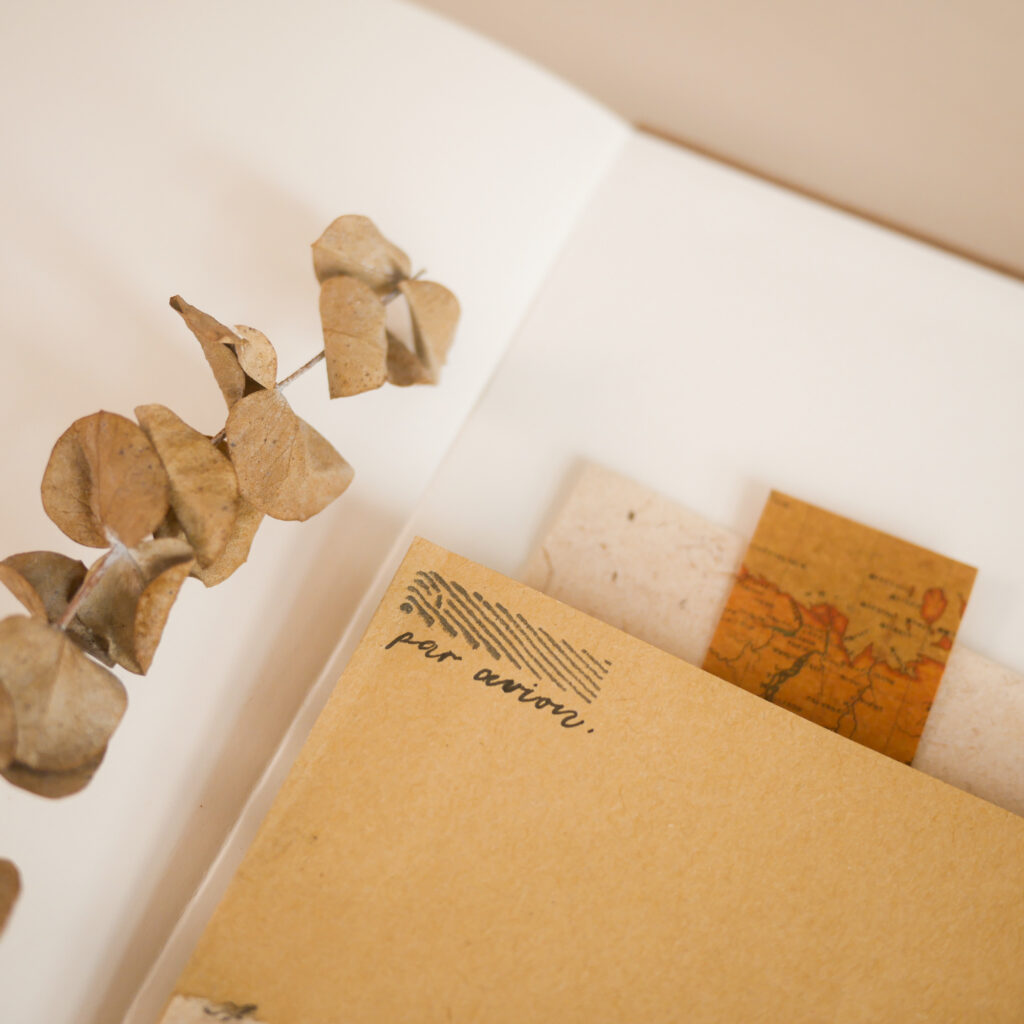
The journal that I am using does not come with a paper pocket at the back, so I decided to DIY one myself! I created a simple template on the computer, printed it on kraft paper and folded it into a paper pocket. I also decorated the paper pocket so that it matches the theme of my setup.
Click on the image below to download the template! For a demonstration of how to fold and glue the template together, check out this video.

Subscribe to my YouTube channel for more bullet journal setups! Check out these videos for my setup for the previous months:
***
If you enjoyed this article, share the love with your bujo pals! To stay updated on future blog posts, subscribe here.
Related articles, videos and resources:

Disclaimer: Some of the links above are affiliate links, meaning I earn a small percentage of commission via those links, but it doesn’t cost you anything extra!
