HAY, how art you?Apple’s Procreate app just launched a new update to Procreate 5X, and it comes with several new features that can optimise workflow, and new adjustment and filter options to spice up your digital calligraphy and illustrations. In this article, I have detailed 8 best new features suitable for calligraphy and lettering. Read on to know more!
***
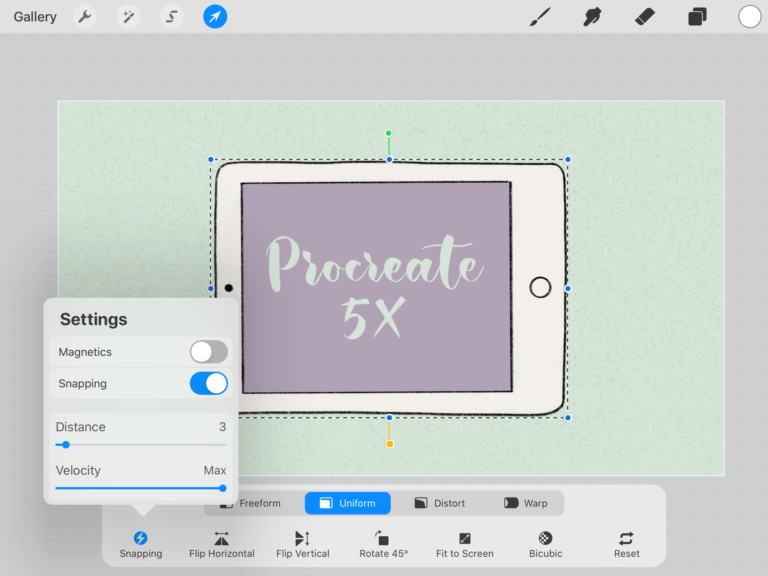
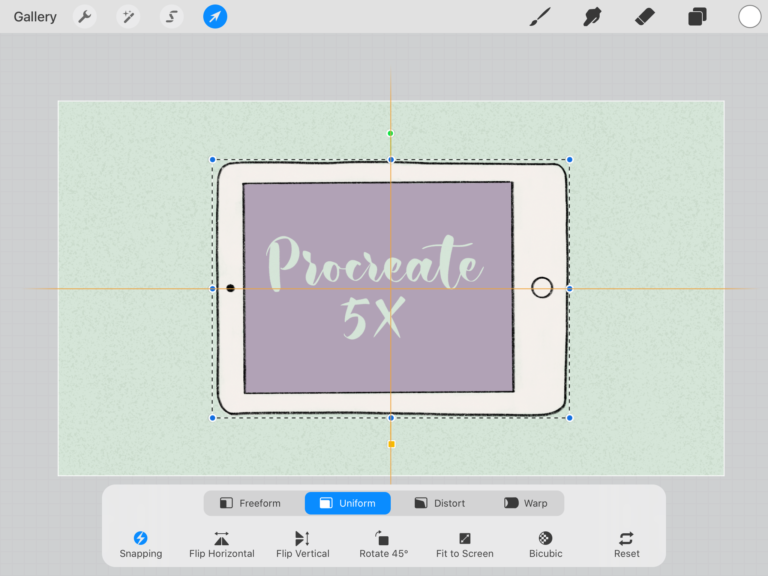
1) New Transform Tool – Snapping
In the previous versions of Procreate, there is no option to snap your layers to the centre or sides of the canvas, which can be kind of frustrating for perfectionists who want to align their layers.
Steps:
1) Tap on transform.
2) Tap on snapping.
3) Toggle it on.
4) Snap your layer according to the orange guidelines that appear.
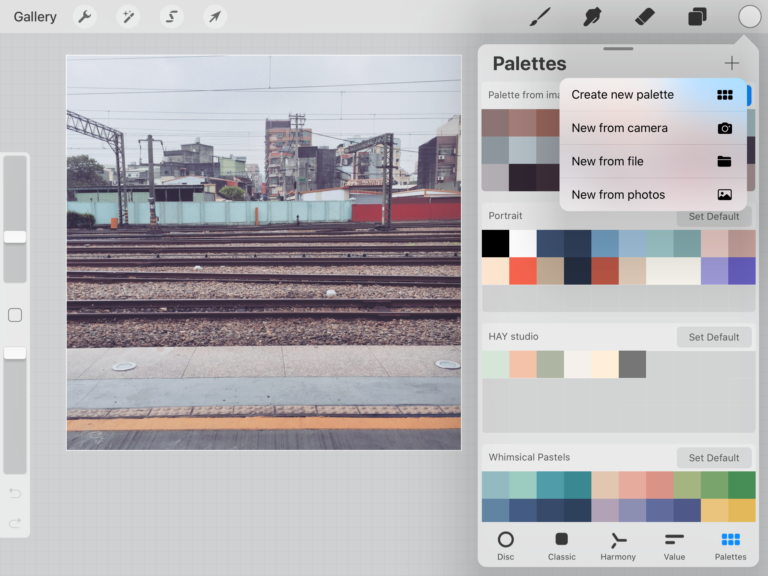
2) New Colour Function – PaletteCapture
I am sure we have all been there; we found a pretty inspo picture or photo from Pinterest and we want to create a colour palette from it. Before the update, we would need to import the photo into Procreate, and then use the eyedropper tool to capture the colours we want into a colour palette one by one. Now, PaletteCapture creates a colour palette automatically from the photo we select.
Steps:
1) Tap on palettes (colour swatch on the top right).
2) Select ‘new from photos’.
3) The colour palette will be generated automatically.
3) New Colour Function – SwatchDrop
Also a new colour function, SwatchDrop allows us to drag and drop a colour swatch to fill the entire layer. Previously, we could only do so with the current colour that is selected.
Steps:
1. Open palettes.
2. Long press on a swatch.
3. Drag and drop to the layer to fill.
4) New Adjustment – Gradient Map
Gradient Map is a fun way to change the colours on your selected layer. Under adjustments, select Gradient Map. There are a couple of built-in gradients in the library already, but you can tap on the ‘+’ sign to create your own colour scheme. You can then choose the gradient you like and then tap it to adjust the sliders to achieve different colour tone variations. Take note that your layer has to be coloured with a few colour variations for the changes to be evident.
When gradient map is not applied
When 'Venice' is applied
When 'breeze' is applied
When 'Mocha' is applied
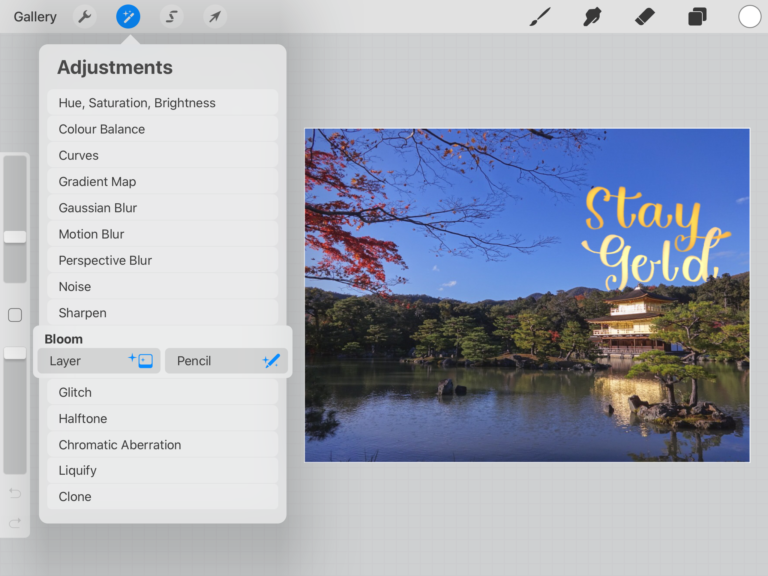
5) New Adjustment – Bloom
Bloom is a fun filter that adds a glow to your layer. Once you select it in the menu, you will be able to choose from layer, to apply this effect to the entire layer; or pencil, to selectively apply this effect according to where you place the pencil.
Without 'Bloom' adjustment
With 'Bloom' adjustment
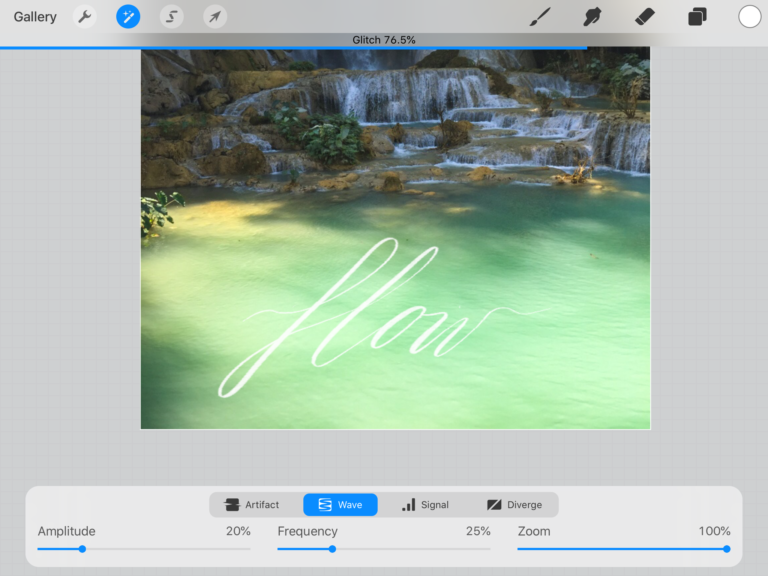
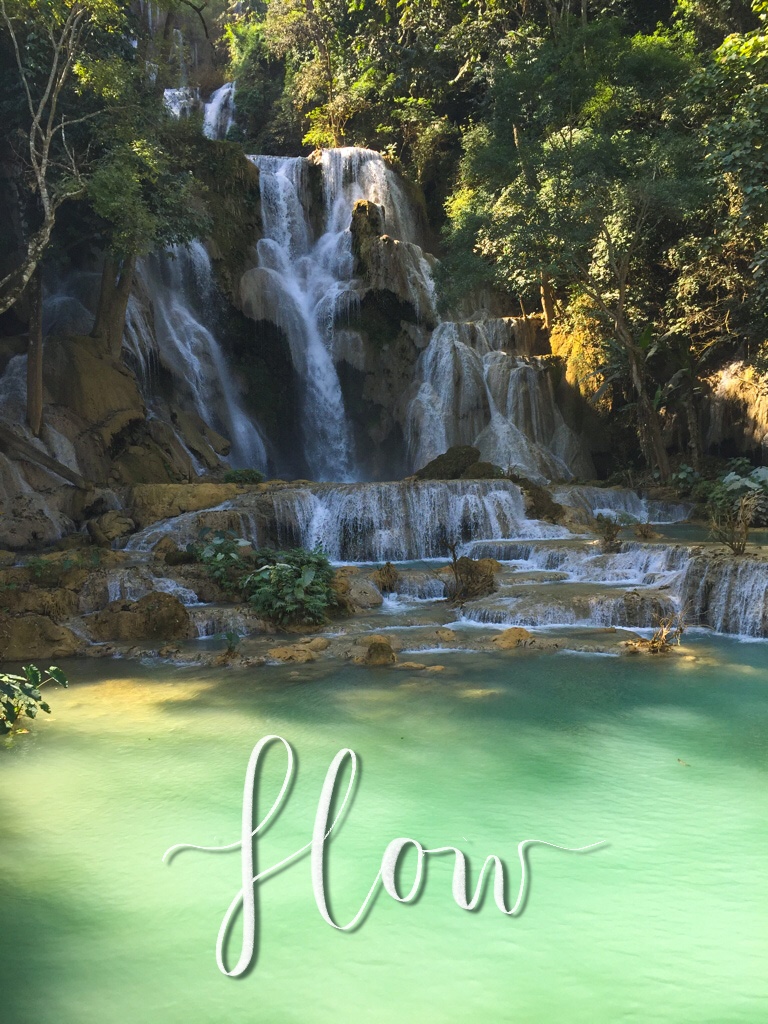
6) New Adjustment – Glitch
Choose glitch from the adjustments menu and select layer. There are four variations – artifact, wave, signal and diverge, and you can play around with them and see which one fits your artwork. I have chosen the wave option, which makes the calligraphy look more whimsical and wispy.
Without 'Glitch' adjustment
With 'Glitch' adjustment
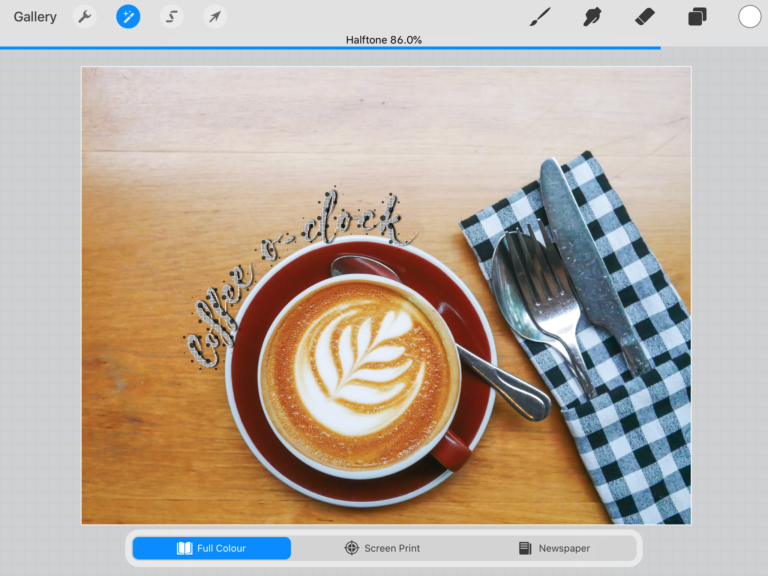
7) New Adjustment – Halftone
Once you have selected halftone, you will see three variations – full colour, screen print and newspaper. This effect adds a cool print texture to the layer you have selected. Play around with the effects and slide from left to right to adjust the percentage to explore this adjustment.
Without 'Halftone' adjustment
With 'Halftone' adjustment
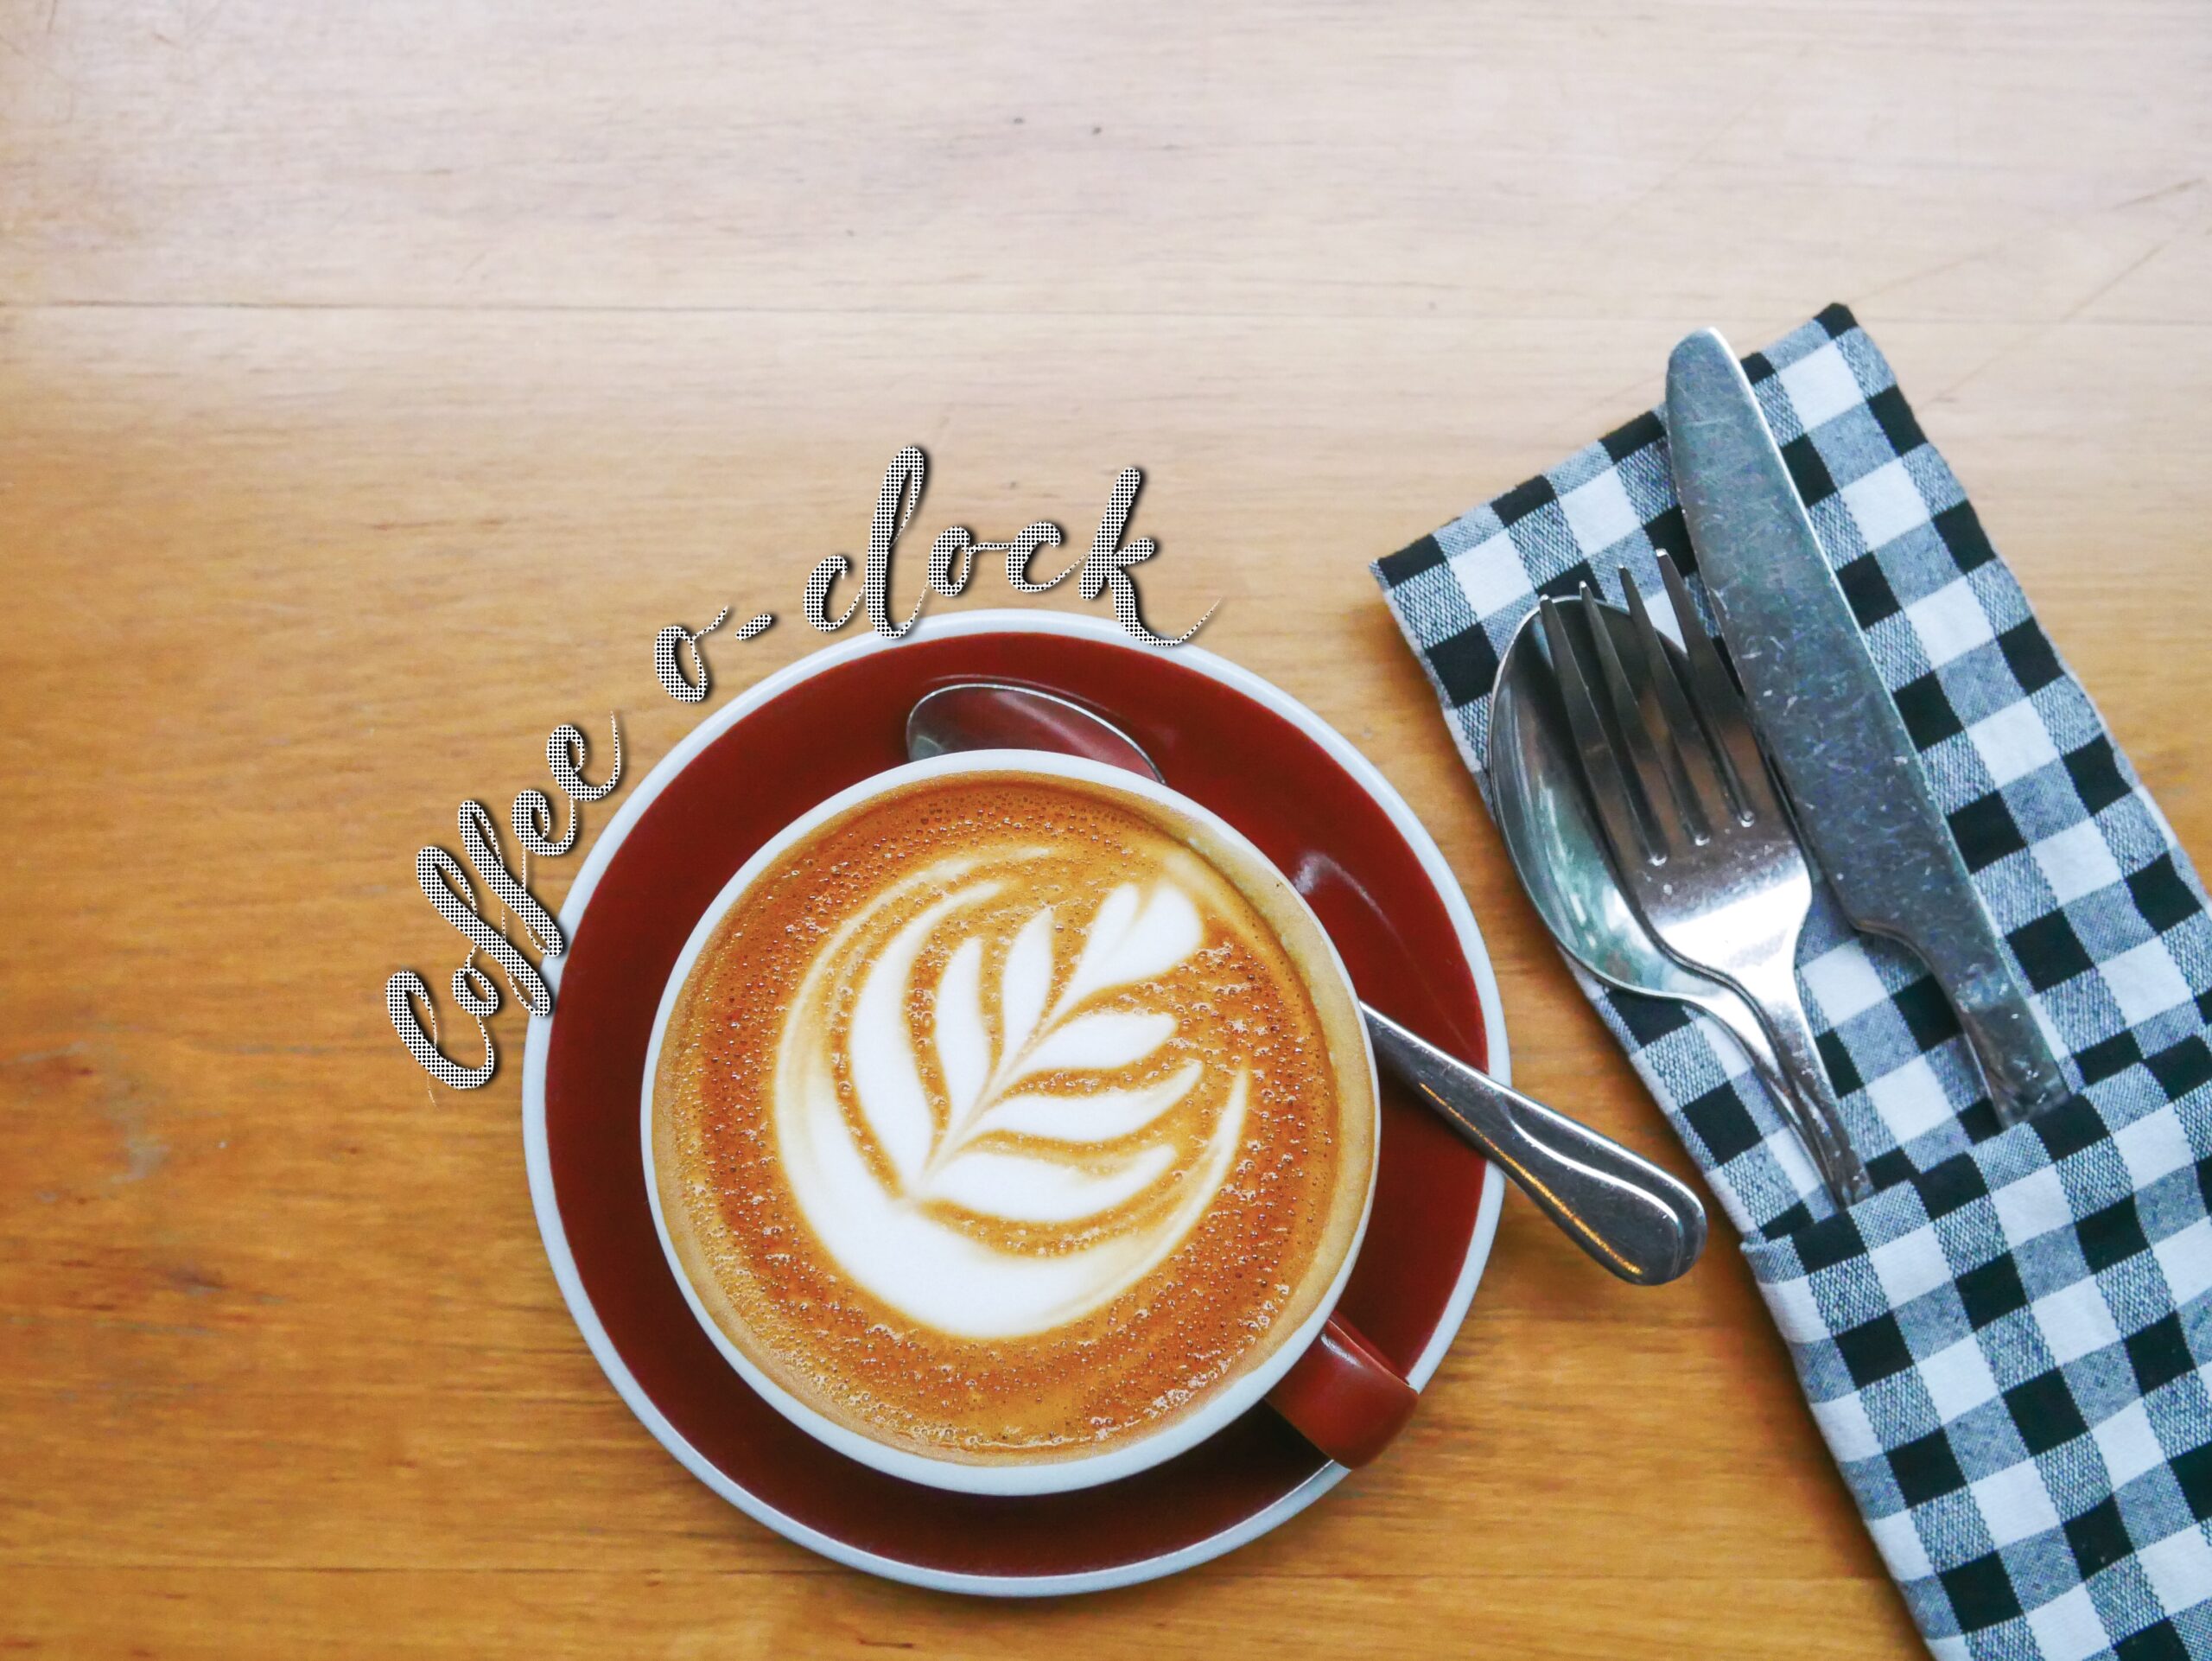
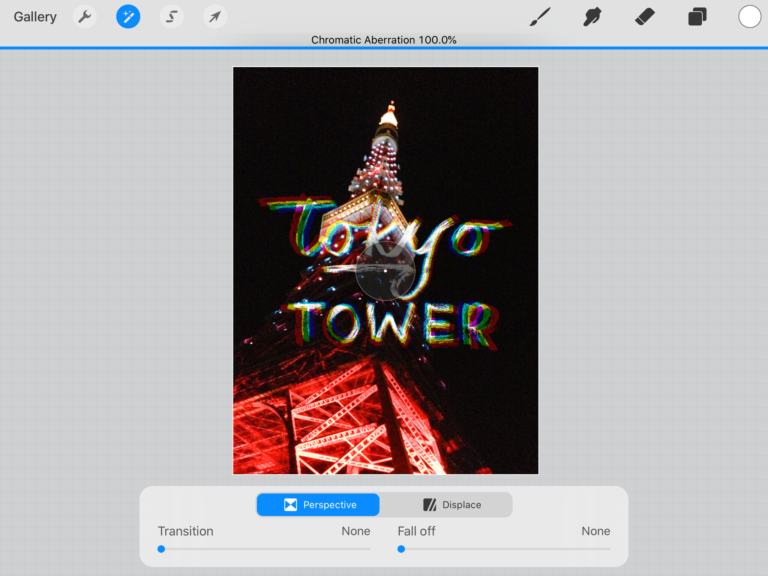
8) New Adjustment – Chromatic Aberration
The chromatic filter has been pretty trendy recently. In Chromatic Aberration, there are two variations – perspective and displace. Again, there are quite a few options and sliders to play around with until you are happy with the effect.
Without 'Chromatic Aberration' adjustment
With 'Chromatic Aberration' adjustment
***
Procreate has been lauded as one of the most powerful apps for digital artworks. With the new updates, I believe it will remain as one of the most popular apps for iPad calligraphy and lettering.
Watch the video below for the demonstrations of these features:
If you enjoyed this article, share the love with your calligraphy pals! To stay updated on future blog posts, subscribe here.
Disclaimer: Some of the links above are affiliate links, meaning I earn a small percentage of commission via those links, but it doesn’t cost you anything extra!
Enjoyed this post? Spread the joy!
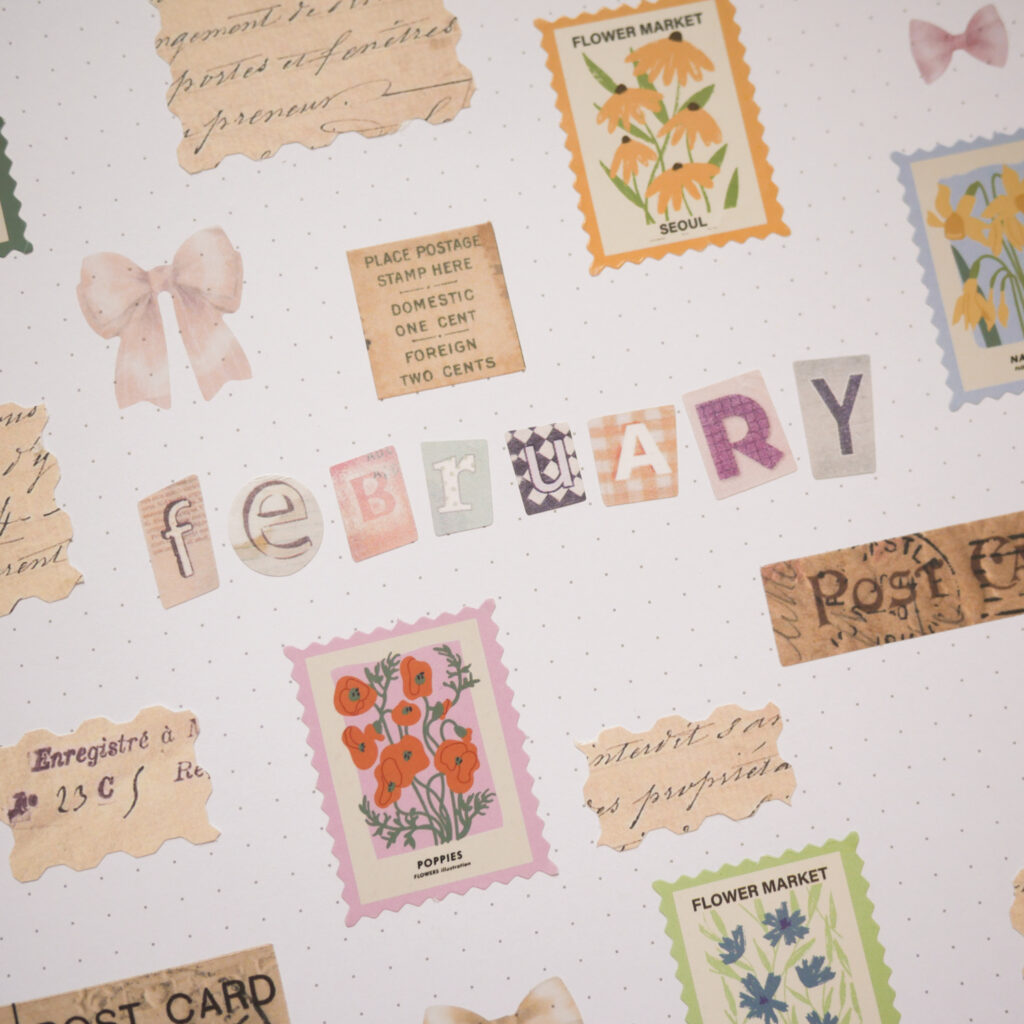
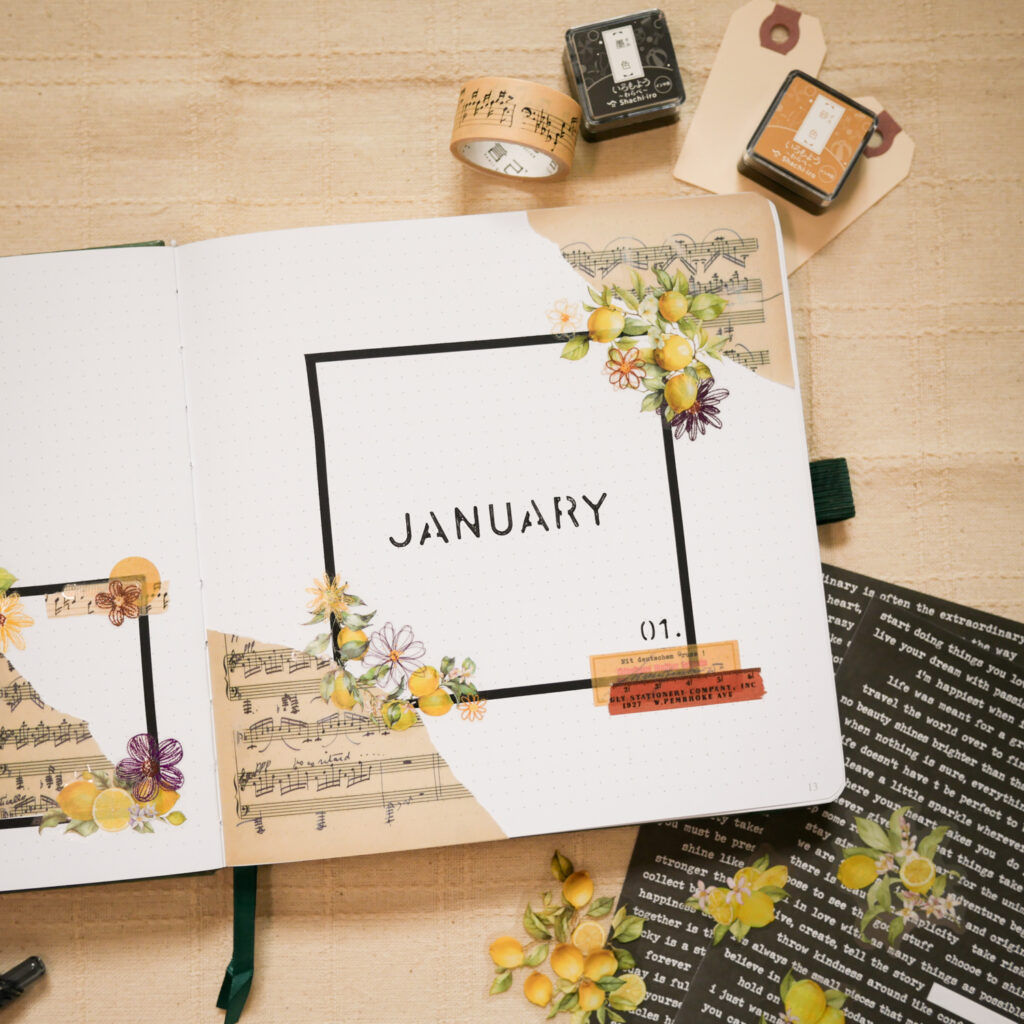
☆ Pin this image to help this article reach more people. ☆