HAY, how art you?Do you know what is air dry clay? Air dry clay is clay that doesn’t require baking to harden, so it’s really convenient to use for art projects. From planters, candle holders, jewelry dishes to decorative pieces, you can be assured that you will never run out of DIY ideas with this craft material. Moreover, nothing beats the satisfaction of wearing or using something you have made with your bare hands. In this article, I am sharing the 10-step DIY process of making air dry clay earrings. Read on and DIY with me!
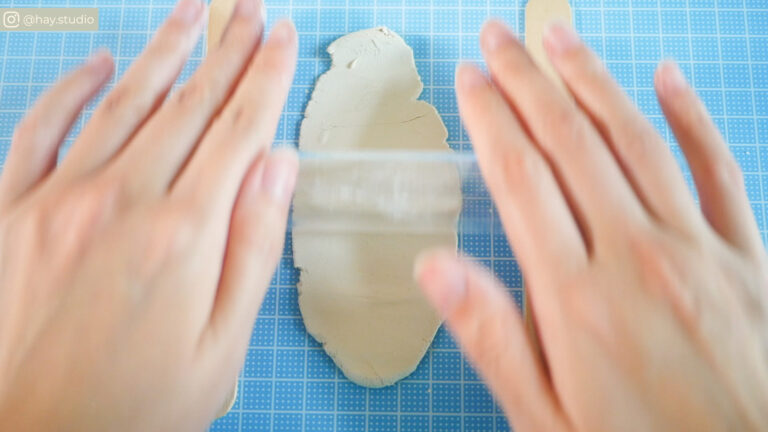
First, take a small section of clay and roll it until it is flattened using a rolling pin. You can also use a cylindrical glass jar, or any similar items.
Tip: Roll the clay between 2 popsicle sticks to achieve an even thickness.
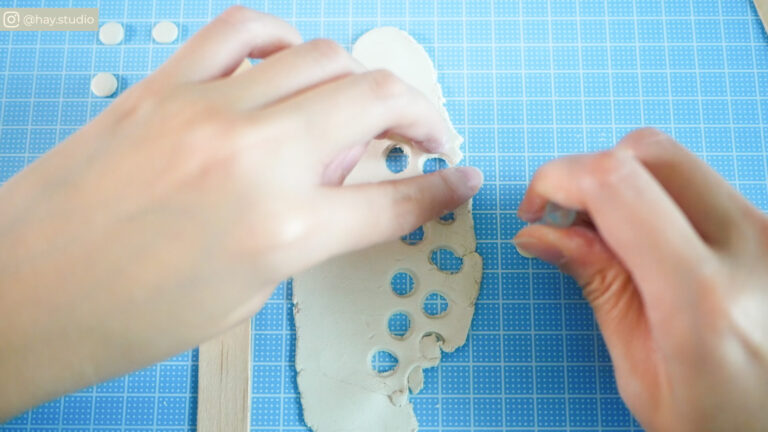
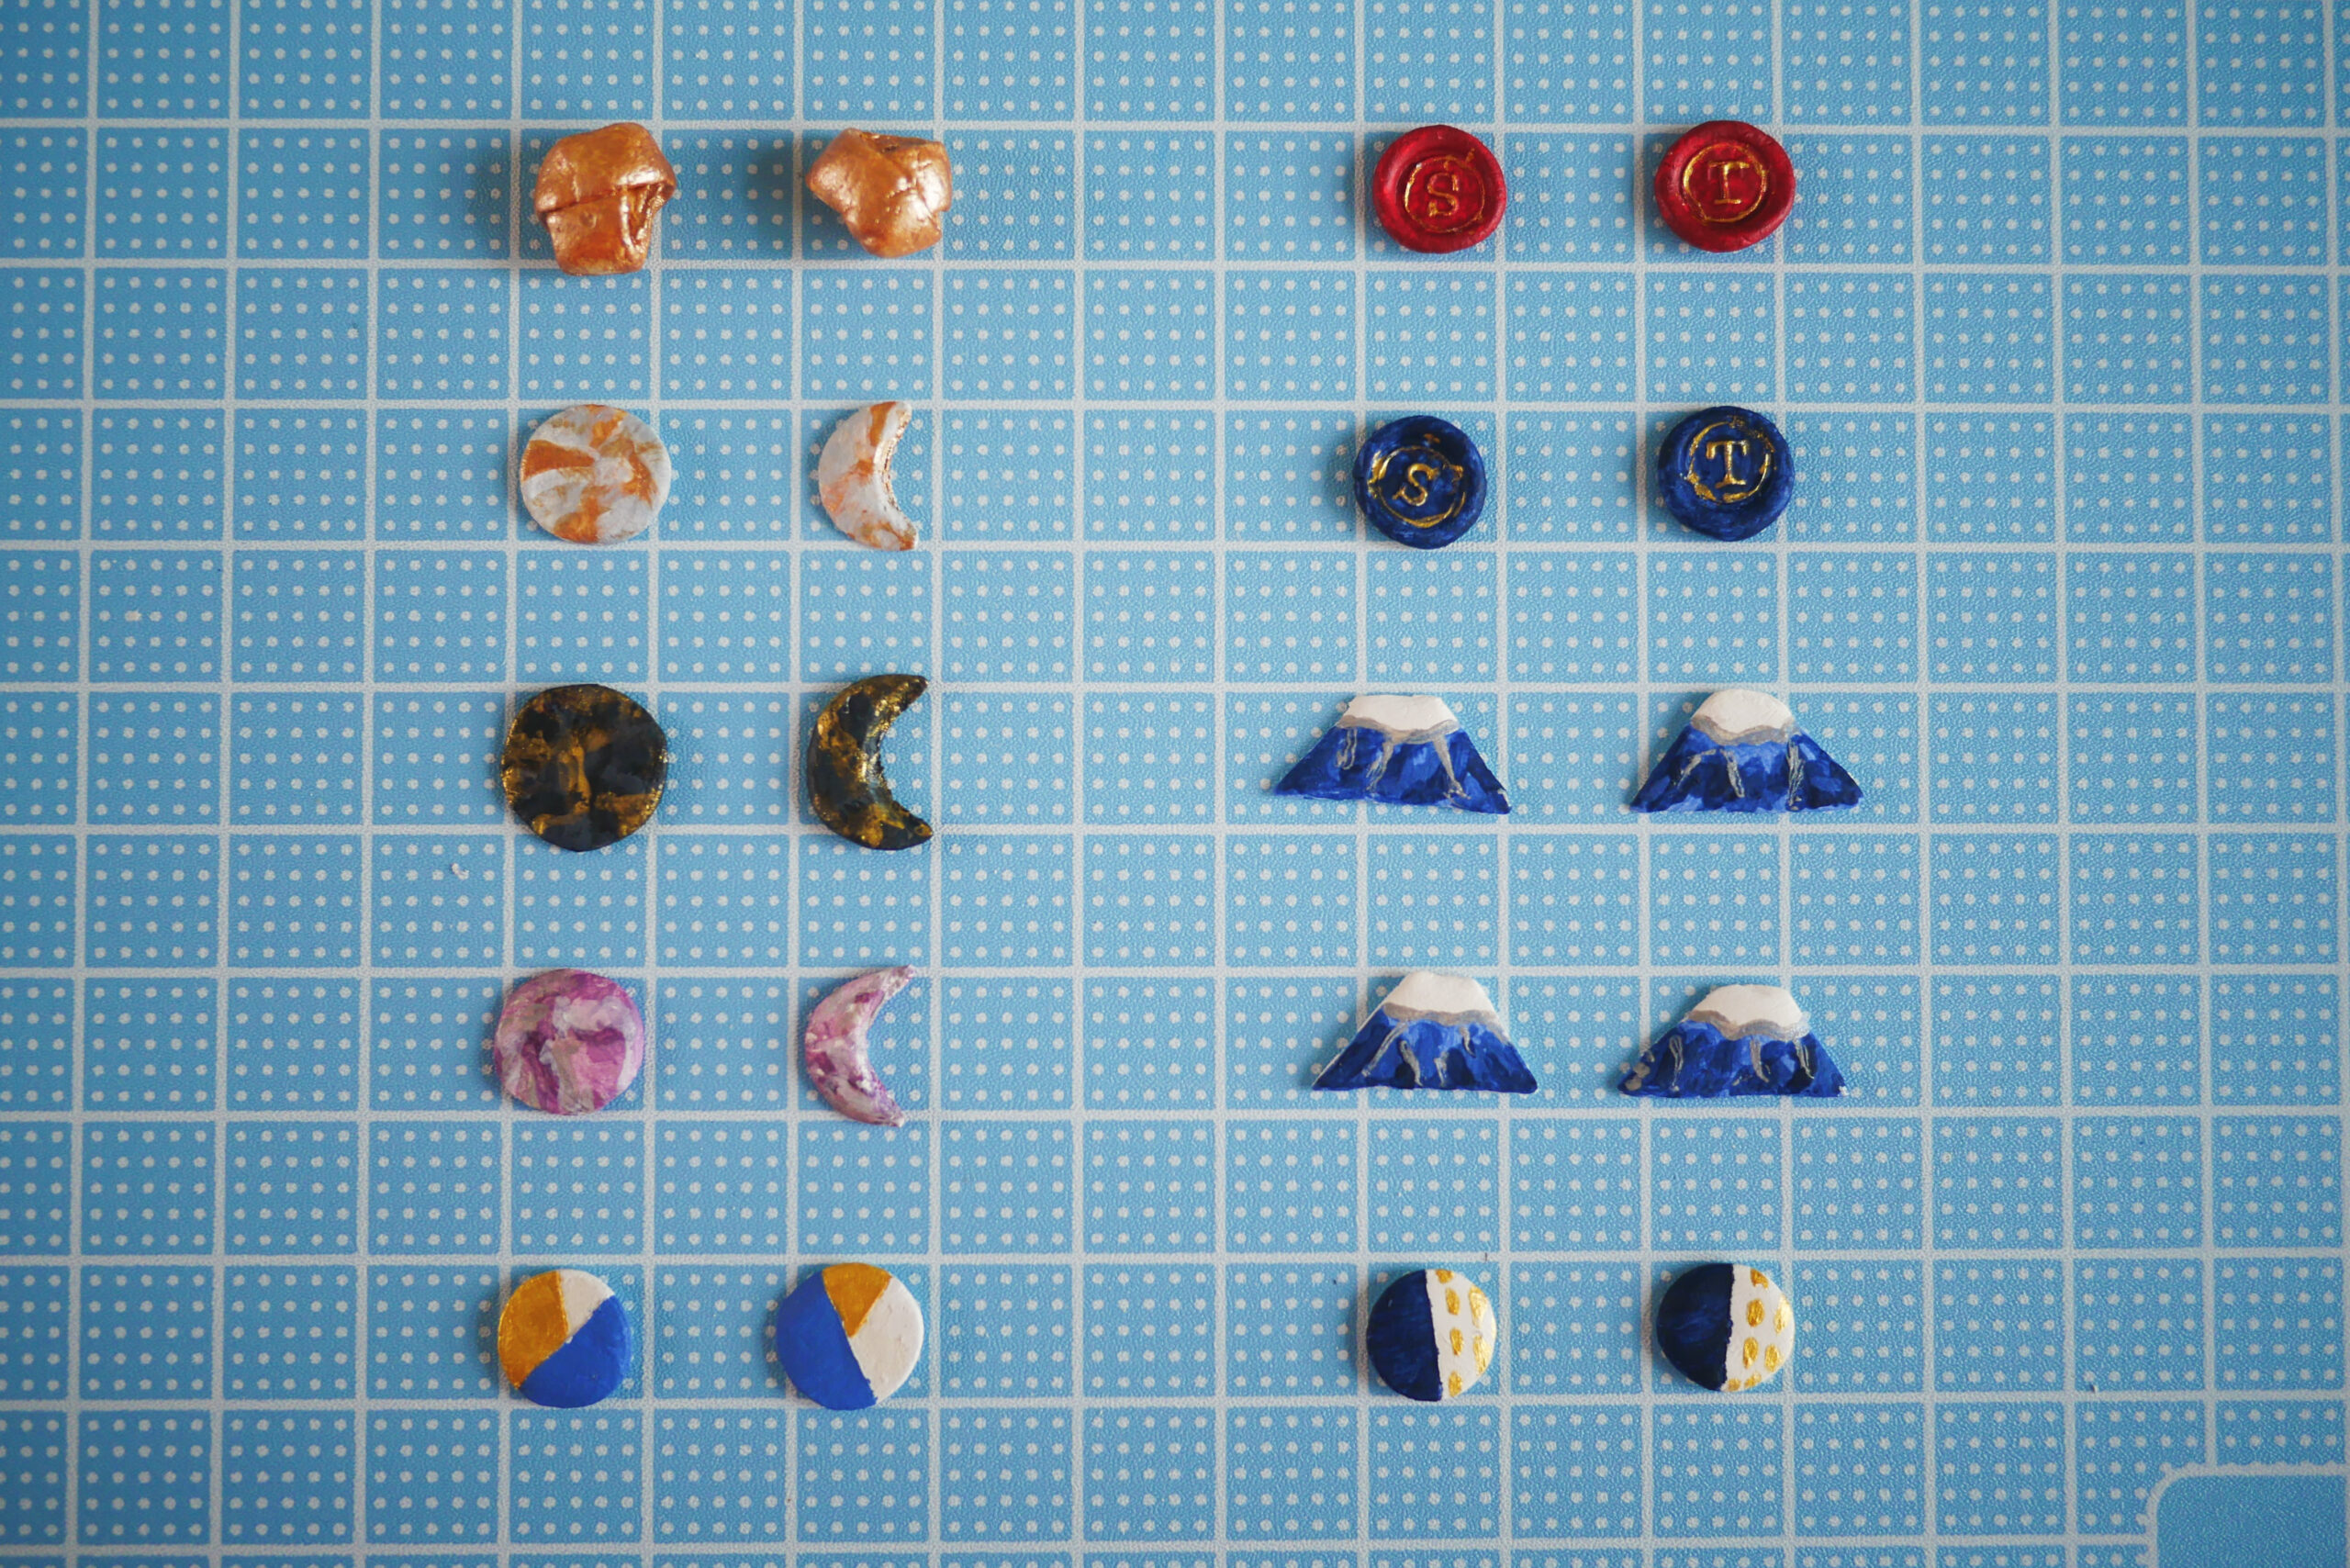
Step 2: Cut out desired shapes
Next, cut out your desired shapes. Depending on the shape of your design, you may need different tools. I used a small plastic pen cover to cut out circles, and the x-acto knife to cut out trapezium shapes for my mountain design. Smoothen the edges and surface with your fingers. You can also adjust the thickness of the clay here; I think a thickness of about 2mm is just right.
Tip: Use stamps to create imprinted designs
Step 3: Leave the cut clay pieces to dry and harden completely
Lay the pieces on a piece of wax paper. The amount of time needed for air dry clay to harden completely depends on environmental conditions. For me, I left them to dry overnight and they were ready to be painted the next day.
Tip: To speed up the drying process, flip the pieces over during drying.
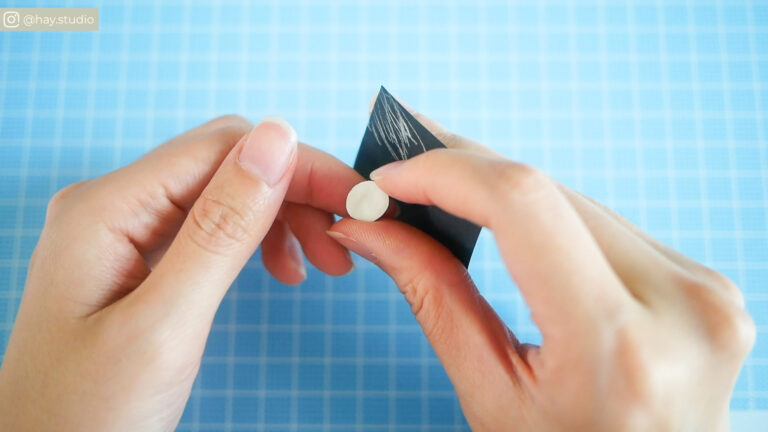
Step 4: Sand off uneven parts
Once the clay has completely hardened, use sandpaper to sand off uneven and bumpy parts and smooth out the surfaces.
Step 5: Paint the clay
Acrylic paint works best with clay projects. I painted all of them white first to get a clean and even base. Depending on the paint you are using, you may need a few coats of paint to get an opaque and consistent finish.
Step 6: Leave painted pieces to dry overnight
Acrylic paint dries faster than other paint mediums. However, I left them to dry overnight just to play safe!
Step 7: Seal with mod podge
Then, seal the paint with a few coats of mod podge. Let each coat dry for about 15 to 30 minutes, depending on environmental conditions. They come in both matte and glossy finish, so pick the one that you prefer.
Step 8: Leave to set for 2 nights
Again, place the coated pieces on a piece of wax paper to set for 2 nights. You may notice that it feels slightly tacky to the touch at the beginning if you are using the glossy mod podge.
Tip: Flip the pieces over from time to time to prevent them from sticking to thewax paper.
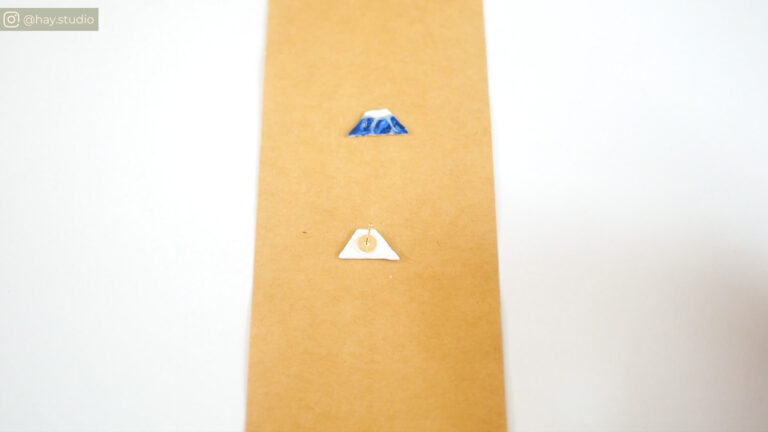
Step 9: Glue on earring posts
Once the mod podge has cured, glueearring posts on the back of the studs with E6000 glue. I got mine online but I believe they are available in your local craft stores too!
Step 10: Leave to set for 2 nights
At this point, you will be really excited to try on the earrings but hang in there, leave them to set for two nights so that the glue can dry completely.
***
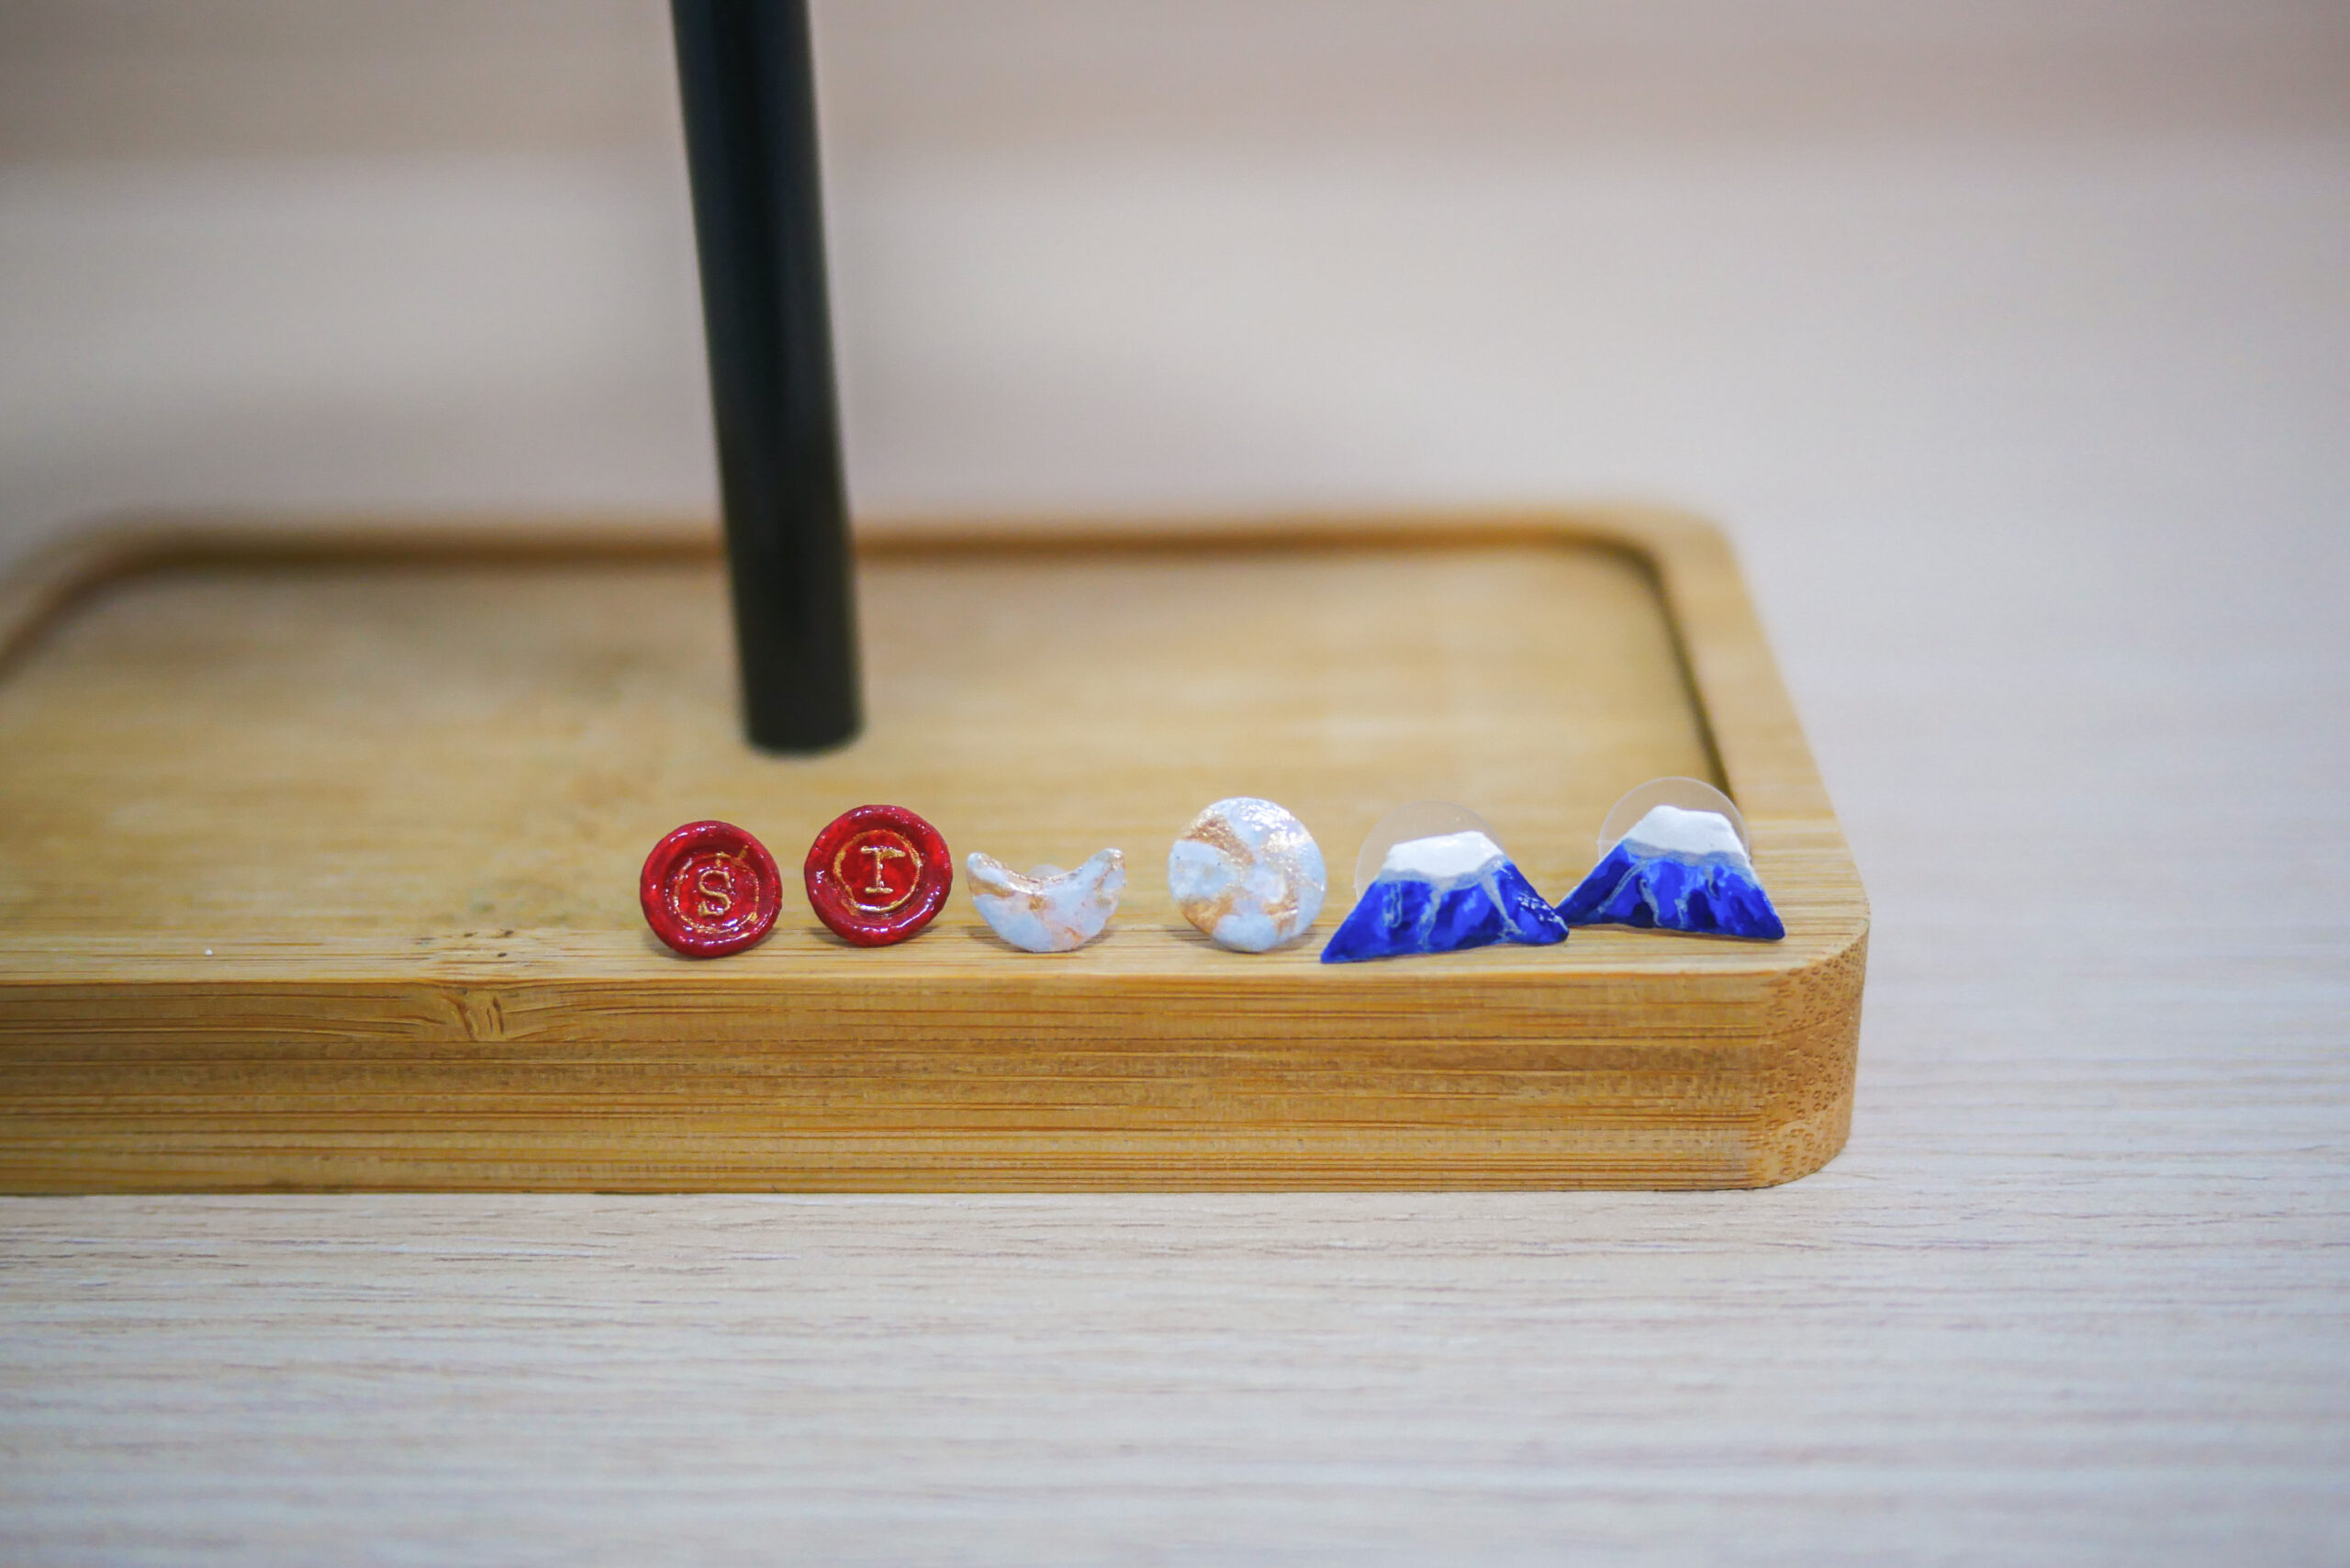
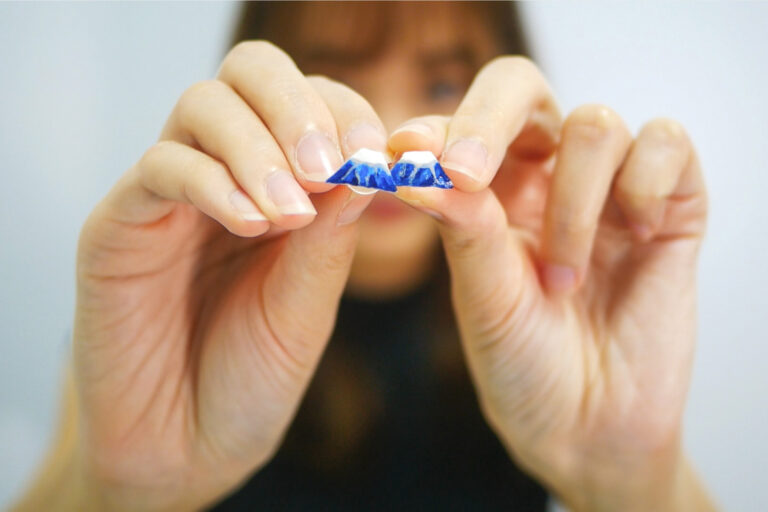
Finally, the earrings are completed!
Hope you will enjoy this fun little DIY project as much as I did.
Watch the video below for the complete process:
If you enjoyed this article, share the love with your DIY pals! To stay updated on future blog posts, subscribe here.
Disclaimer: Some of the links above are affiliate links, meaning I earn a small percentage of commission via those links, but it doesn’t cost you anything extra!
Enjoyed this post? Spread the joy!
☆ Pin this image to help this article reach more people. ☆