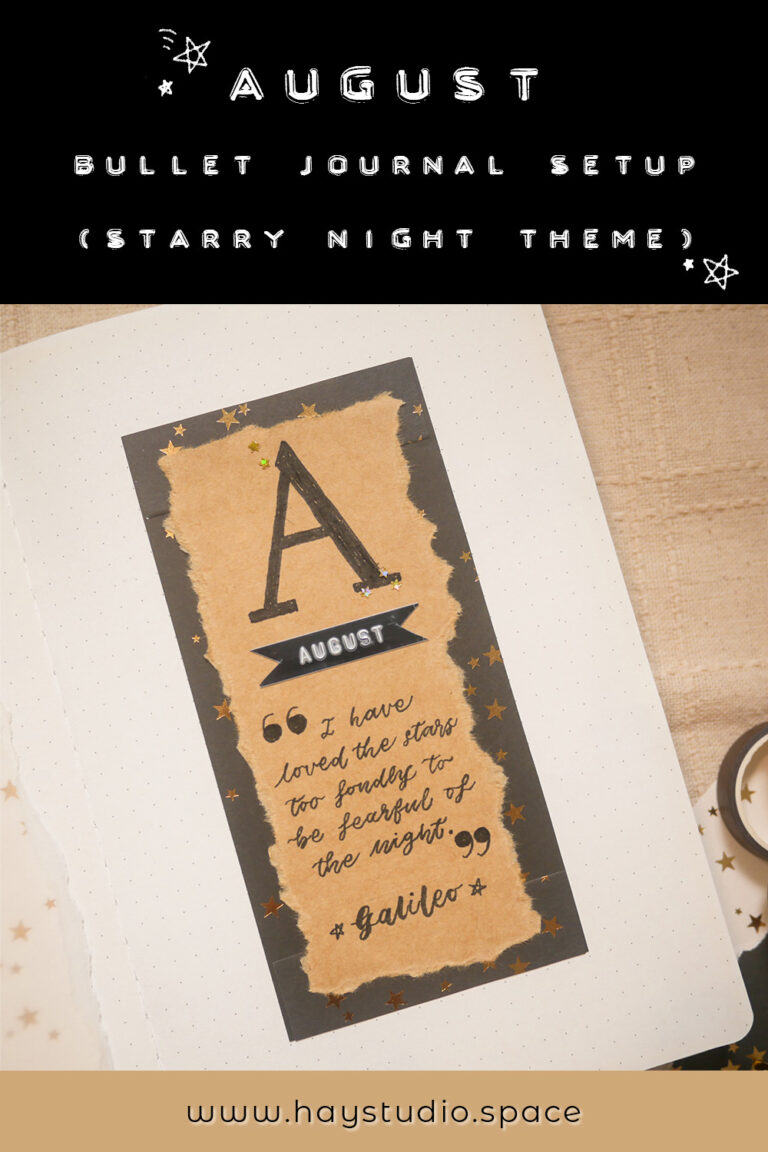
HAY, how art you? Here is my starry night theme August bullet journal setup. I have had a few pieces of origami paper with gold foil stars sitting in my stash for a while, and they are perfect for this theme. This setup inspired me to create a starry night theme journaling printable which is available to download for free. You can find the link at the end of this article. Keep scrolling to see more of my August bullet journal setup!
***
Check out the following video to watch the setup process and plan with me!
Here is a list of supplies I used for the setup this month:
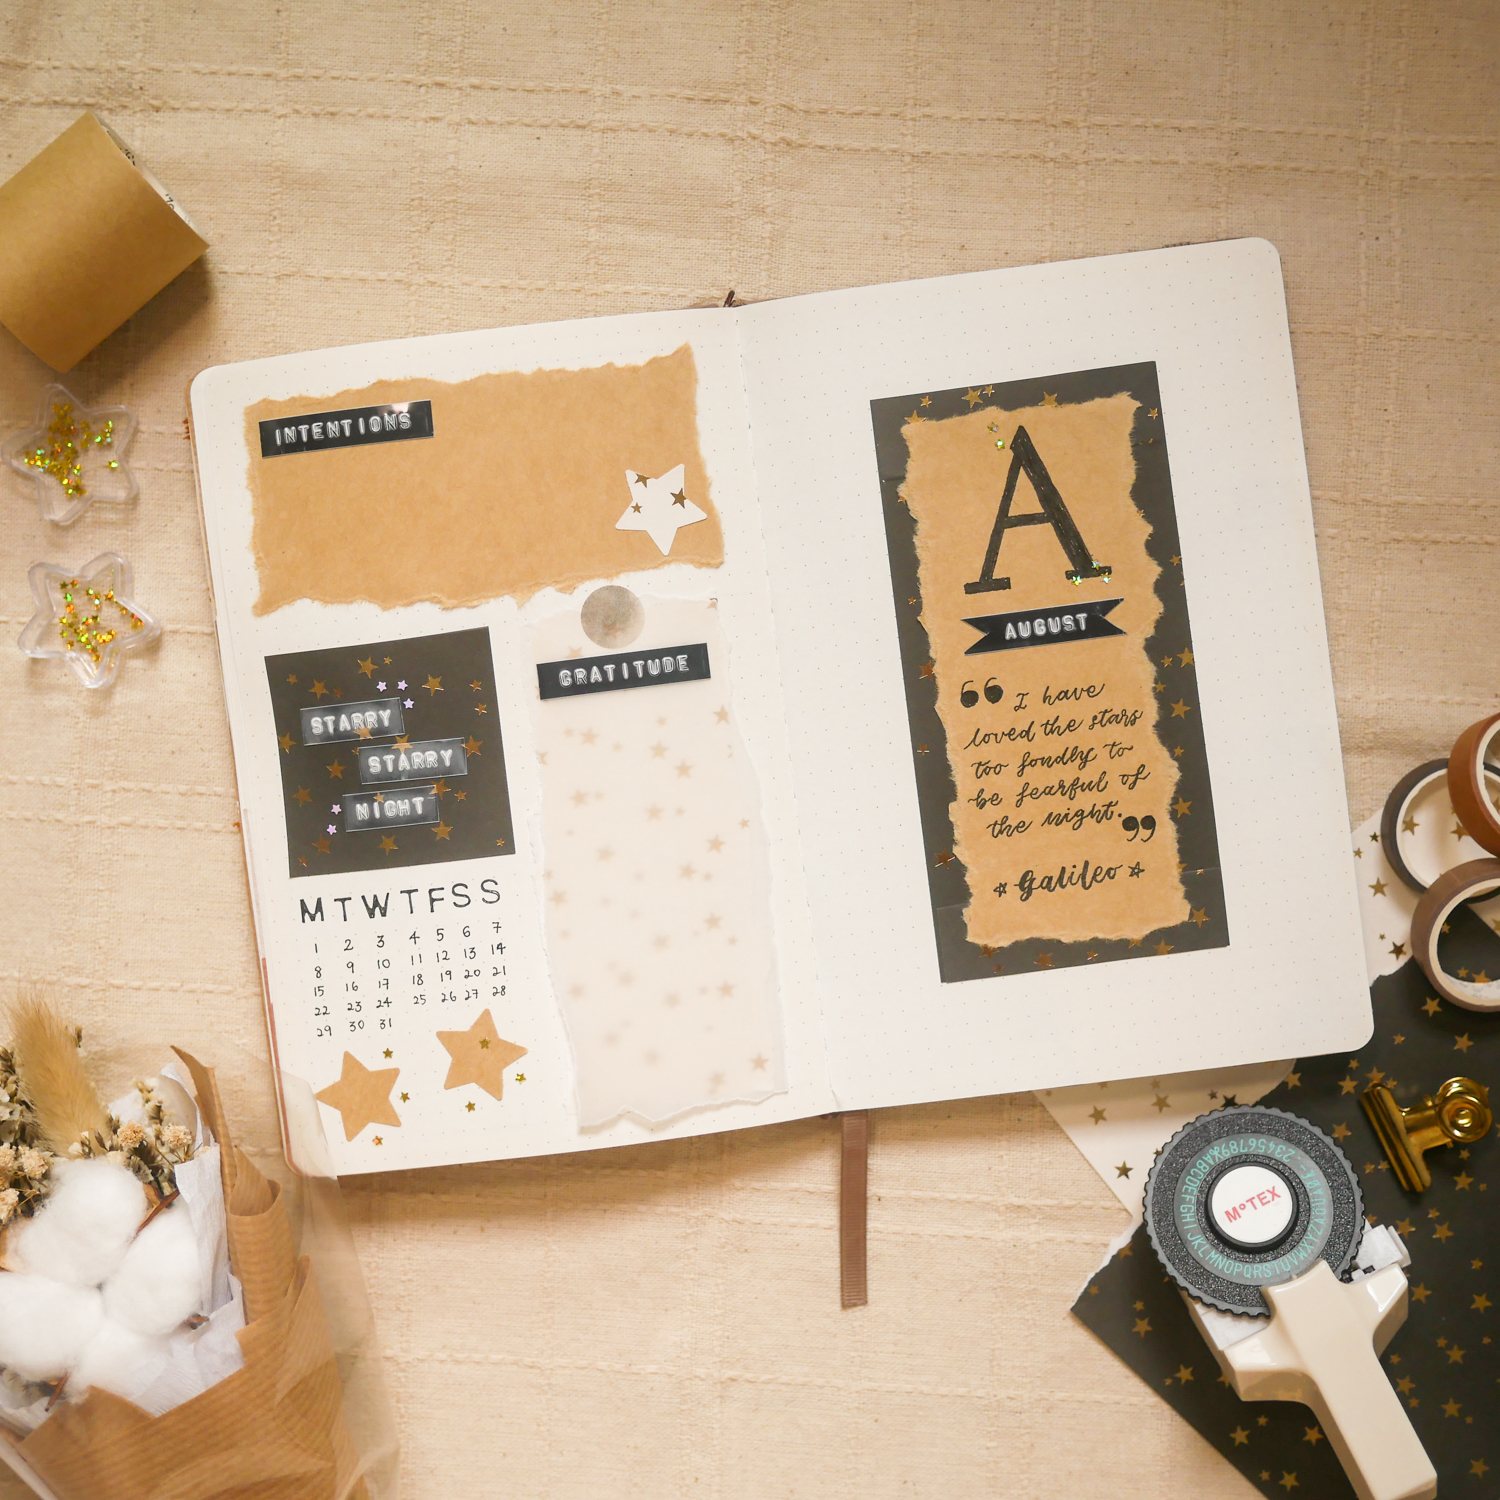
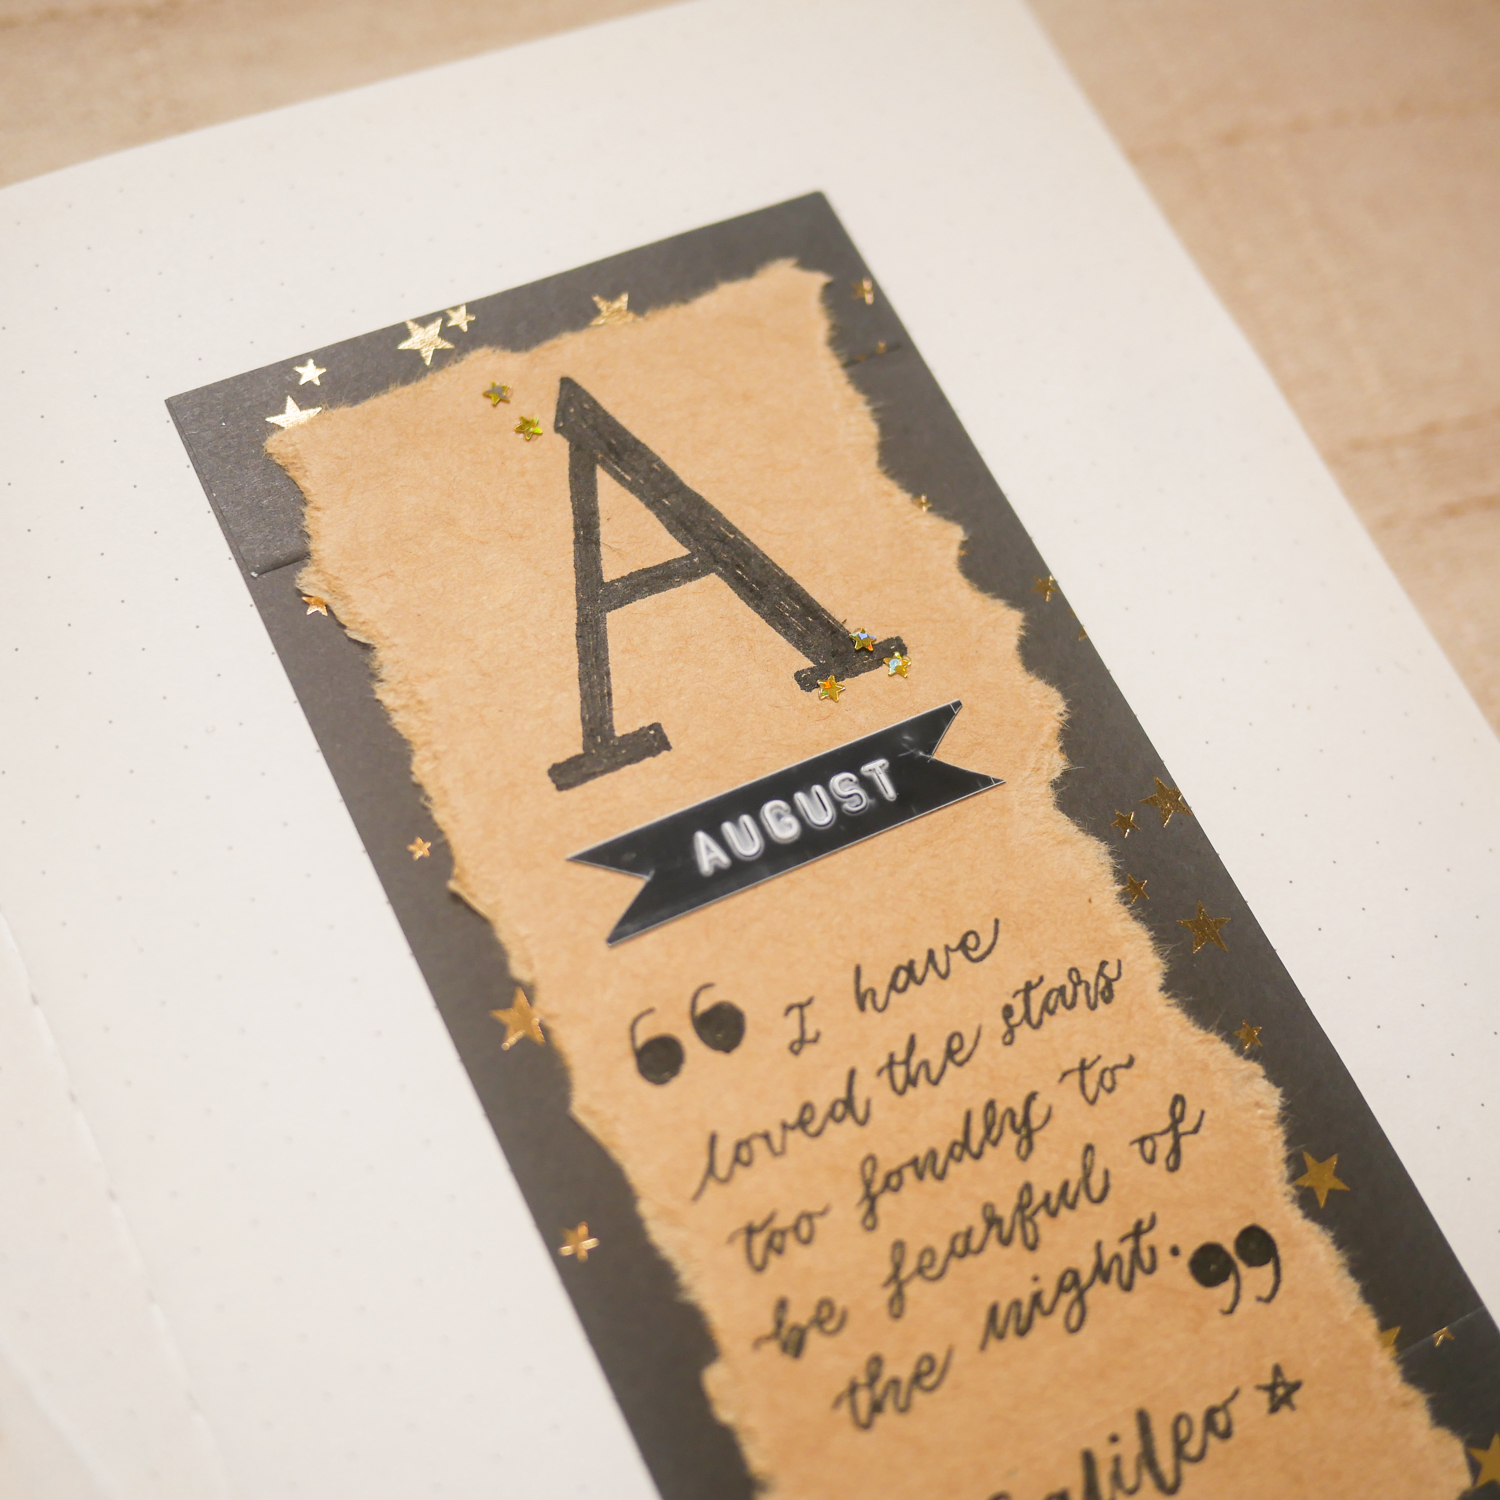
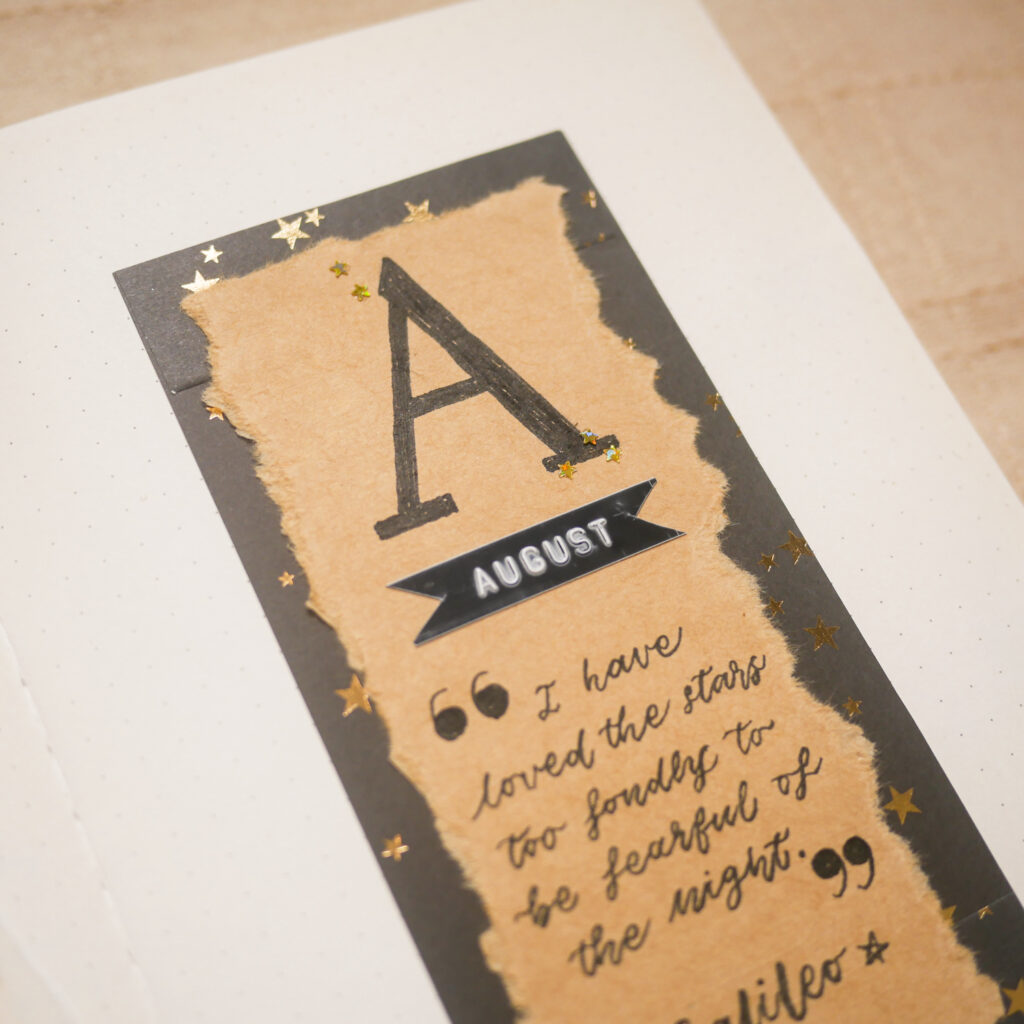
For this month’s setup, I mainly used black, gold and kraft materials, and I must say that the colour combination is really pleasing! On the right side of the spread, I used the origami paper with gold foil stars to create a rectangular border. Then, I tore a piece of recycled kraft paper and pasted it on top. On it I drew a simple serif letter A, and used my Motex label maker to make a label that says “August”. To fill up the remaining space, I added a stars-related quote from Galileo.
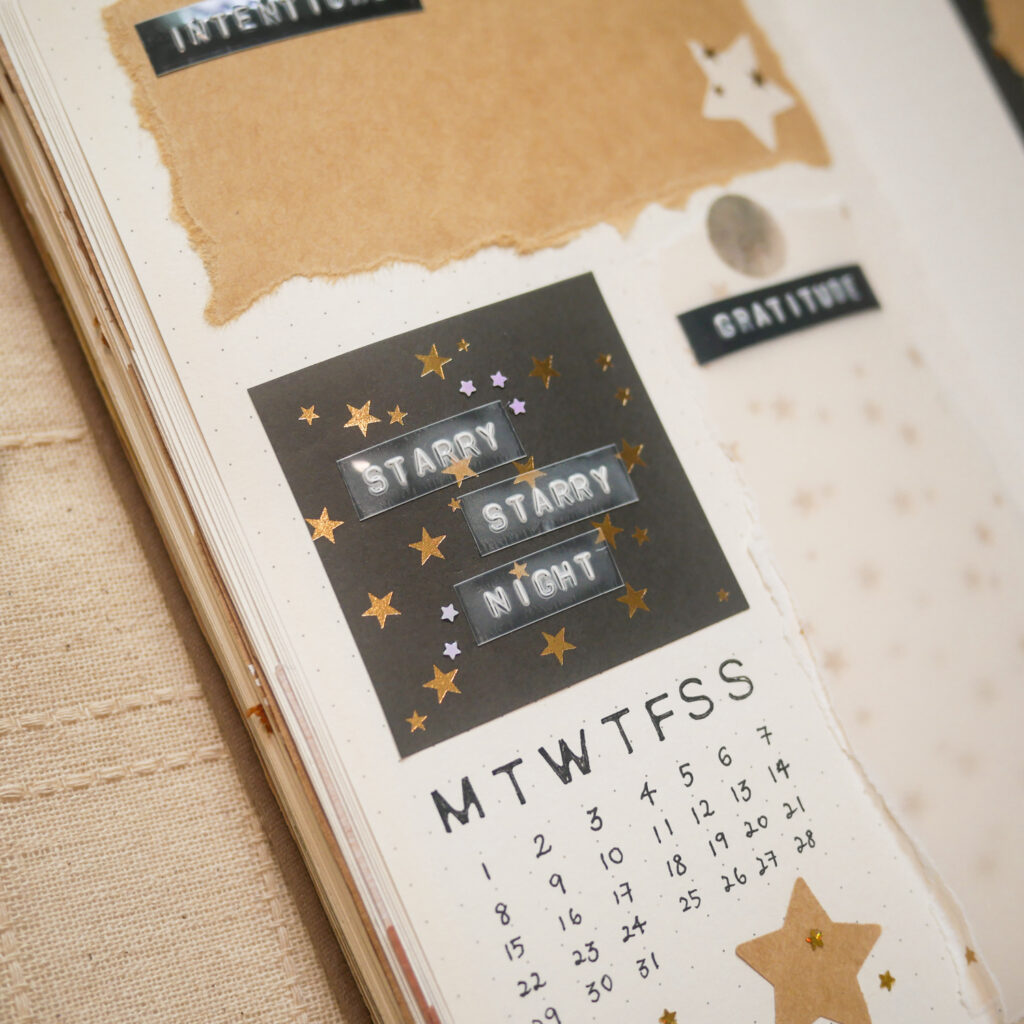
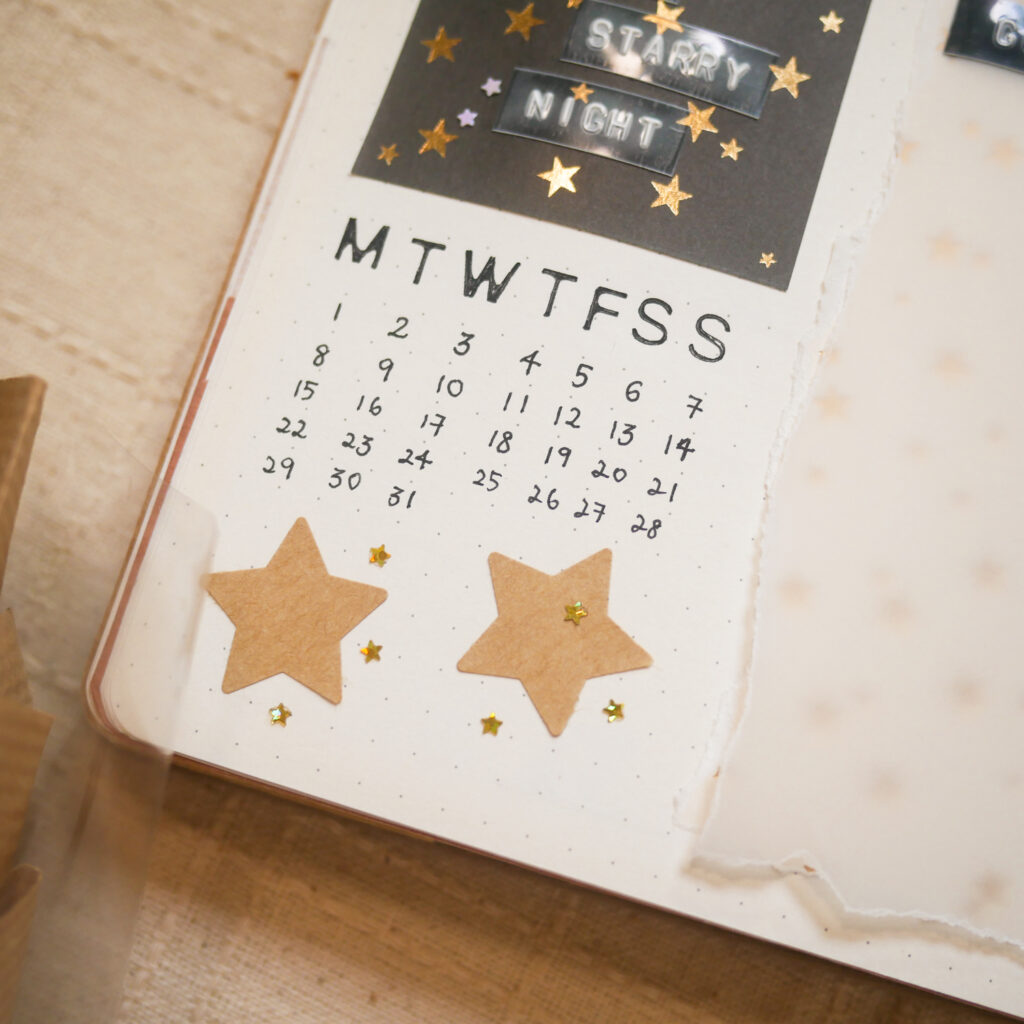
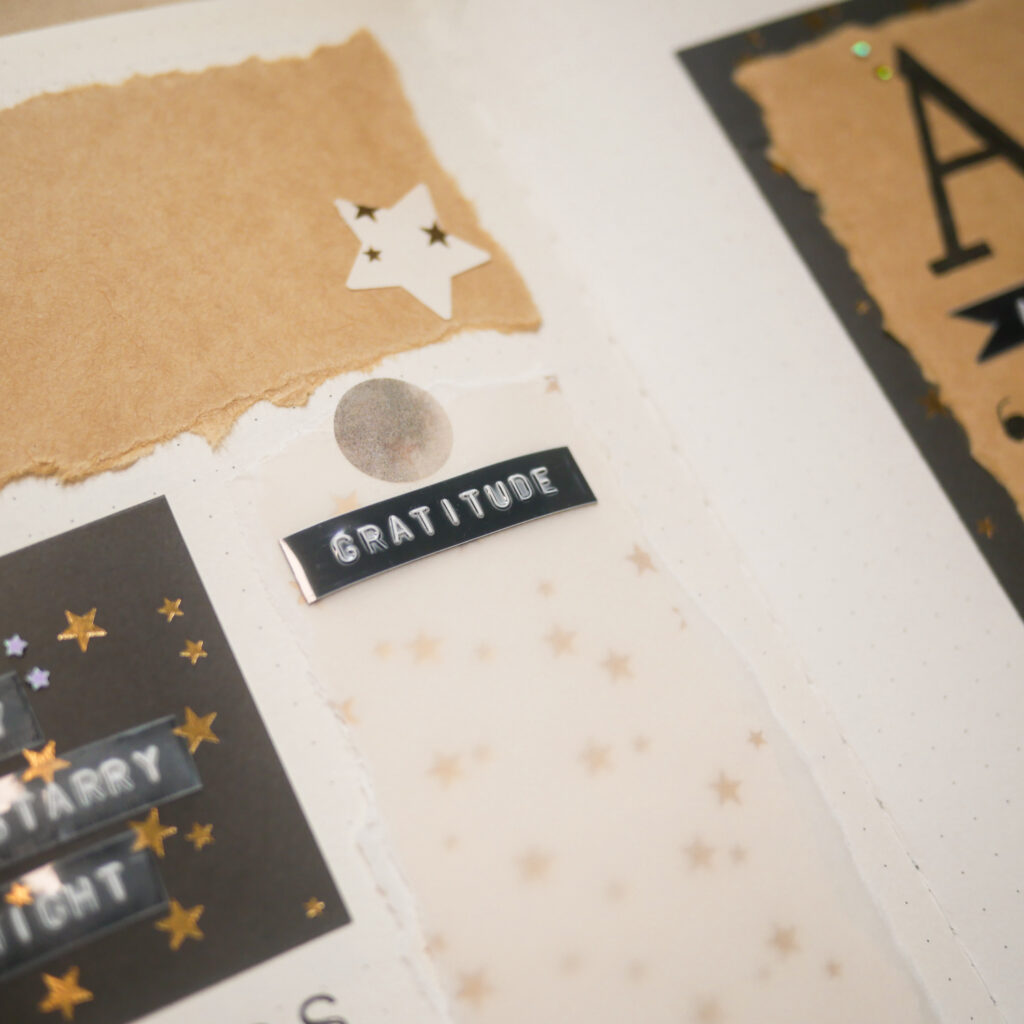
The left side of the spread is made functional. The mini calendar can double as a single habit tracker, and I also have a section for setting intentions of the month, and one for a gratitude log.
Lastly, I pasted glitter stars all around the spread to add some extra shine!
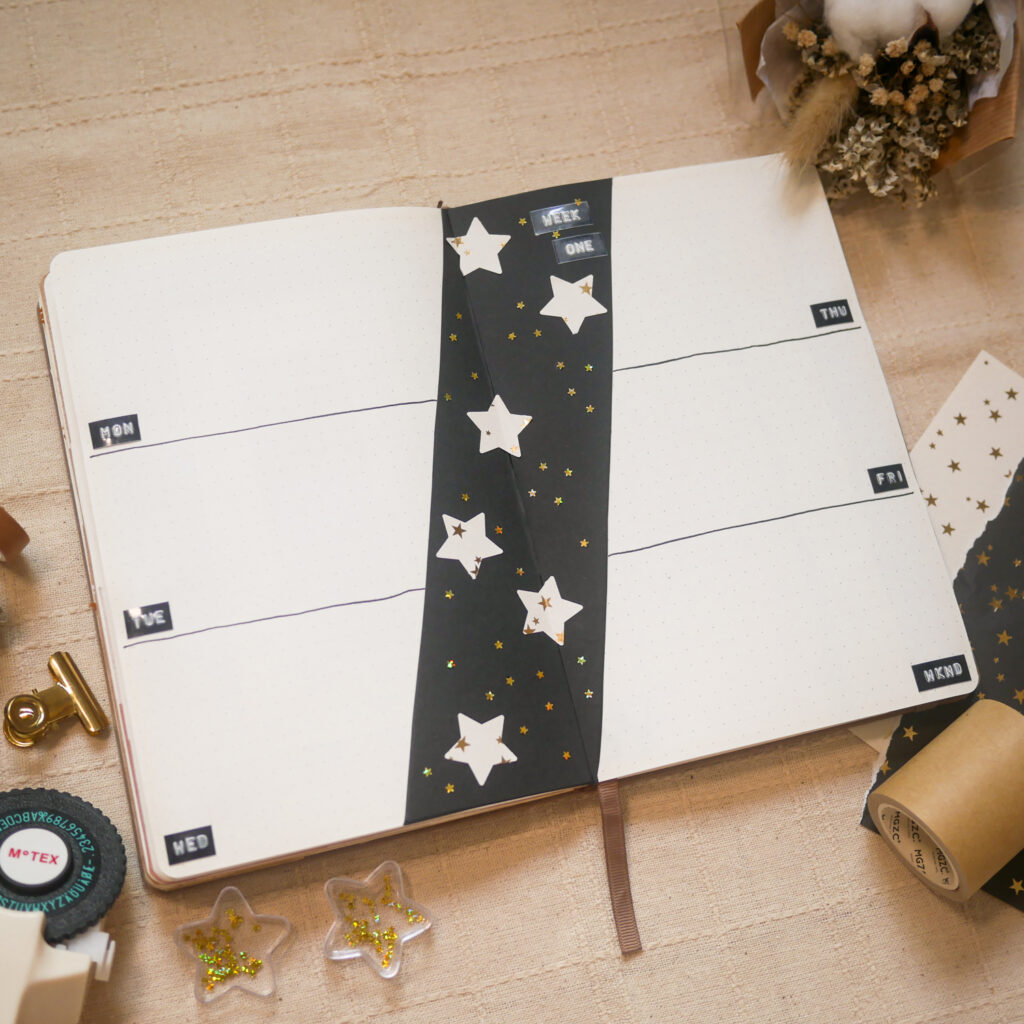
For the first week of August, I made a minimal weekly spread featuring a diagonal black panel with cream star-shaped paper cutouts and gold glitter stars. It is my first time adding a diagonal panel and I think it looks really stunning!
Instead of using a big piece of black paper, I cut two triangular strips and pasted them together. I find this method easier and more convenient. I kept the rest of the spread simple by using the label maker to make headers for each daily section.
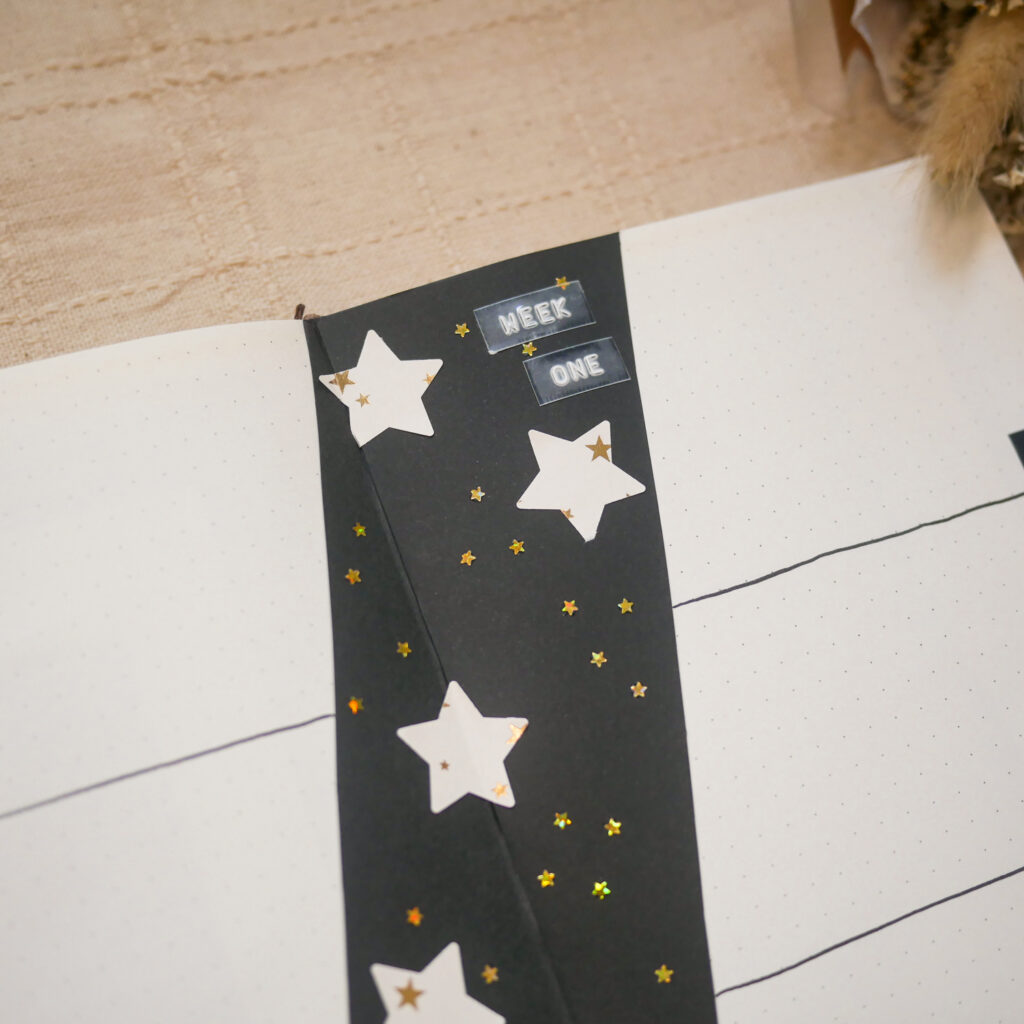
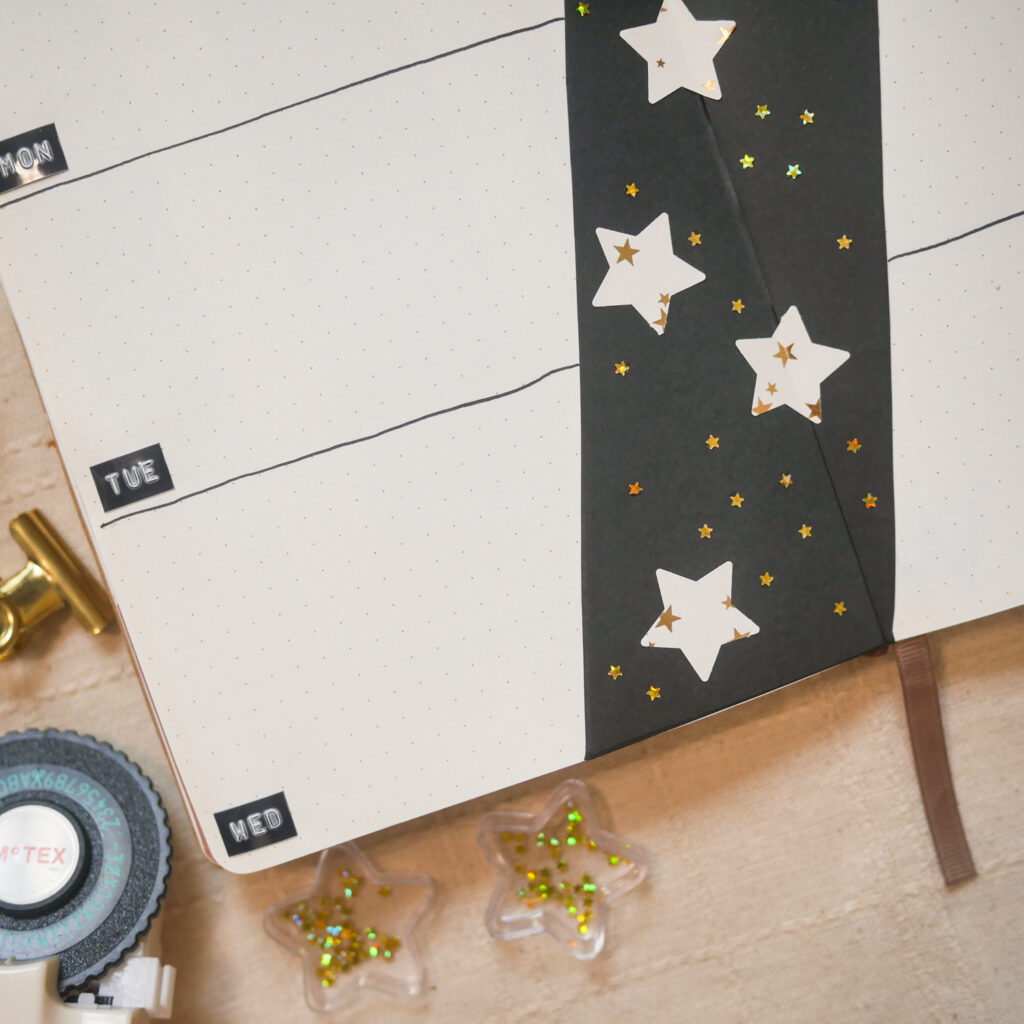
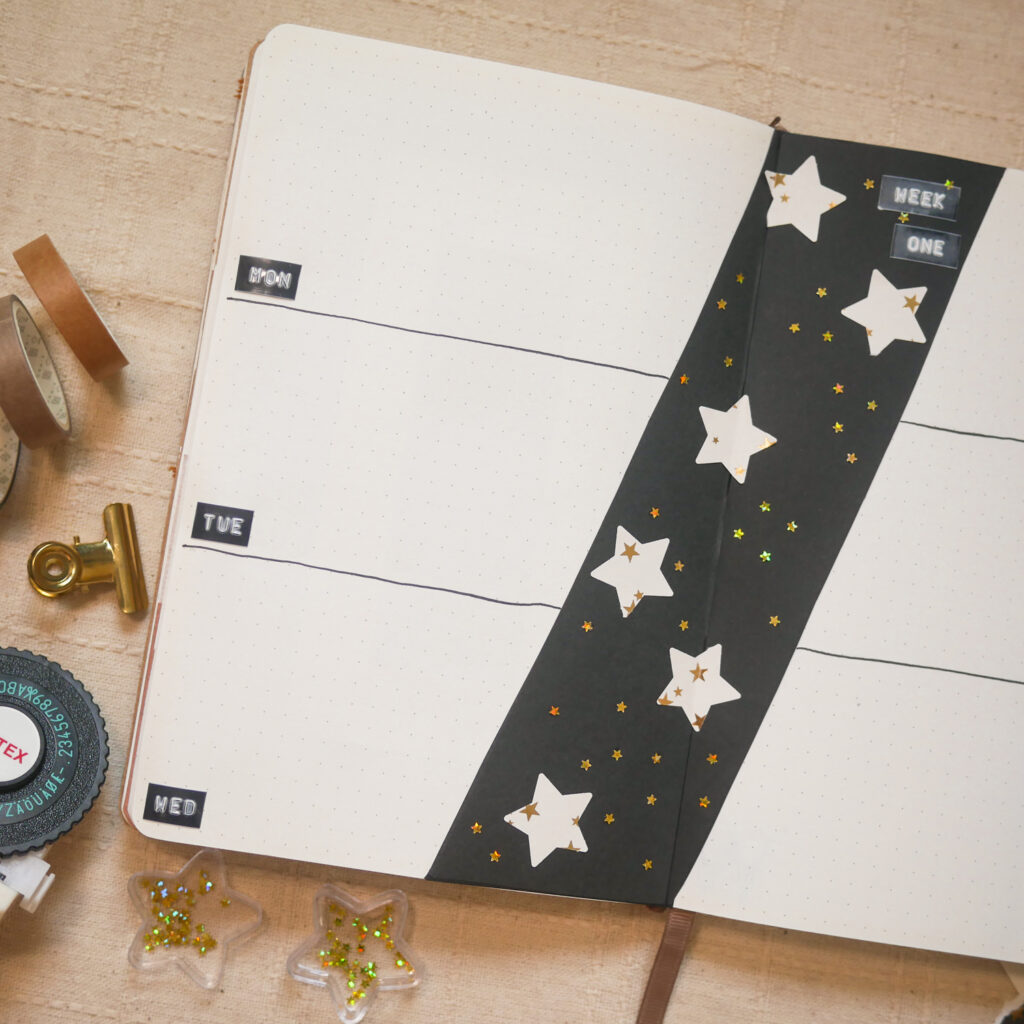
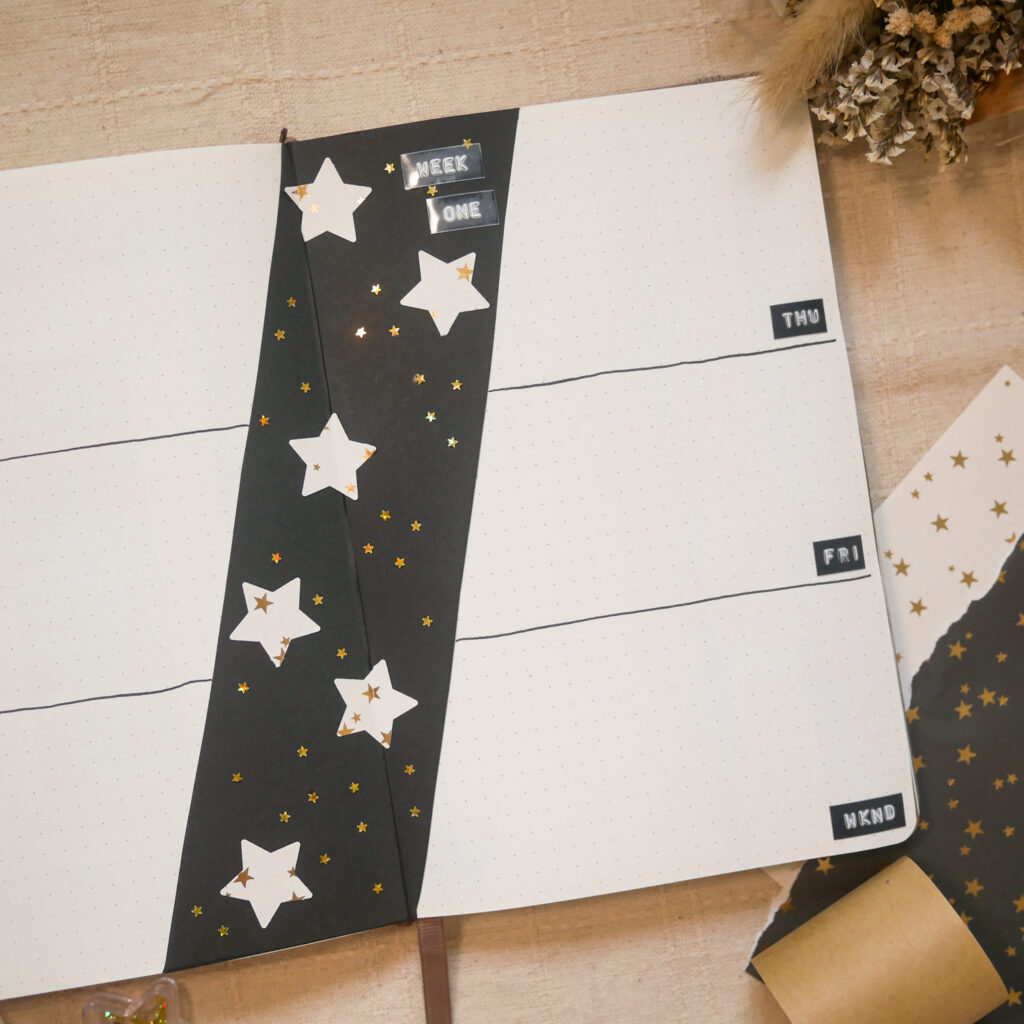
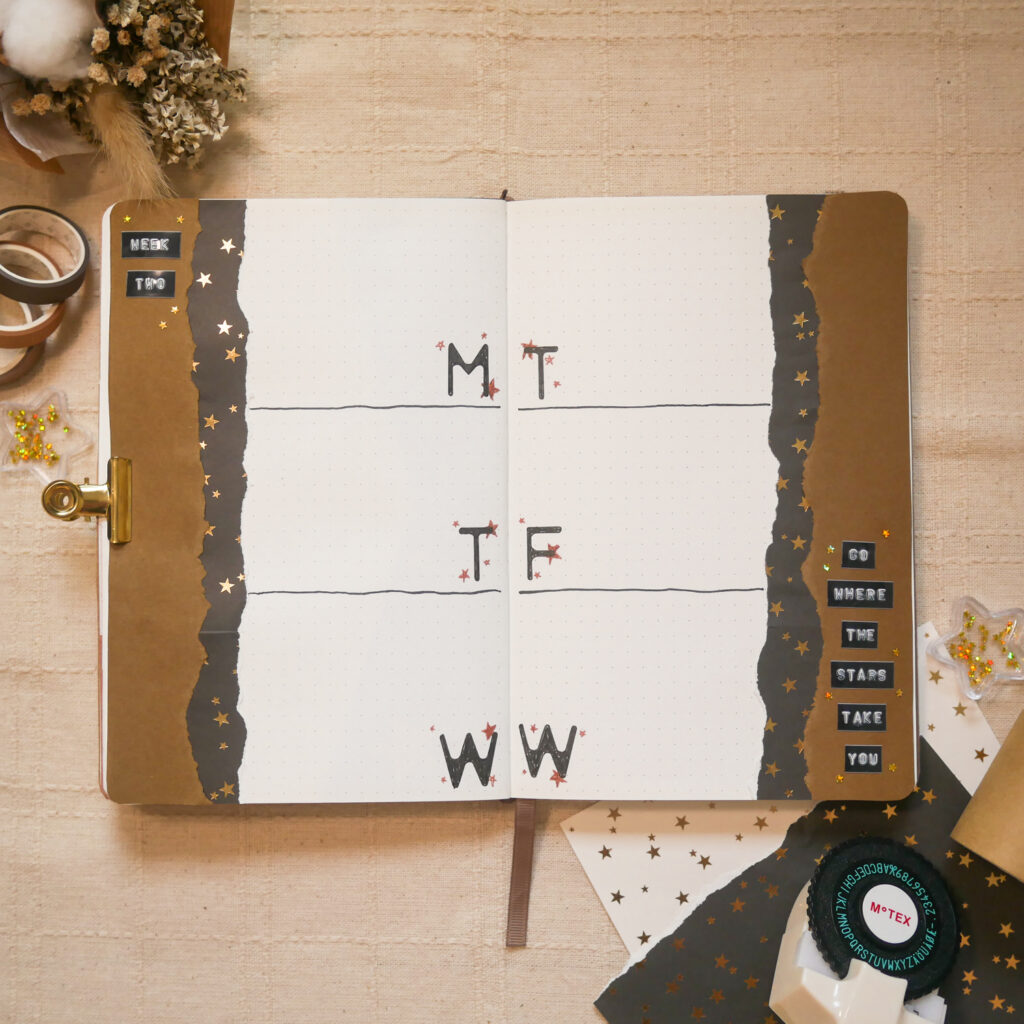
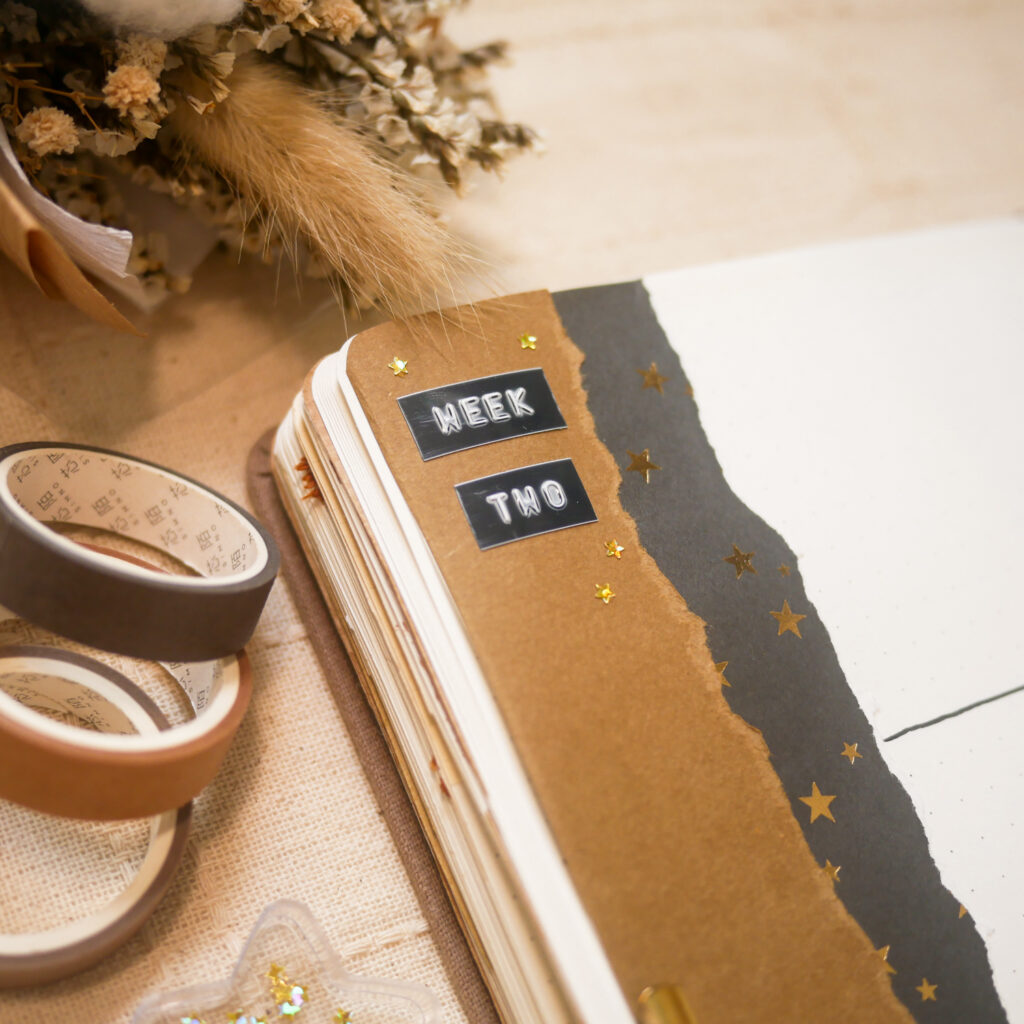
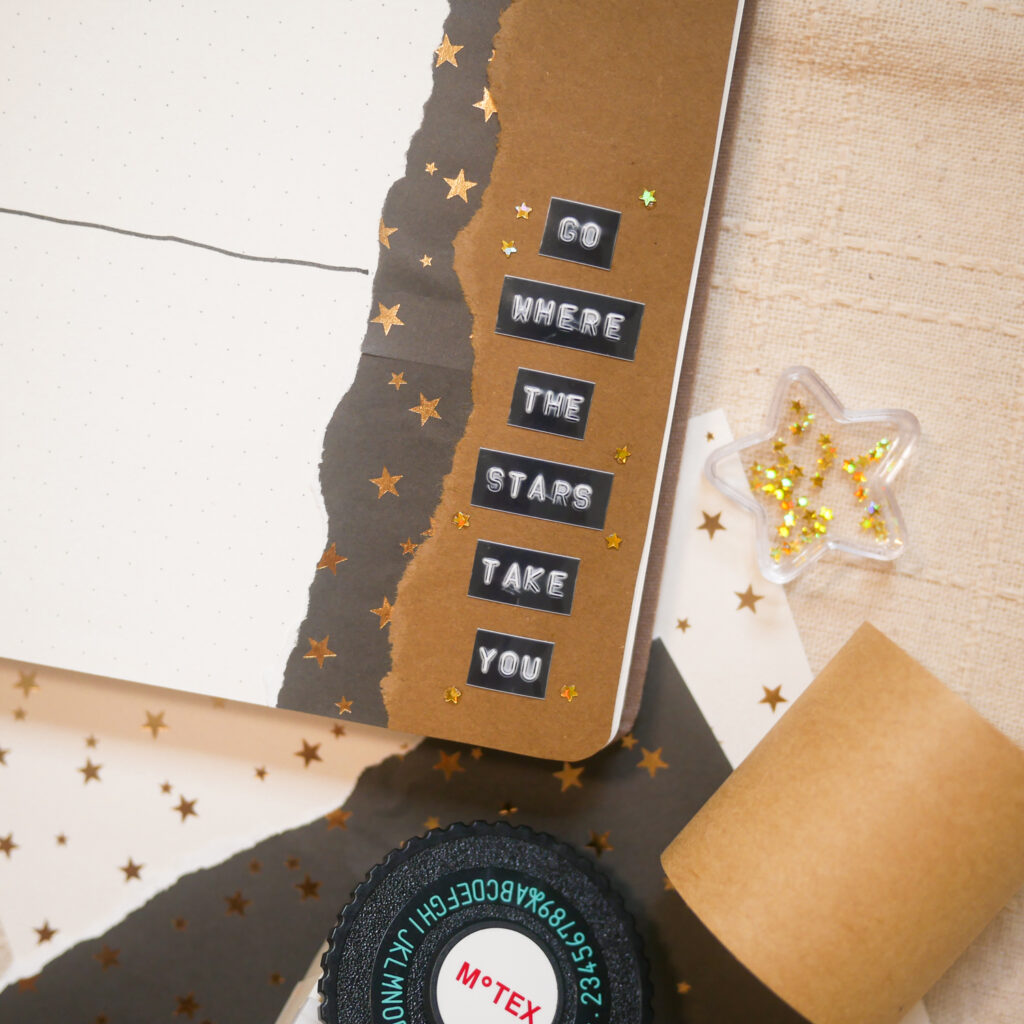
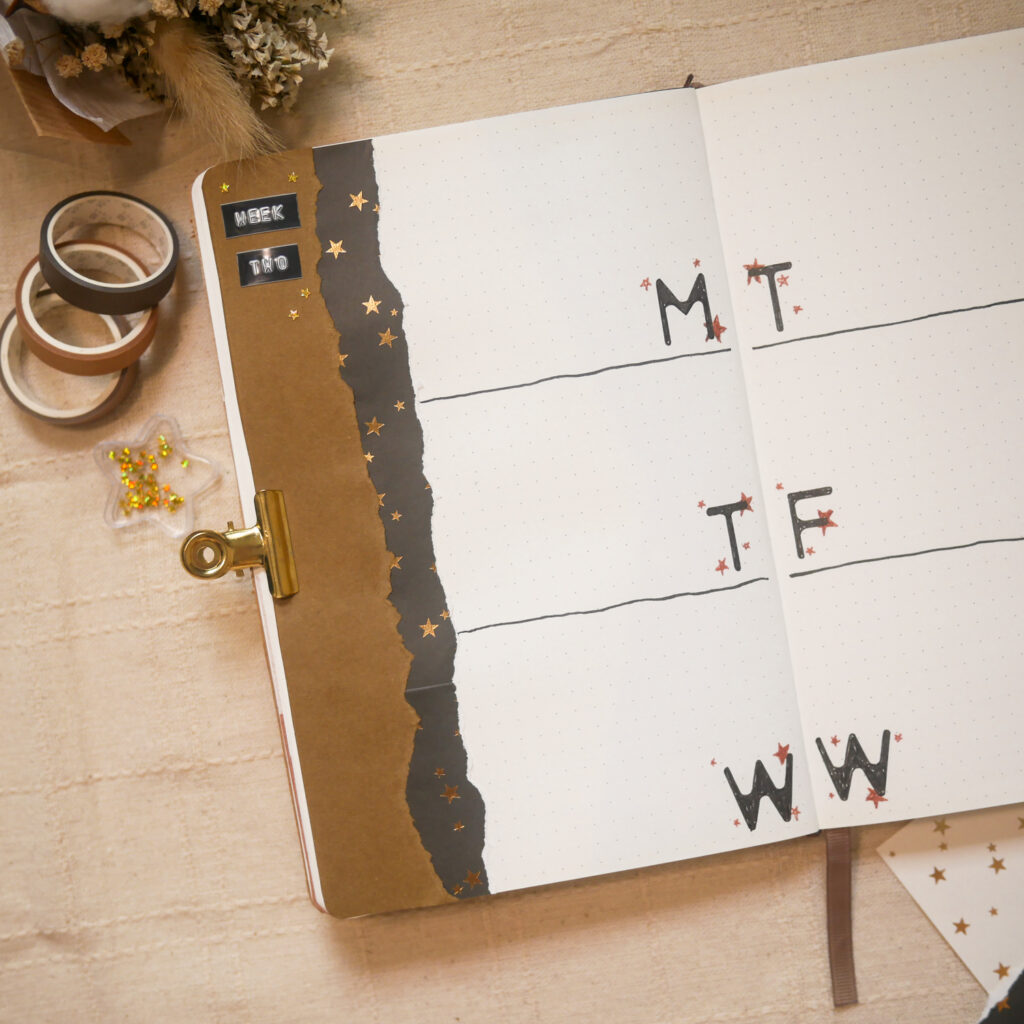
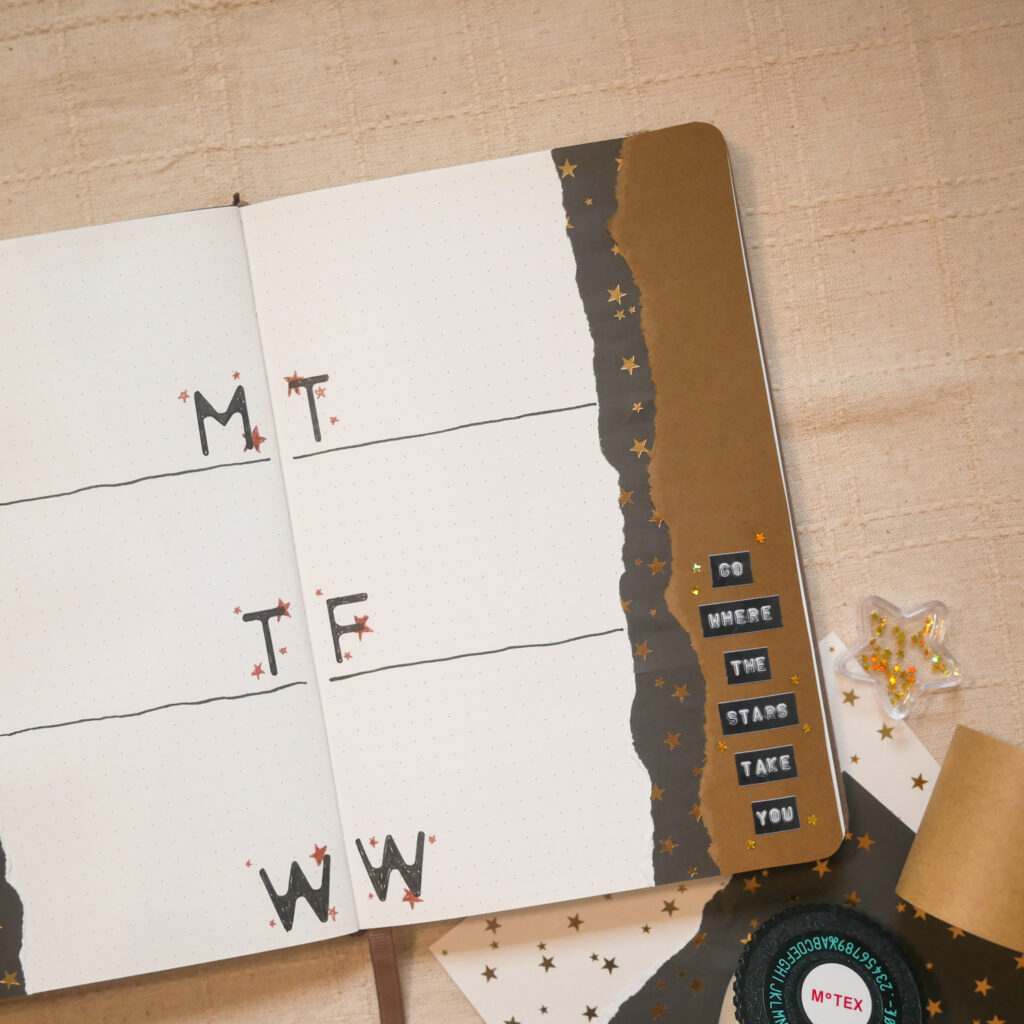
The second weekly spread is also a horizontal layout, this time with side panels instead of a diagonal one at the centre. I like how the torn edges of the gold foil papers look like the uneven textures of clouds in the sky. I wanted to use kraft paper for the sides, but I found this brown paper in my stash and decided to use it up since it was the perfect size for the spread.
To change up the headers on this spread, I used an alphabet stencil to write the letters for the daily sections, and added a few star doodles on each letter. To finish the spread, I used the label maker again for the weekly header and a quote on the right side (which is my favourite part of the spread!).
This month’s free printable makes me want to go camping underneath the stars! I stuck to a warm colour palette to evoke cosy vibes. Feel free to tag me on Instagram (@hay.studio) if you share any of your creations that contain my free printables.
To download this free journal kit, click here!
Subscribe to my YouTube channel for more bullet journal setups! Check out these videos for my setup for the previous months:
***
If you enjoyed this article, share the love with your bujo pals! To stay updated on future blog posts, subscribe here.
Related articles, videos and resources:

Disclaimer: Some of the links above are affiliate links, meaning I earn a small percentage of commission via those links, but it doesn’t cost you anything extra!
