HAY, how art you? I’ve been wanting to try journaling in a Traveler’s Notebook. The standard long notebook size looks really classy to me, and is very different from the usual A5 and A6 sizes I am accustomed to. I decided to DIY these basic dot grid and grid notebooks in the style of TN ones, while customising the inner pages and cover pages according to my preferences. If you are interested in this DIY Traveler’s Notebook craft tutorial, keep reading on!
***
Watch the video tutorial here:

Choose the type of paper you want for your notebook pages and cover. The advantage of DIY projects is you can customise the notebook to your preference! I couldn’t decide on one paper combination, so I decided to make three notebooks:
1. Kraft dot grid pages with kraft cover page
2. Cream grid pages with kraft cover page
3. White dot grid pages with cream cover page
The number of pages for each notebook depends on the thickness of the papers you have chosen, your personal preference and whether you have a big stapler to secure the notebook.

Print desired layout on both sides of the pages. I printed dot grids on kraft papers and grids on cream papers. I also tore out pages from my Rhodia dot grid paper pad for one of the notebooks. You can also opt to leave the pages blank.
You can download the A4 templates I made for dot grid, grid and lined layouts here.

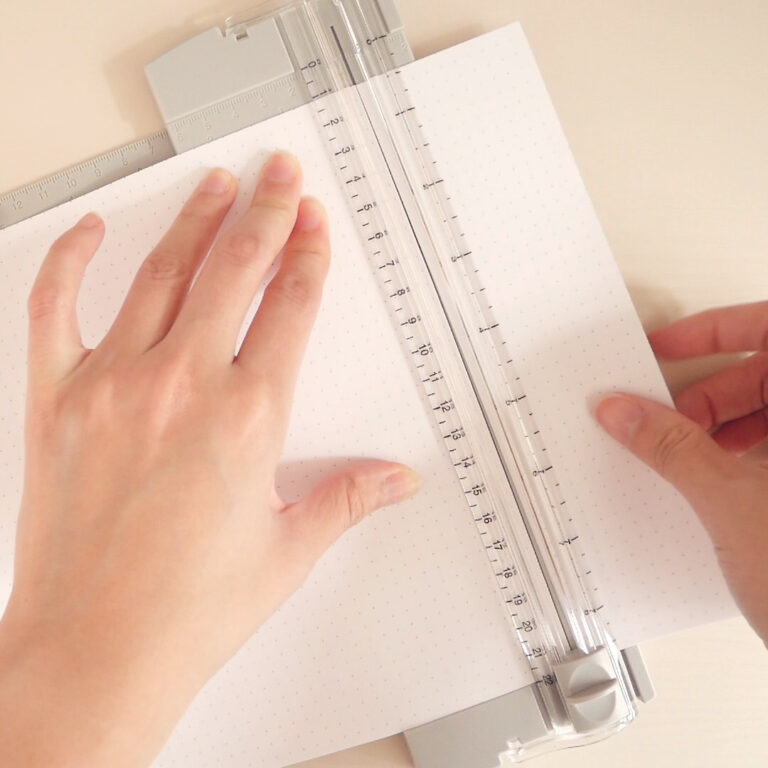
Cut the pages to size. With the papers in landscape orientation, trim them to a width of 22 cm. Leave the length as it is (which is about 21 cm).

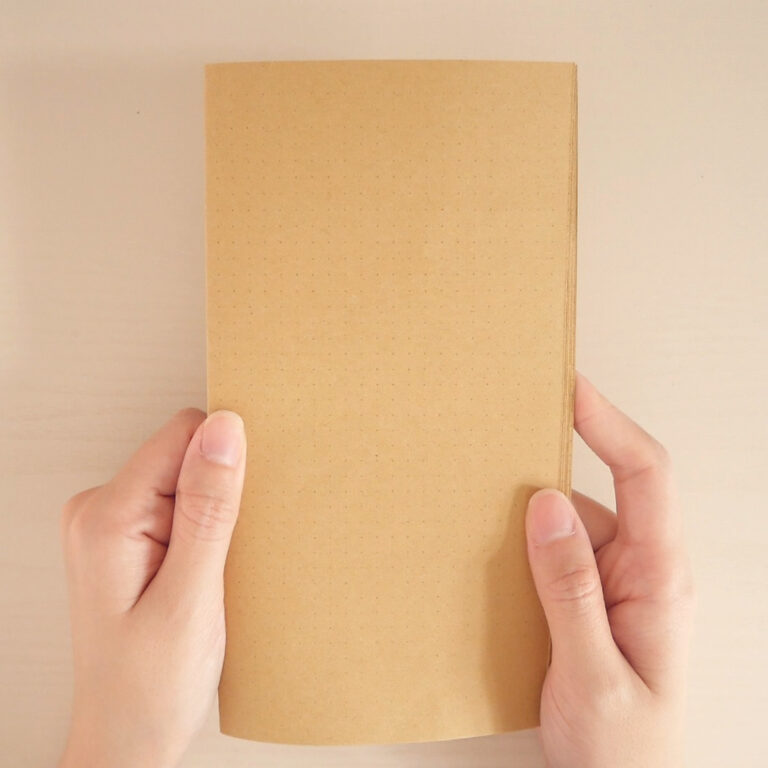
Fold the pages into half. Ensure that you are folding the right way so that the pages end up with a measurement of 21 cm (length) by 11 cm (width). Slot the pages into each other to form a booklet.

With the cover page in landscape orientation, cut the cardstock to a width of 22.5 cm and leave the length as it is. I found that this measurement is perfect for covering the inner pages nicely without too much surplus.
You can also opt to trim the edges of the notebook evenly, but I realised that it is a challenging task without a good paper cutter.

Fold the cardstock into half. Again, ensure that you fold it in the correct orientation. Place the pages inside the cover page.

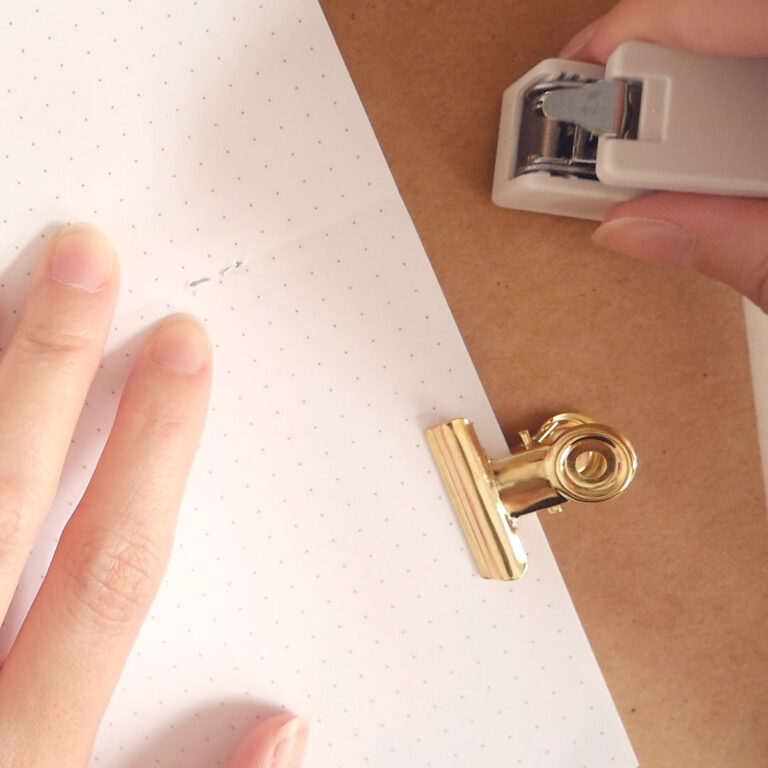
Open the pages and lay them flat. Secure the cover and pages together using binder clips. Use a sharp object like a needle or compass to make four holes at the centre of the pages, 3 cm from the top and bottom. These holes are for the staples so ensure that they are spaced according to the measurement of your staples.

Pry the staples apart until the sharp ends are unfolded. Fit the staples into the holes on the notebook, and then flatten the sharp ends using the back of your stapler. Close the notebook and the DIY project is completed!


Subscribe to my YouTube channel for more DIY and craft content! Check out these videos for some inspiration:
***
I hope you enjoyed this DIY Traveler’s Notebook tutorial. Have fun making your own customised notebooks!
If you enjoyed this article, share the love with your DIY pals! To stay updated on future blog posts, subscribe here.
Related articles, videos and resources:

Disclaimer: Some of the links above are affiliate links, meaning I earn a small percentage of commission via those links, but it doesn’t cost you anything extra!
