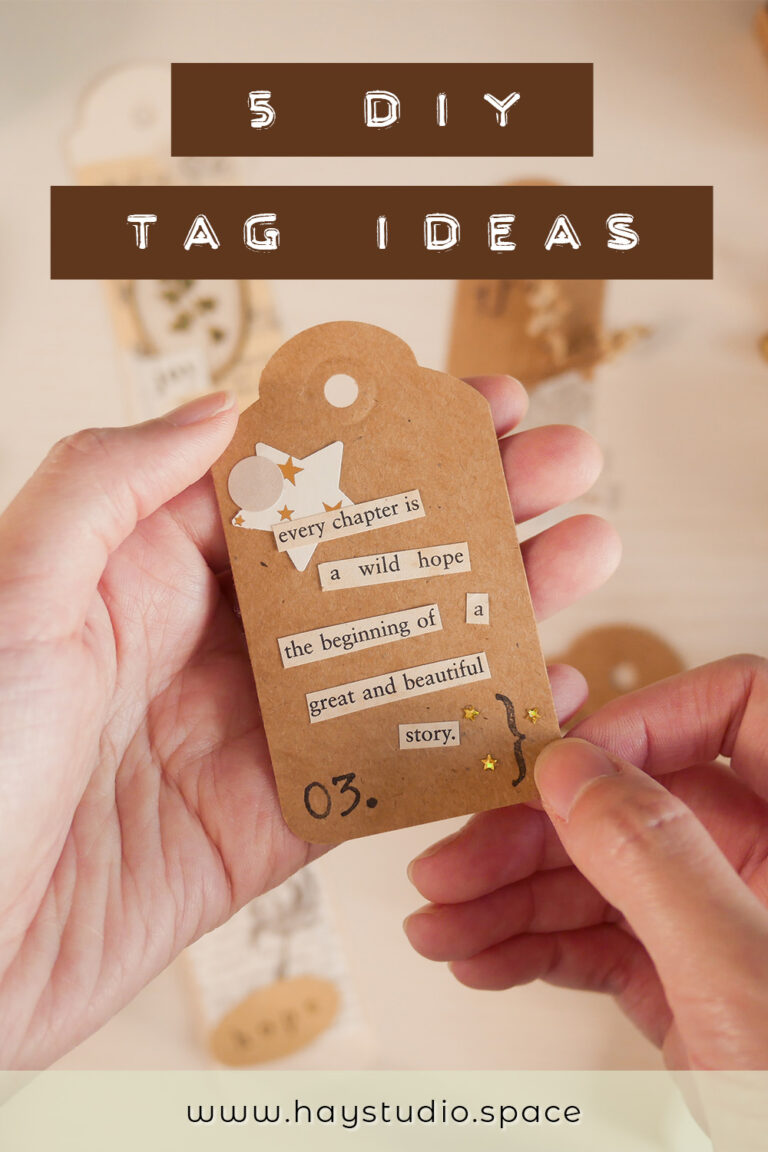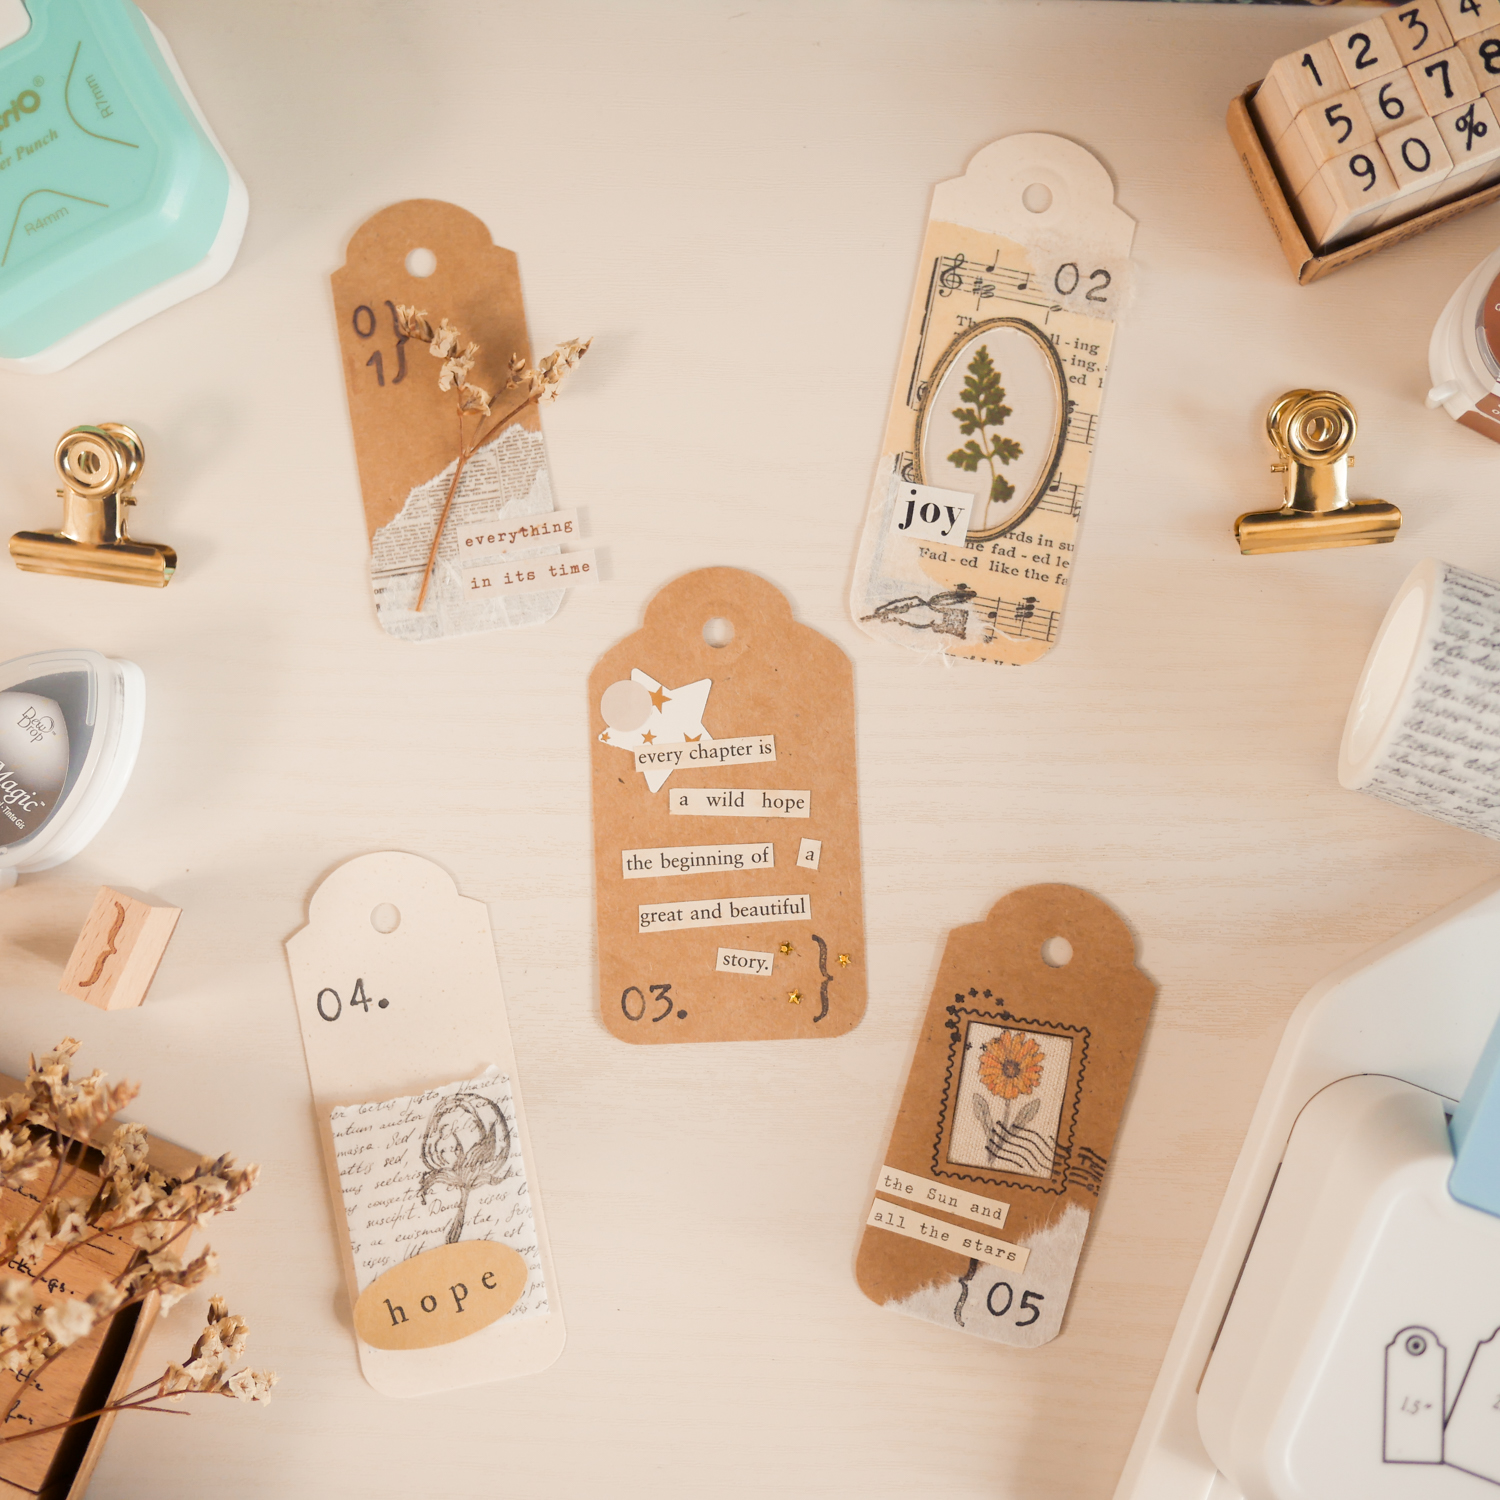
HAY, how art you? It’s been a while since I embarked on any DIY projects. Recently, I received some stationery from Paperwrld, including a tag punching machine. I was inspired to make some DIY decorative tags with the help of this handy tool. If you’re interested in making your own, keep scrolling for the DIY tag ideas!
***
Check out the following video to watch the DIY process video!
Here is a list of supplies I used to make the DIY tags:
The tag punching machine works like any regular puncher. To start, prepare strips of paper that you would like to use for the tags. The puncher I used can create tags of three different widths – 1.5 inches, 2 inches and 2.5 inches. Then, simply insert the paper and press down to punch. I flipped the puncher over to check if the paper is inserted properly before punching.
The tag puncher that I got creates a rounded top and a 6mm hole for attaching ribbons or strings. The length of the tag depends on how long the paper strip I used is. I tried it out on kraft paper card stock that is 200 gsm thick, and the blade had no issue producing a clean cut!
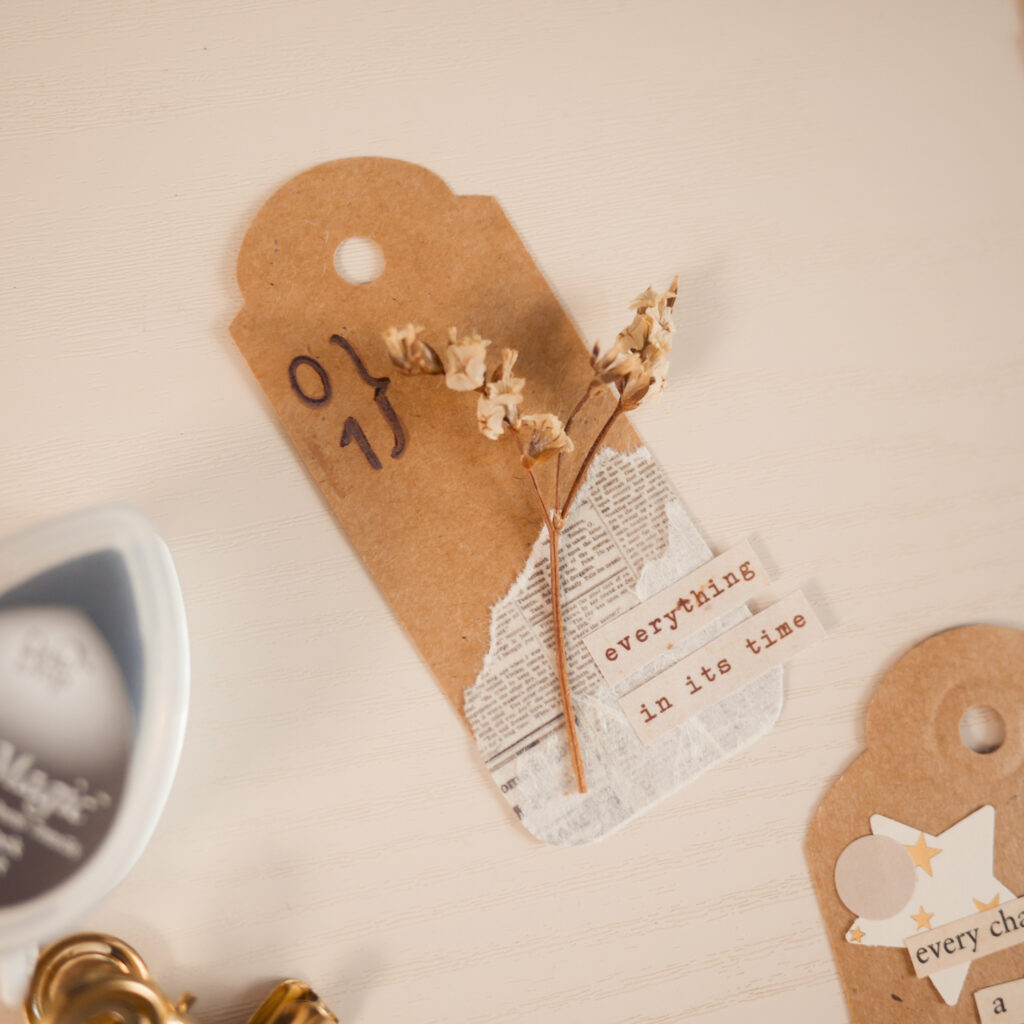
The first DIY tag idea features a little dried flower at the centre. Before attaching it with craft glue, I pasted printed and textured papers at the bottom corner to create some layers. I also stamped on numbers on each tag to serve as additional decoration.
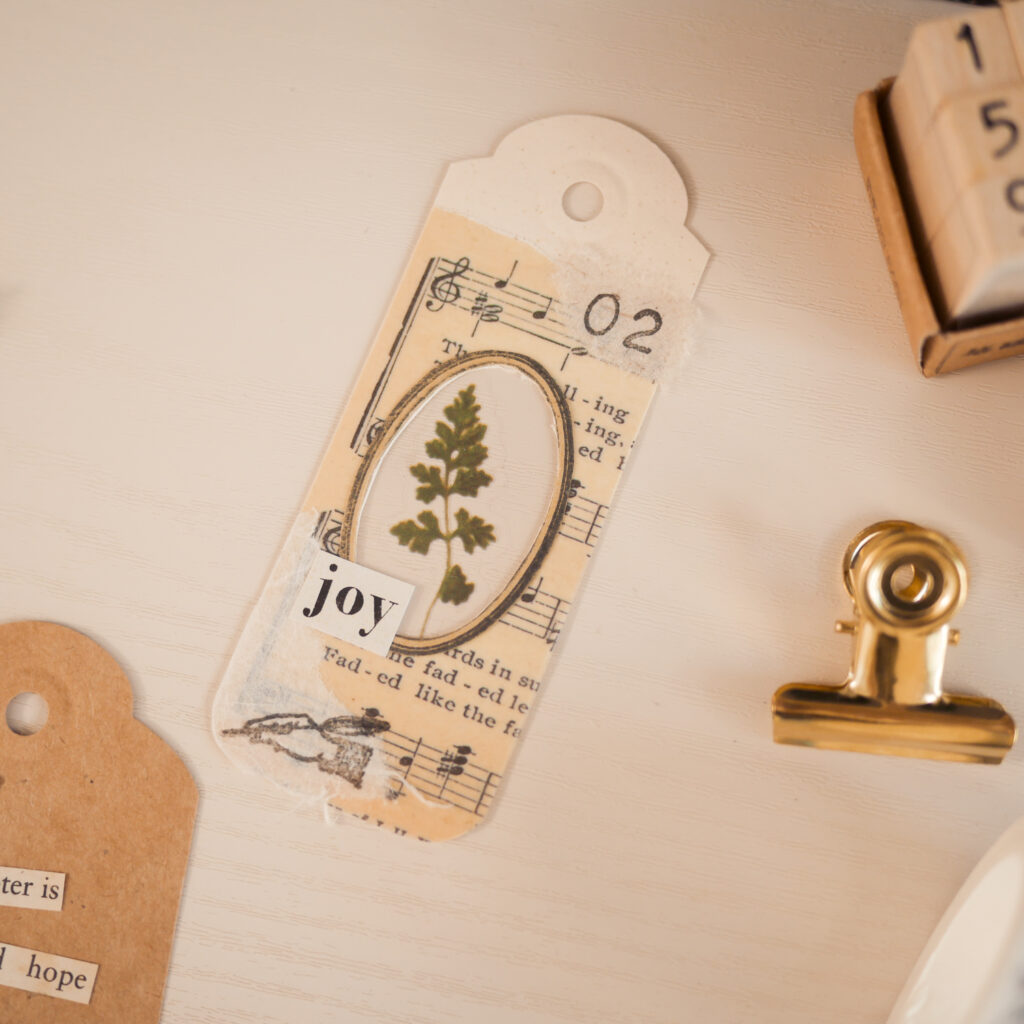
The second DIY tag idea features a see-through oval window right in the middle of the tag. A piece of music score vellum paper was layered to add a patterned background to the tag. Then, I cut away the oval shape with a cutter, and pasted a transparent film and leaf sticker at the back of the tag. It takes a little effort to cut the window away, but I really love the visual effect of it! To finish off, I added a few other decorations.
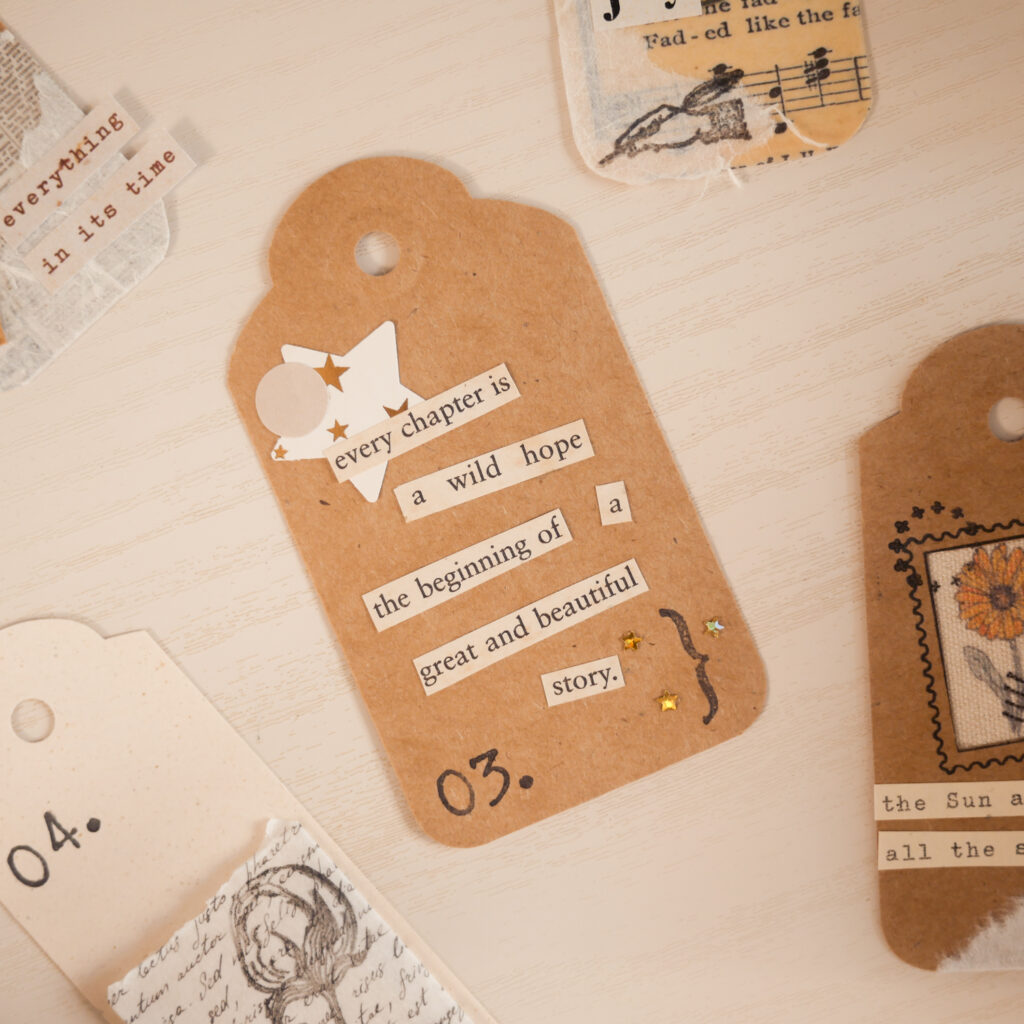
The third tag was pretty simple to make! I cut out some words and phrases from a thrifted book page and assembled them together to form a new sentence. The rest of the decoration was kept minimal with a star-printed paper, stamps and gold glitter stars.

The fourth tag looks simple, elegant, and I love its functionality! At the centre is a mini pocket made from vellum paper and decorated with washi tape. Small paper scraps can be kept in the pocket for the next journaling session. However, I wish I had made this for a wider tag as the pocket was really mini and a struggle to make!
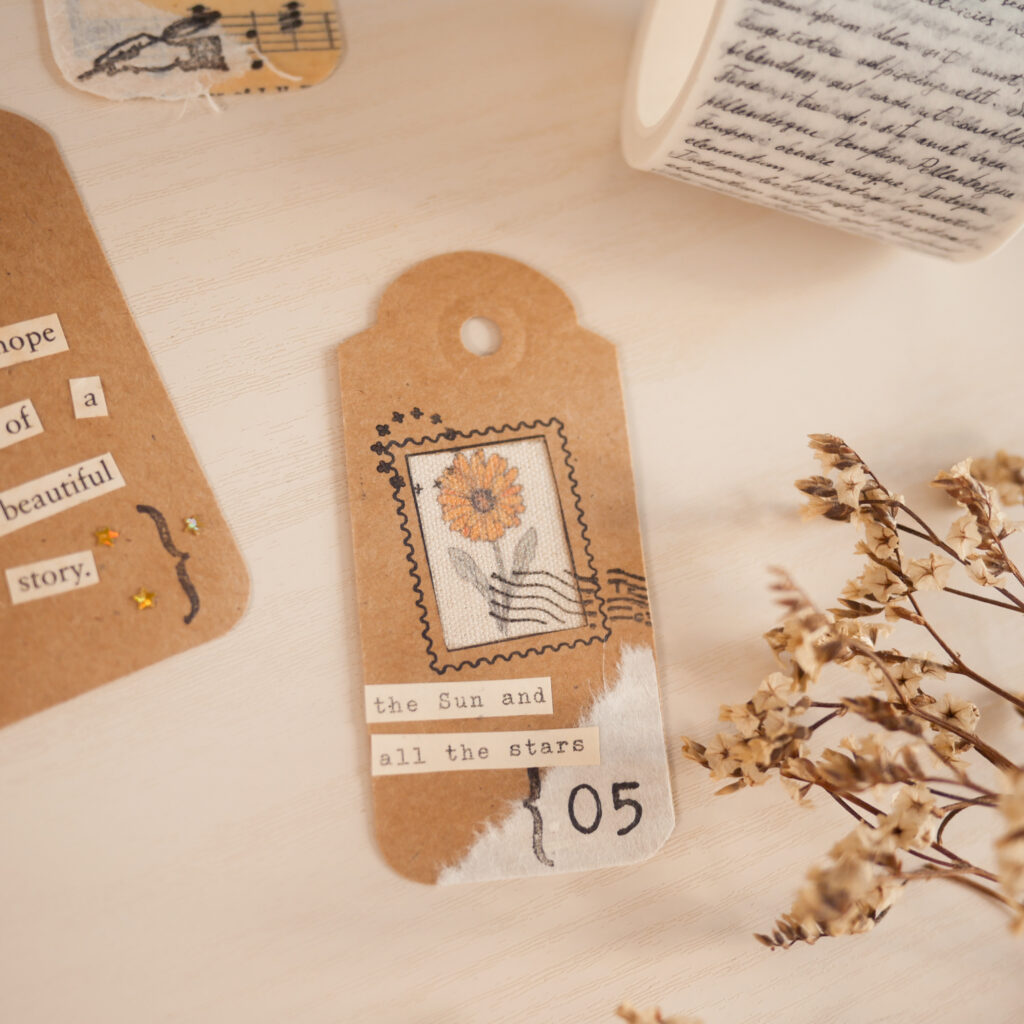
The fifth and final tag idea is similar to the second tag. This time, instead of a see-through window, I layered a piece of canvas flower-print cloth at the back of the tag. You can always switch it up and use stickers, textured papers or just add a simple doodle.
If you are interested in getting the tag puncher or any journaling stationery and supplies from Paperwrld, feel free to use my affiliate code haystudio15 to get 15% off your purchase!
Subscribe to my YouTube channel for more DIY project ideas! Check out these videos for some inspiration:
***
If you enjoyed this article, share the love with your creative pals! To stay updated on future blog posts, subscribe here.
Related articles, videos and resources:

Disclaimer: Some of the links above are affiliate links, meaning I earn a small percentage of commission via those links, but it doesn’t cost you anything extra!
