DIY Framed Art Ideas (Surprisingly Simple & Aesthetic Room Decor!)

HAY, how art you? I love the DIY process of making something by hand and personalising it. Room decoration does not have to be expensive nor complicated. A simple framed art piece can add a personal touch to your room decoration and showcase your personality and mood. In this article, I will be detailing the steps for creating two types of framed art using basic scrapbooking materials. Read on to find out more about the DIY framed art ideas!
***
Watch the video process
If you are more of a visual person, watch the video below for the full process and demonstration:
Framed Art DIY Idea 1: Washi Tape Line Art
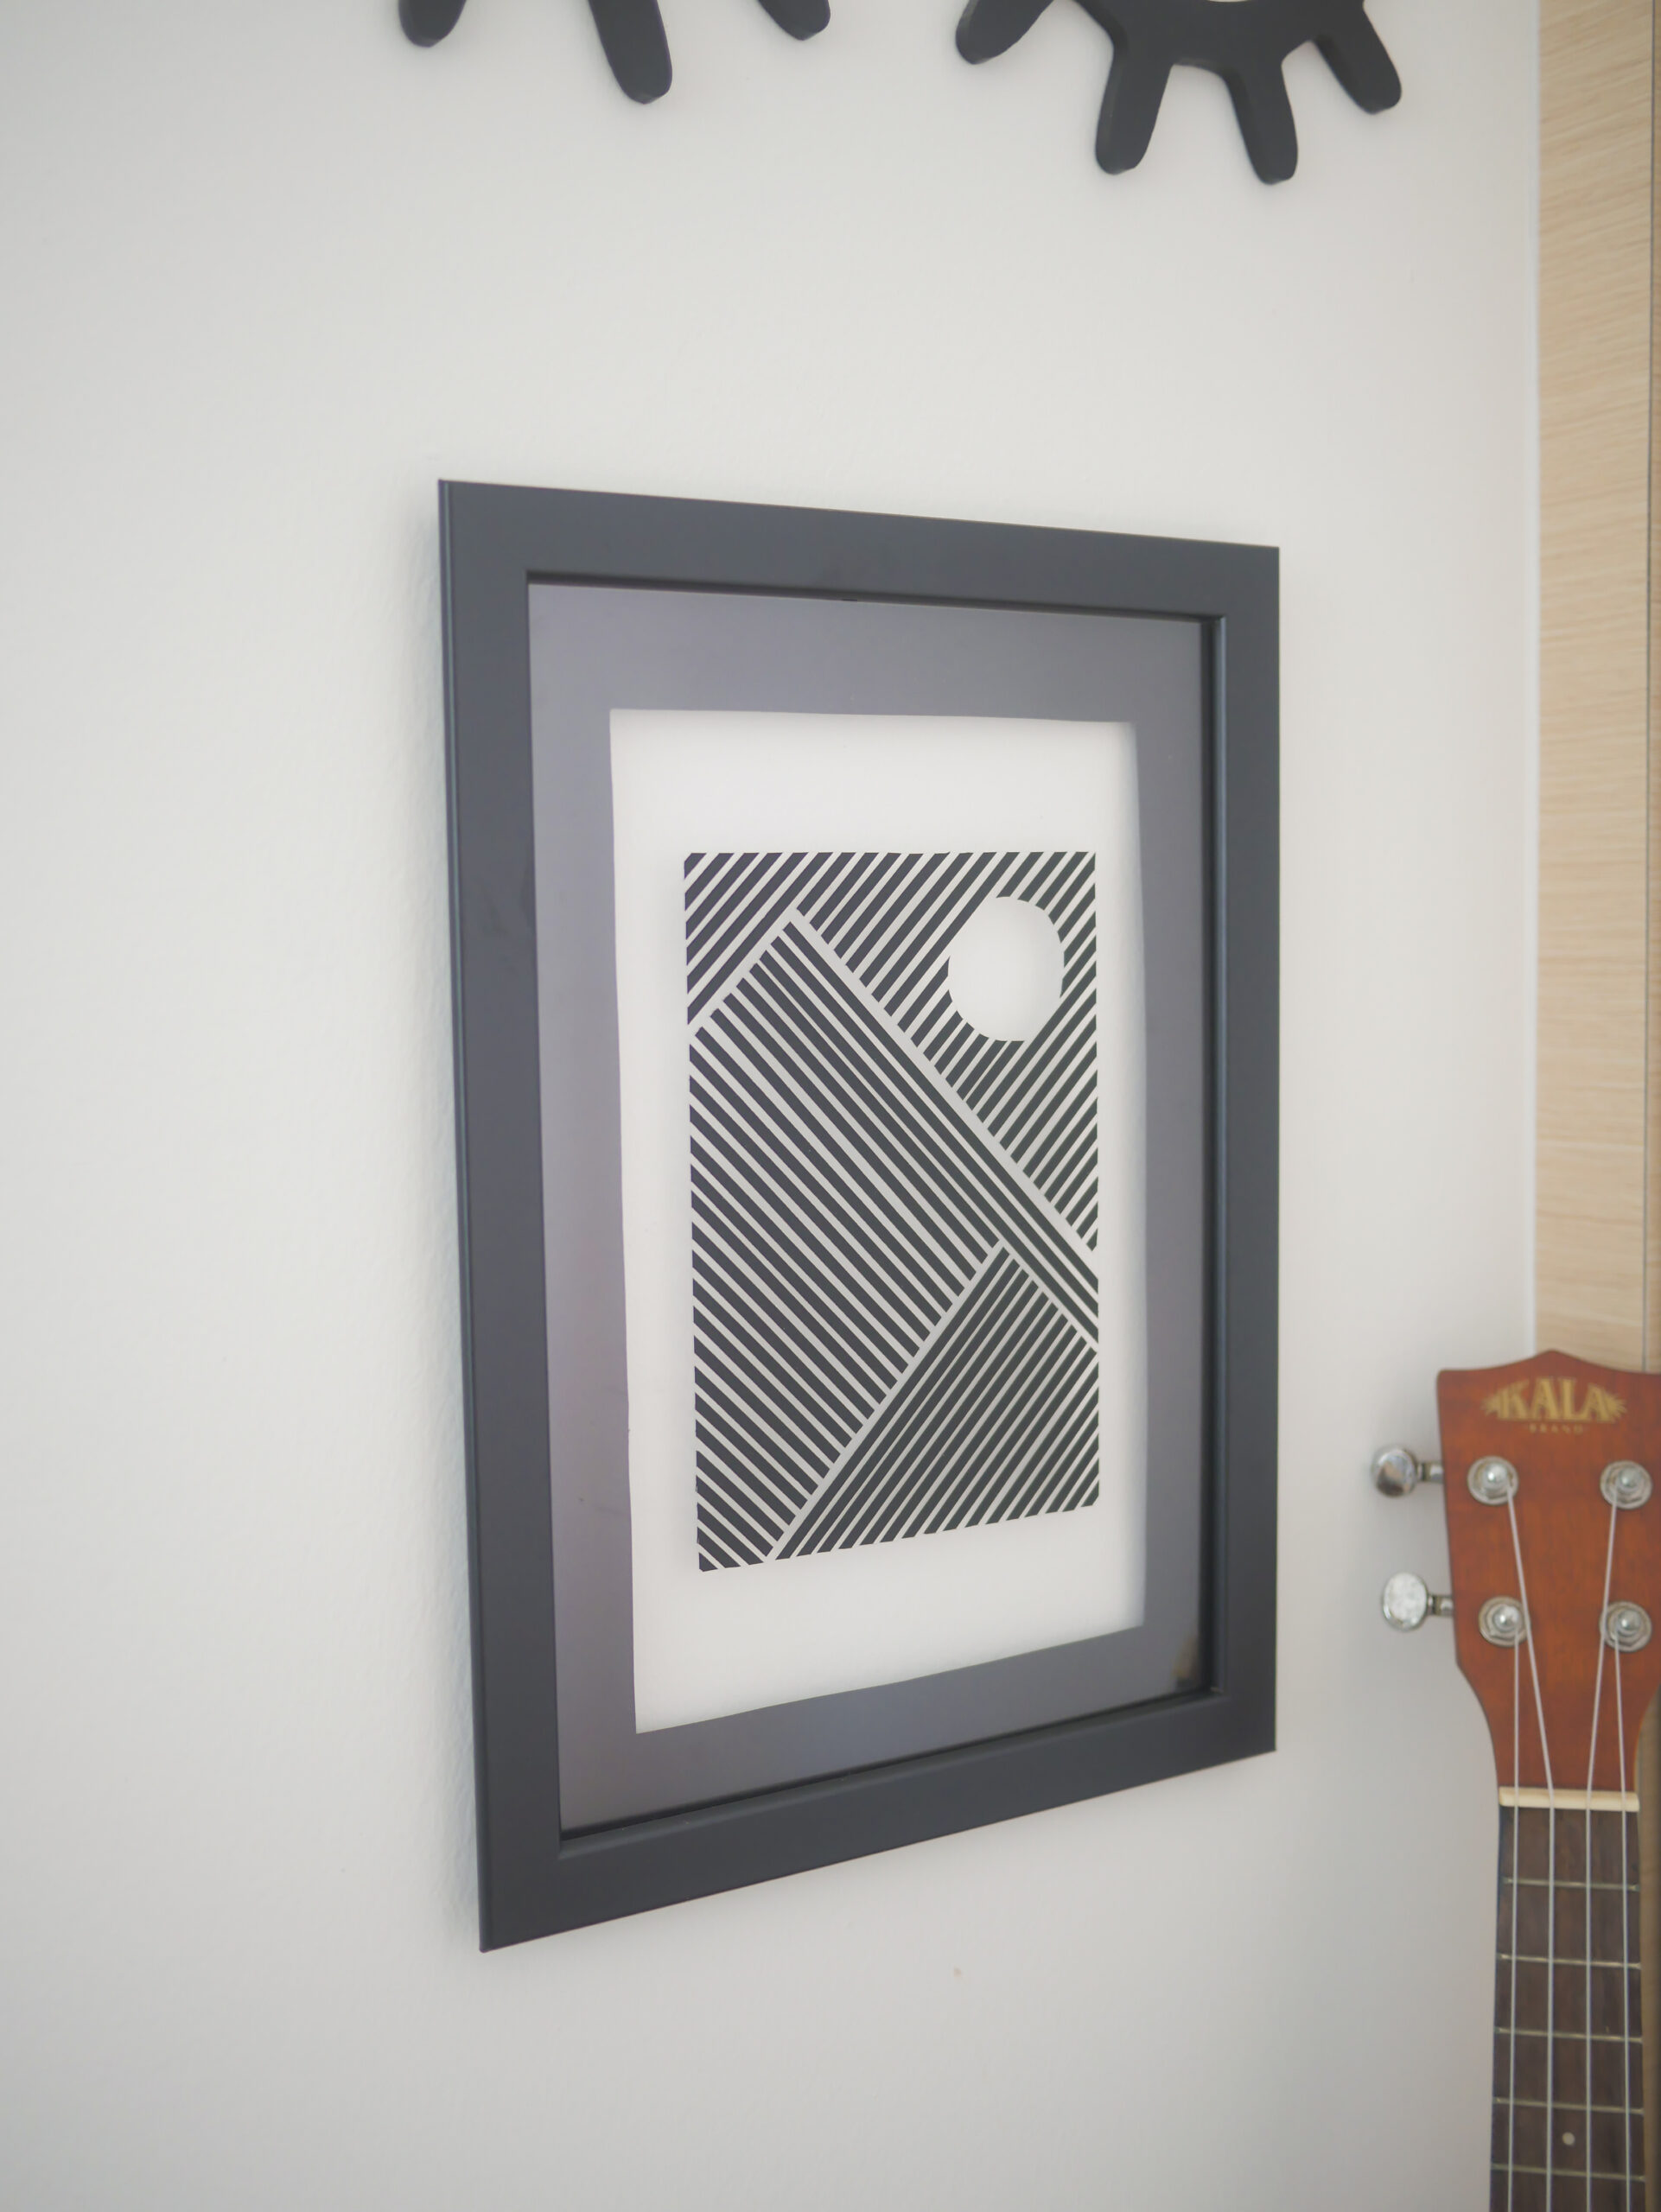
The first DIY idea is using washi tape to create a line art picture in the frame.
Materials used:
1) IKEA FISKBO frame 21 x 30cm
2) MT Slim 3mm black washi tape
4) Black card paper
5) X-acto knife
6) Vellum paper
Procedure:
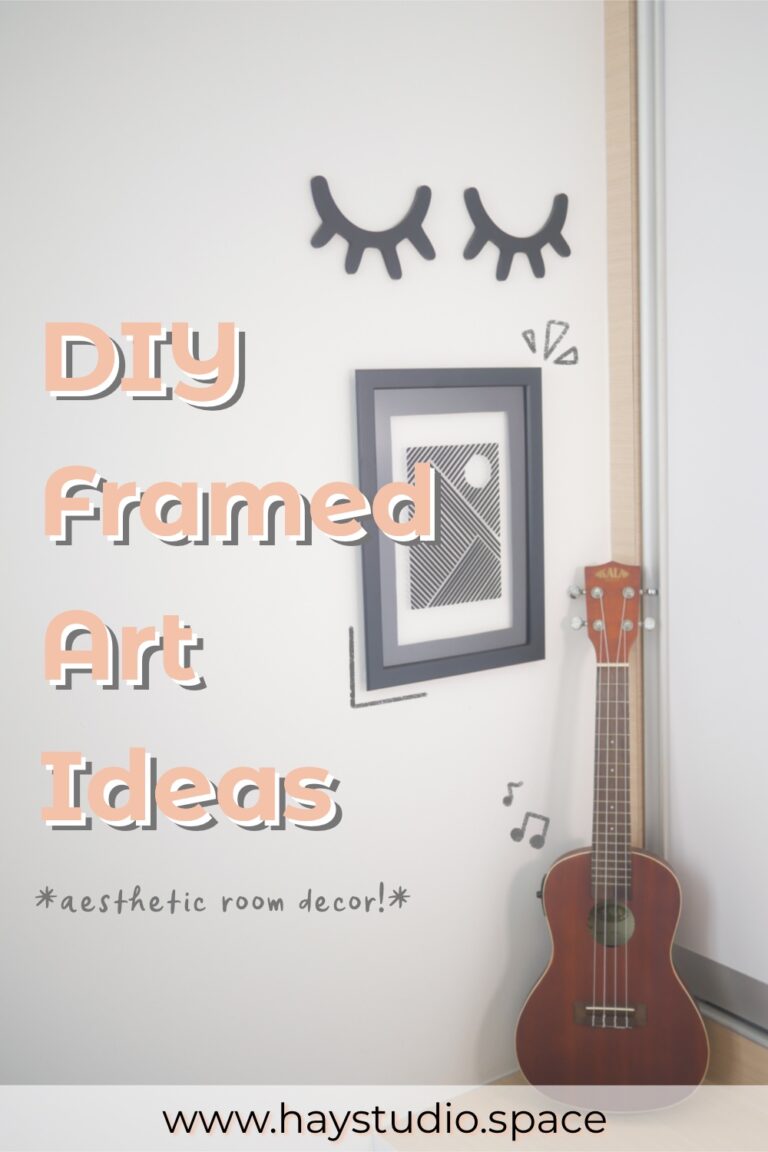
1) Pick a design: conceptualise your own line art picture idea, or find a reference image from Pinterest. I found a line art picture of mountains and a sun from Pinterest, resized it to the size I wanted, and printed it on A4 paper.
2) Remove the glass layer from the frame.
3) With the reference picture under the glass, secure them on the table using painter’s tape.
4) Depending on your design, demarcate the edges of the design using painter’s tape as well. The boundaries will help you create straight edges for the design later!
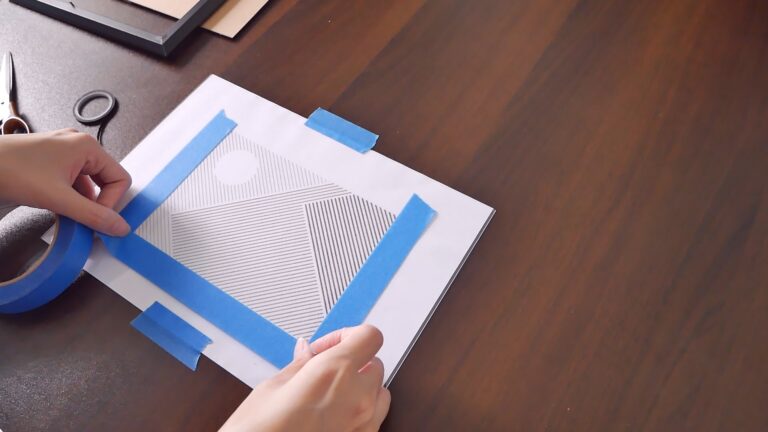
5) Follow the reference picture and start pasting strips of washi tape accordingly.
6) For the design I chose, I kept the strips parallel and evenly spaced.

7) Keep pasting washi tapes until you complete the design. You may need to separate the design into sections.
8) Use an x-acto knife to cut along the painter’s tape to achieve a straight edge.

9) If you have an irregular shape in your chosen design like a circle, trace it on vellum paper and use it to mask out the area.
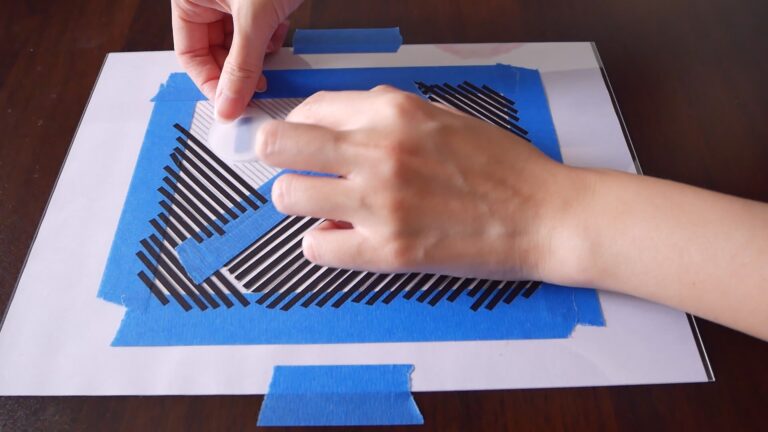
10) Once you have finished pasting washi tapes for the entire design, cut along all the painter’s tape strips.

11) Remove all the painter’s tape strips.
12) Depending on your frame, the metal placeholders at the back of the frame might be visible (see the following photo).

13) To hide them, cut a border of your desired width on black paper. I cut a 2.5cm wide border and placed it behind the glass layer. The framed art is then completed!

The Completed Framed Art DIY


framed art diy idea 2: Dried Flower Collage

The second DIY idea is creating a dried flower collage in a frame.
Materials used:
1) IKEA HOVSTA frame (birch effect) 13 x 18cm
3) Textured papers (Daiso)
4) Washi tapes
5) Vellum paper
6) Wooden stamps
7) Ribbons
Procedure:
1) Remove the glass layer and white frame border from the frame.
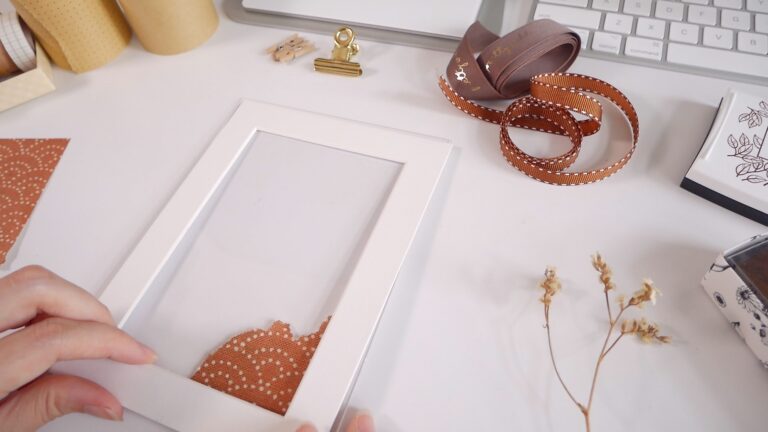
2) Decorate the collage according to your preferences. Get creative with a variety of textures and stationery like washi tapes, papers, ribbons, stamps, etc.
3) Use washi tape to secure everything so that they can be easily removed.

4) Attach the dried flower in the centre or as you desire.

5) Once you are satisfied with the final look of the collage, place the glass and border back into the frame and the DIY will be completed!
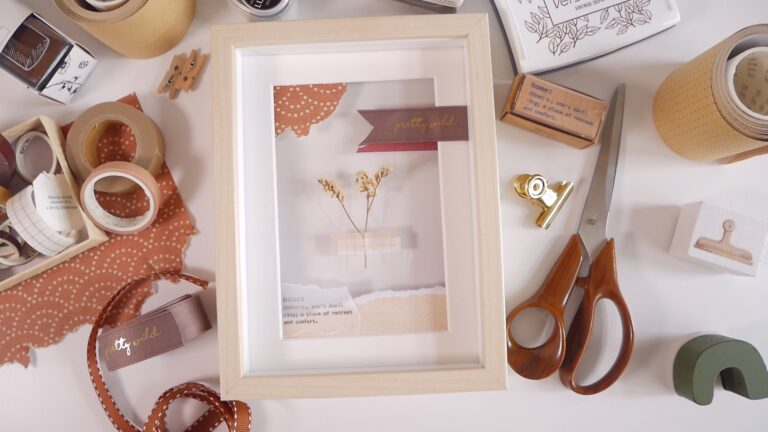
The Completed Framed Art DIY


***
If you enjoyed this article, share the love with your DIY pals! To stay updated on future blog posts, subscribe here.
Related articles, videos and resources:
1. Article – 10 Creative Washi Tape Art Projects You Can DIY
2. Article – How to Make Air Dry Clay Earrings (A 10-Step DIY Tutorial)
3. Video – Ikea home decor hacks (simple DIYs)

Disclaimer: Some of the links above are affiliate links, meaning I earn a small percentage of commission via those links, but it doesn’t cost you anything extra!
Enjoyed this post? Spread the joy!
☆ Pin this image to help this article reach more people. ☆
