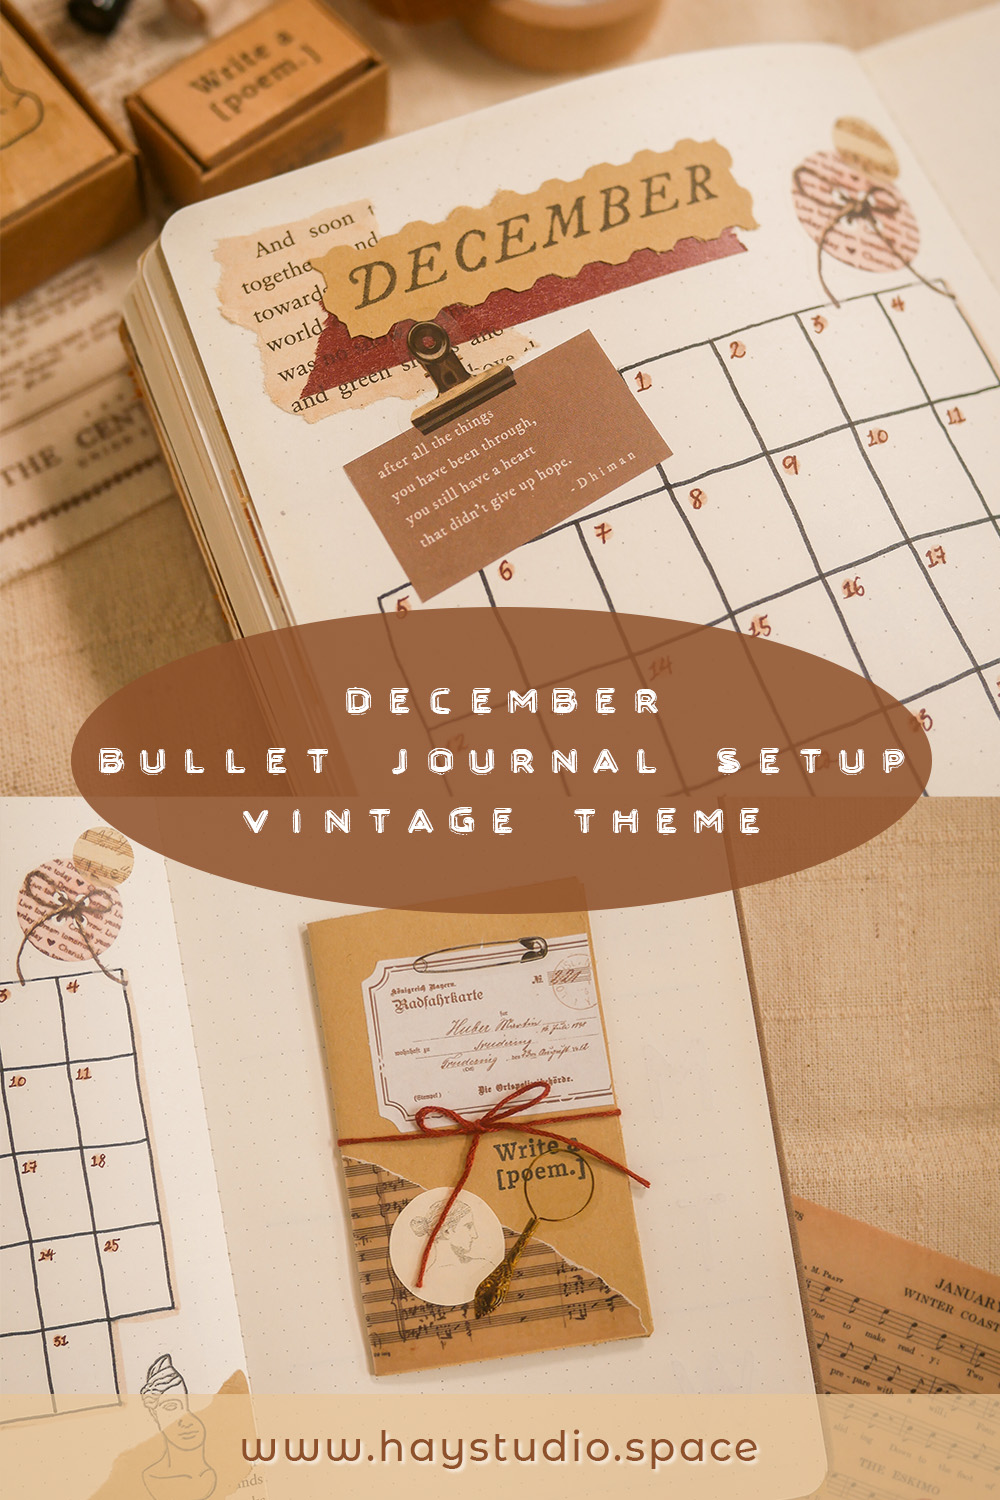
HAY, how art you? It’s finally December and we have come to the last bullet journal setup for the year. I wanted to go for a cosy vintage library/books theme, but I somehow ended up adding a mishmash of vintage elements to the spreads. I also added a touch of maroon for a tinge of Christmas vibes. If you are interested to see more of my December bullet journal setup, then keep scrolling!
***
Check out the following video to watch the setup process and plan with me!
What I used this month:
You can use my affiliate codes to purchase stationery at the following stores:
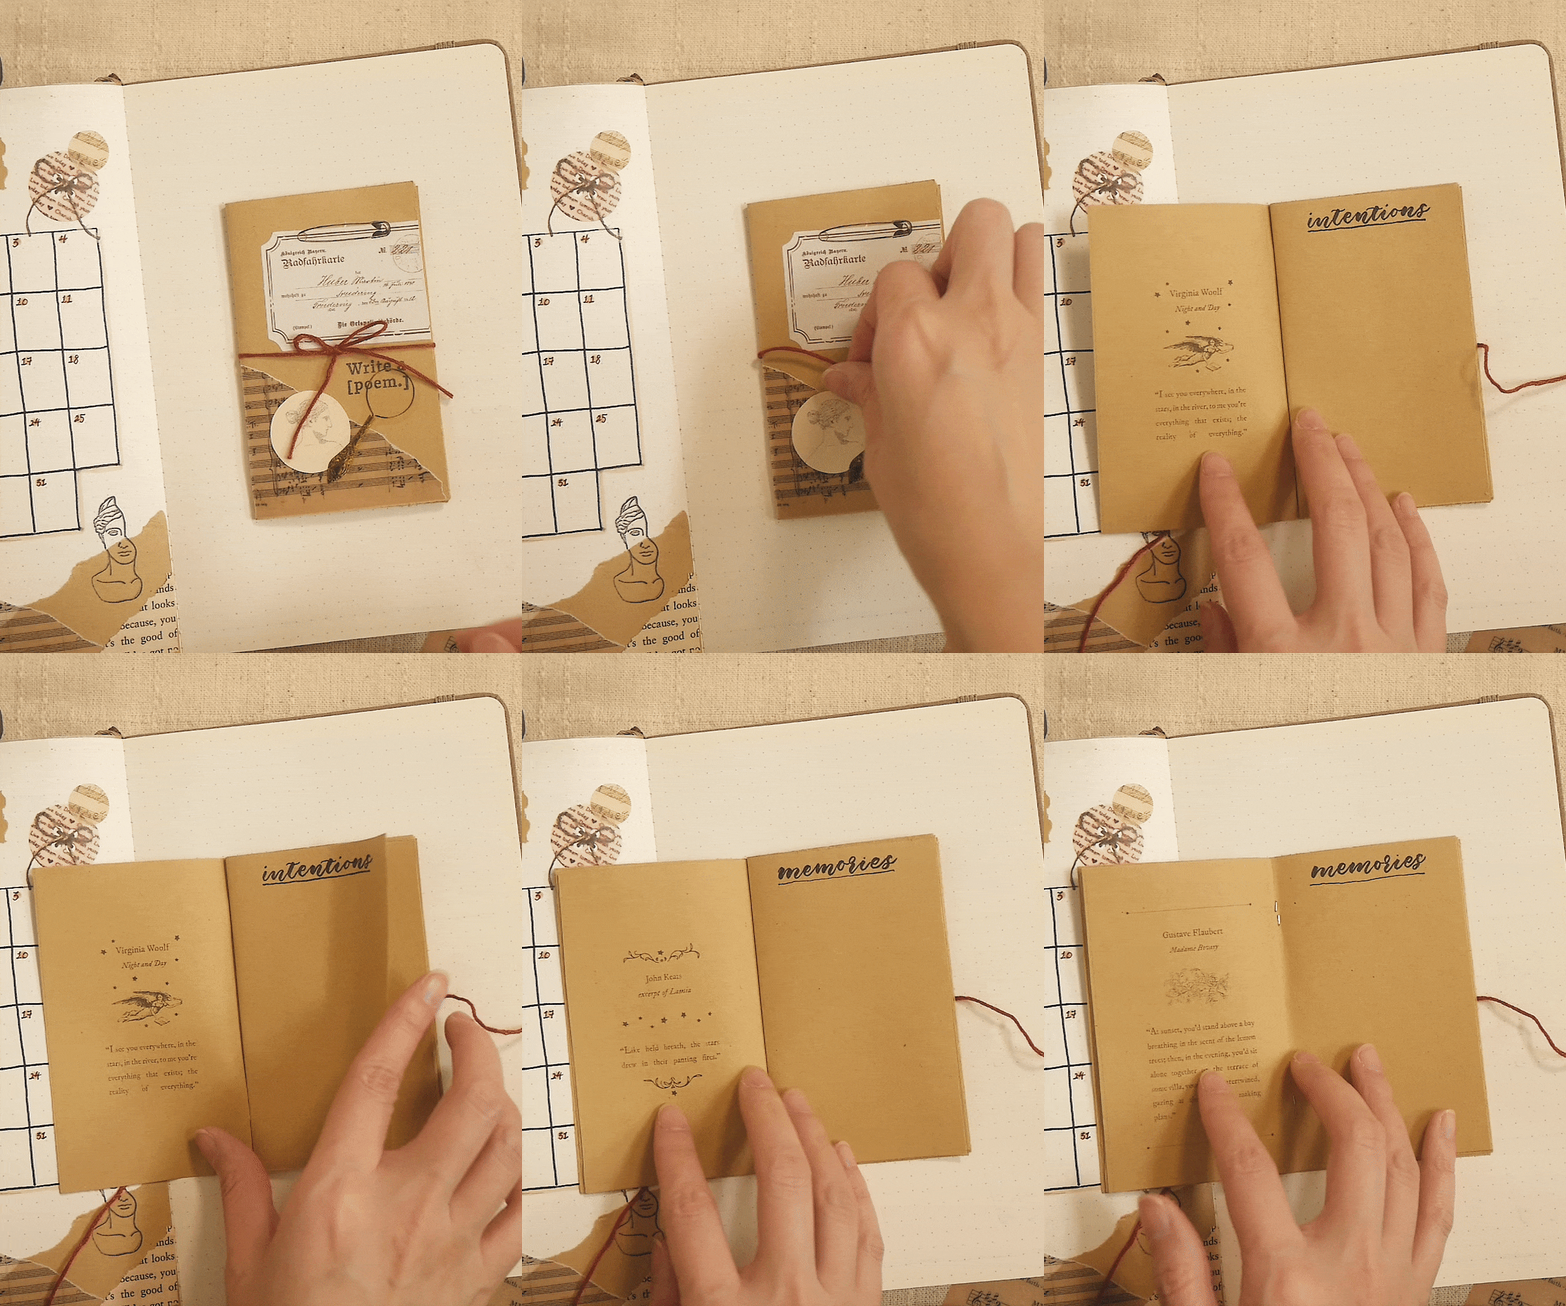
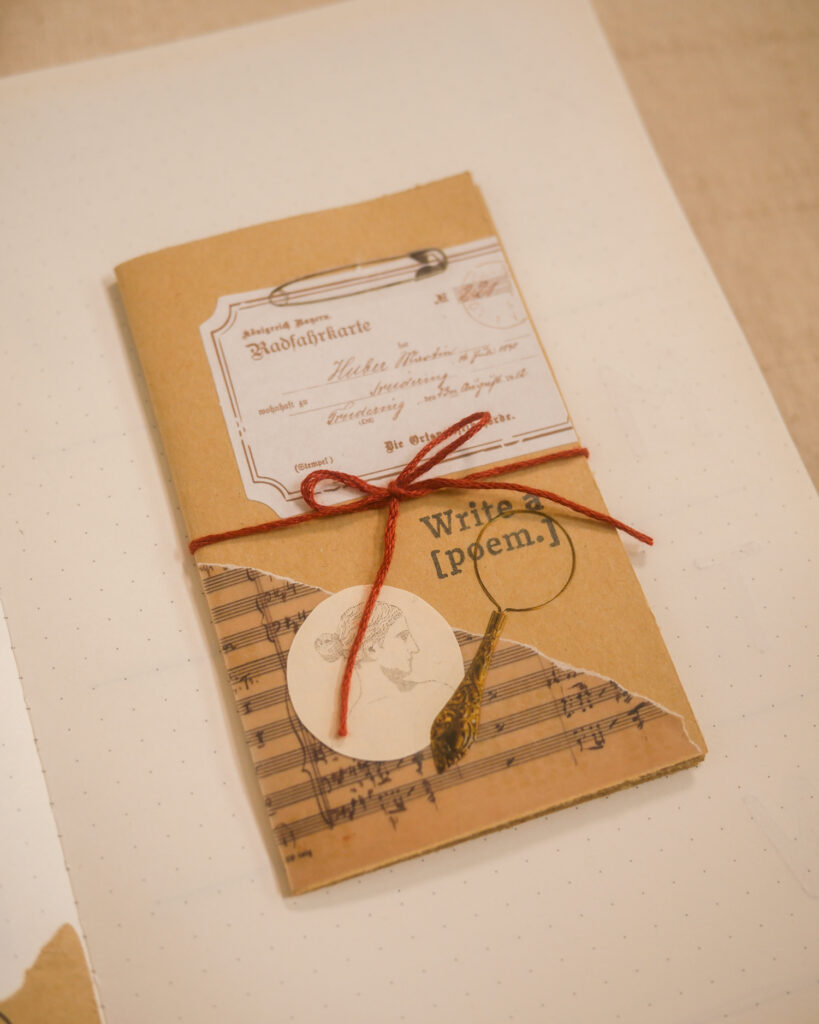
For my December cover page, I created a mini vintage booklet by printing out some book pages which I downloaded from Jordan Clark’s Patreon. She is currently inactive, but I really look forward to her content both on Instagram and YouTube!
The booklet is made up of five sheets of paper, which means that there are plenty of pages for writing. I’ll be using the pages for setting intentions, gratitude logging, documenting memories, noting down gift ideas and setting my wishlist for Christmas.
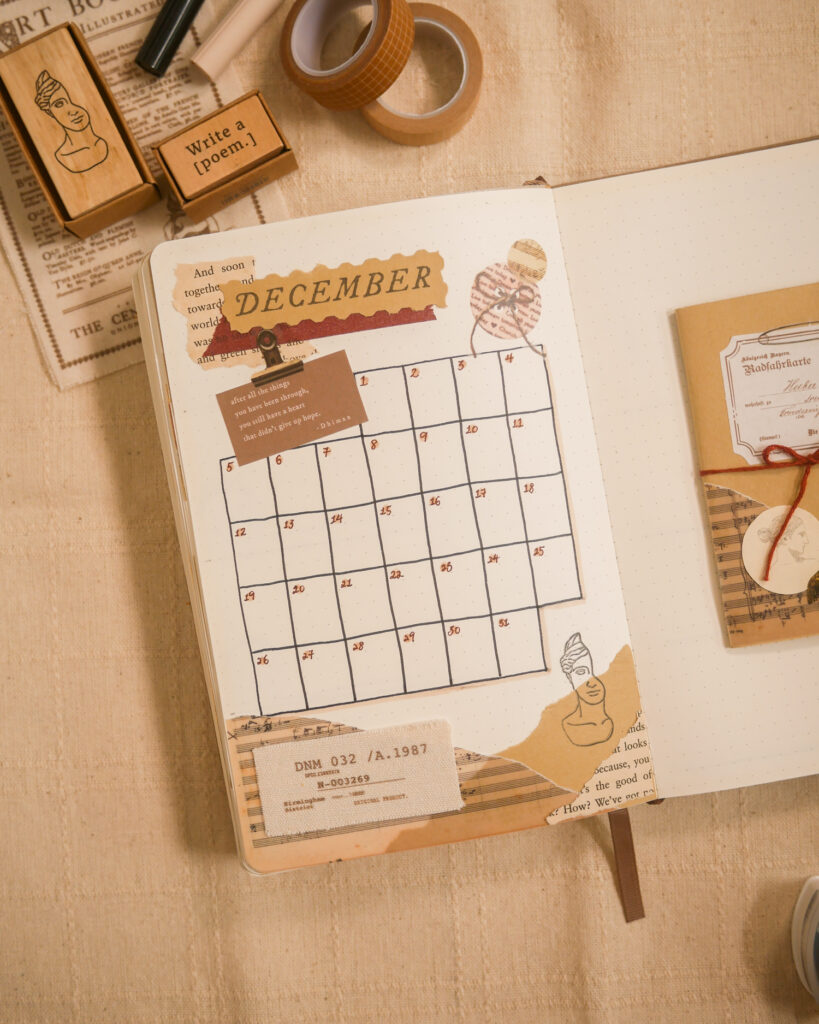
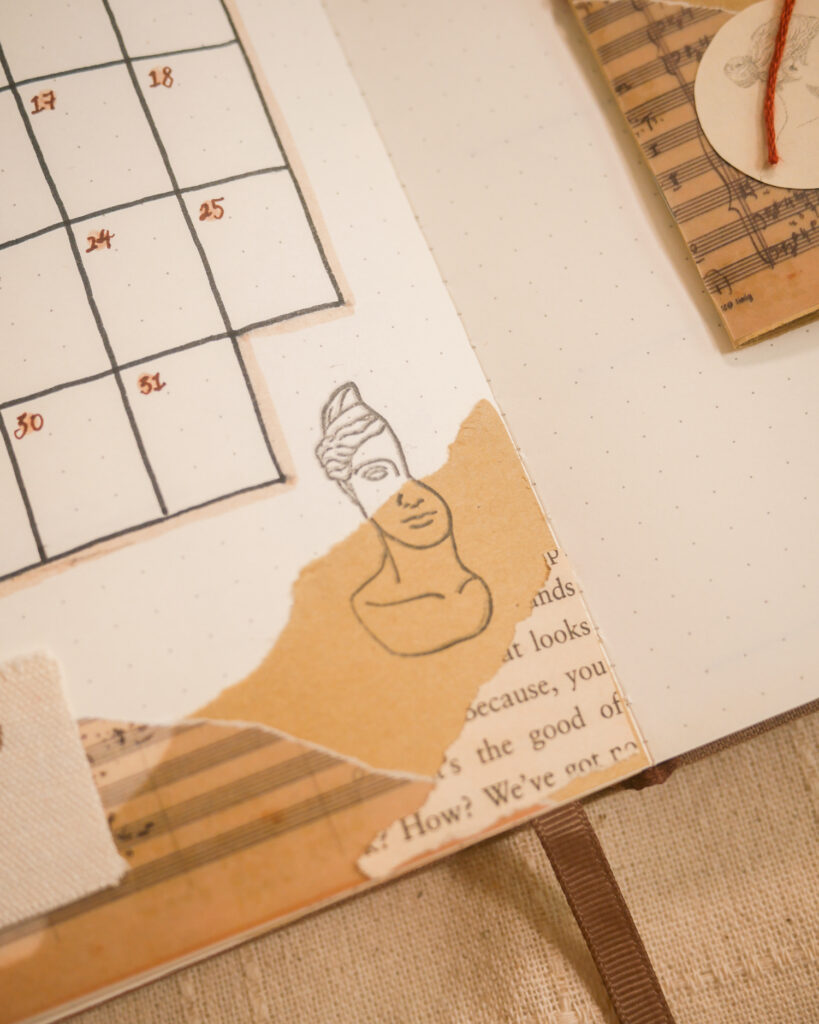
On the left side of the spread, I added a calendar to document events for the month. Then, I filled up the rest of the spaces with stickers, stamps and various vintage themed papers.

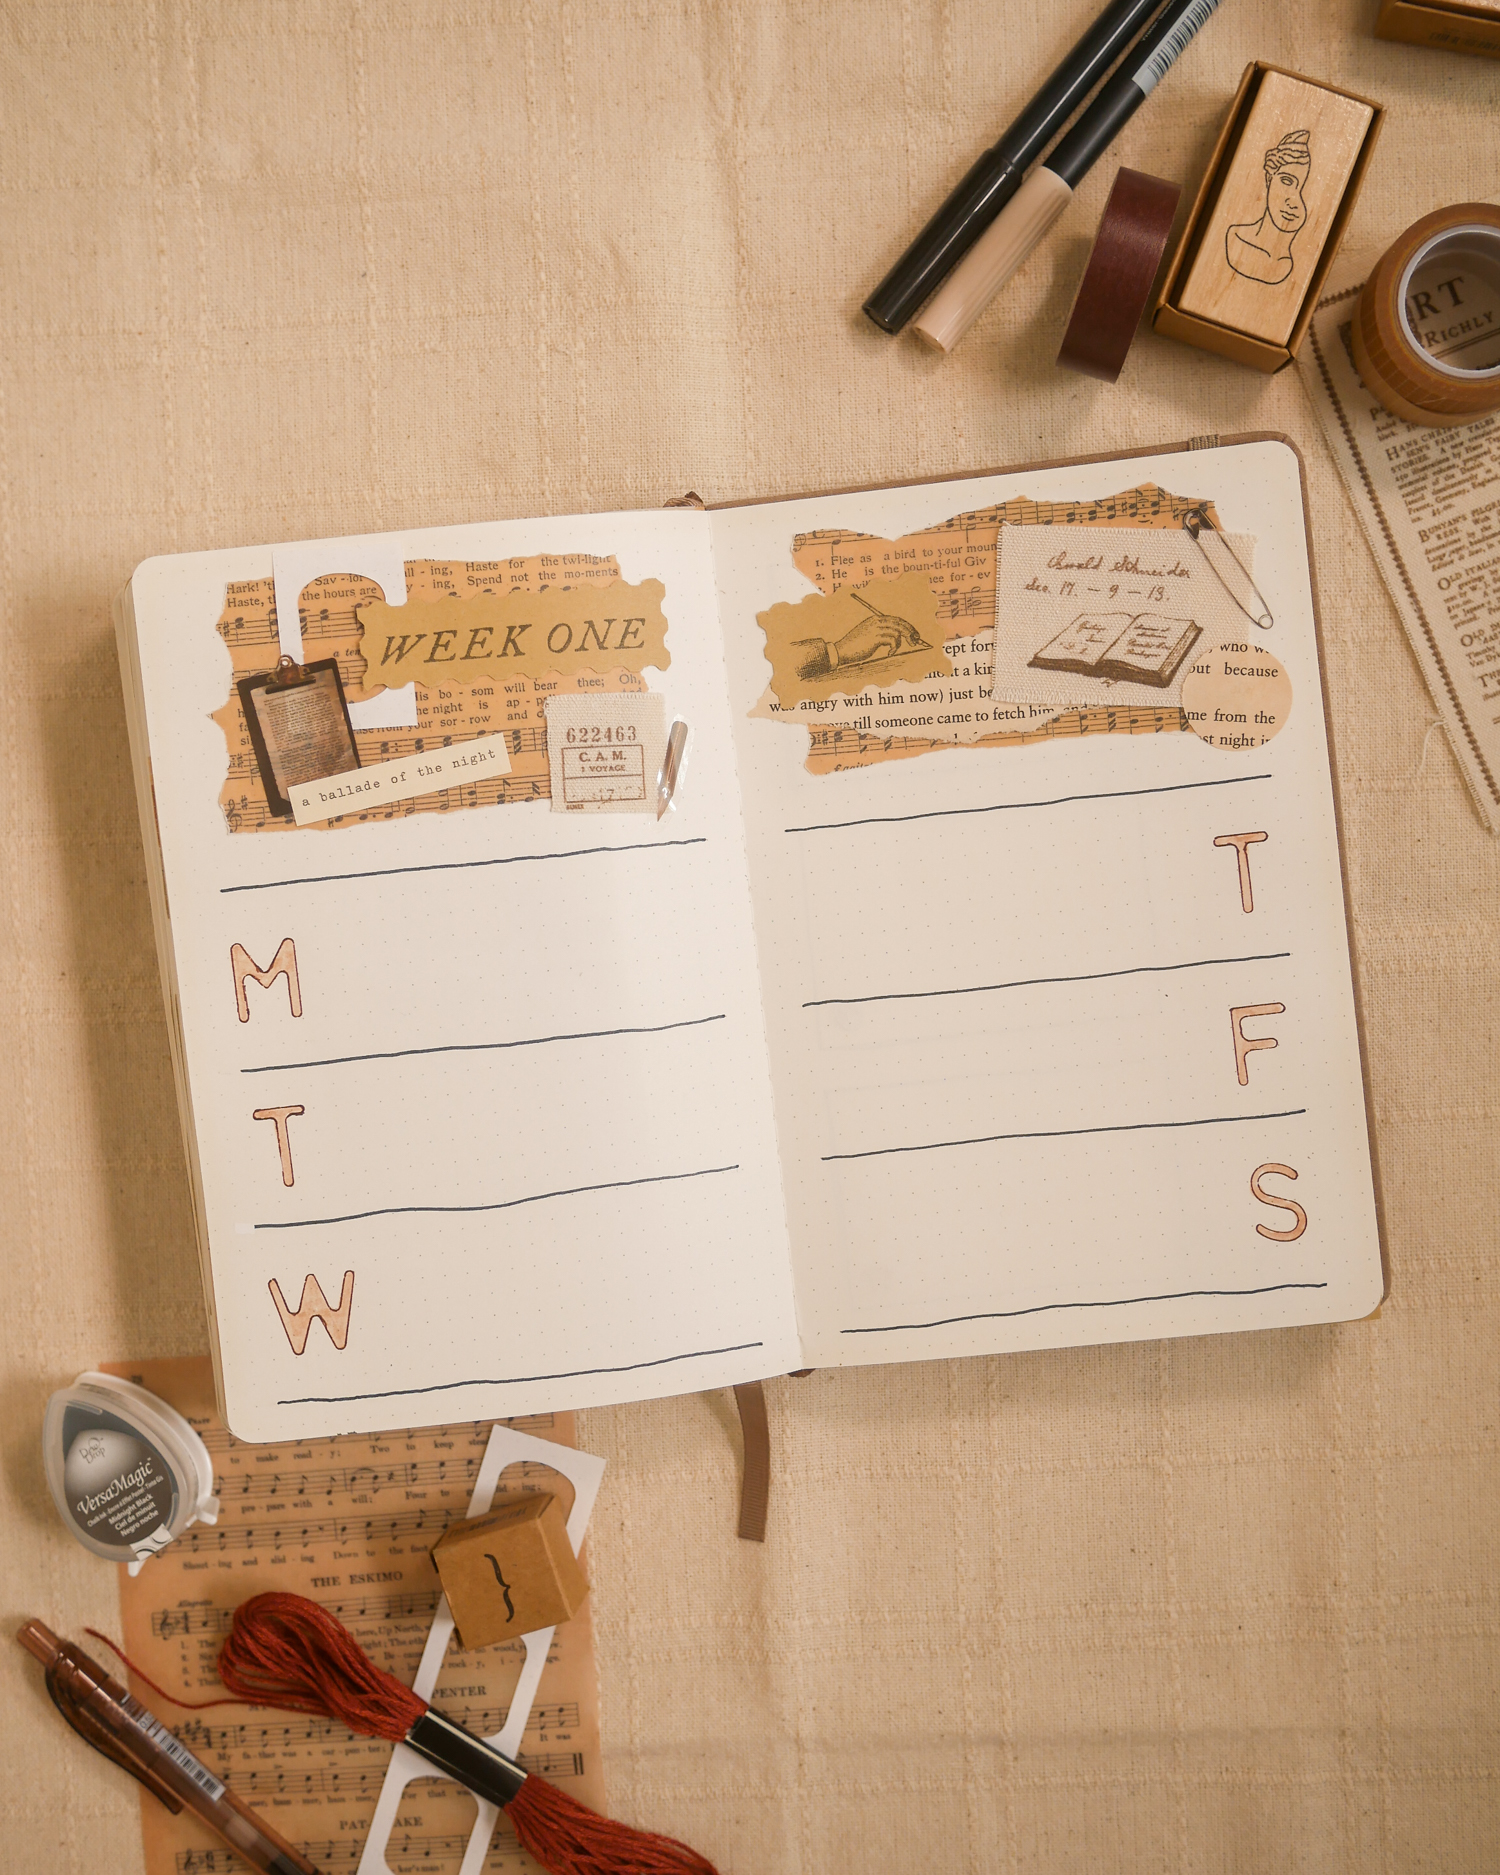
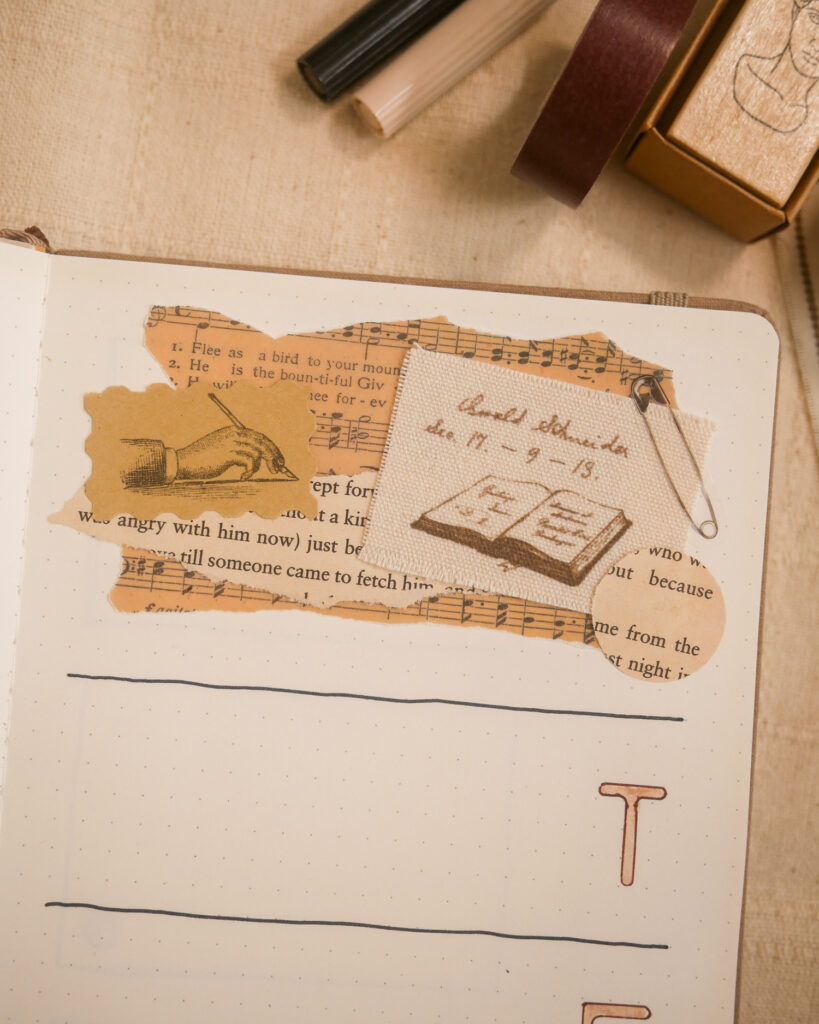
For the first weekly spread, I used a simple horizontal layout with collage sections at the top of both pages. I like how neat the spread turned out! When printing out the book pages, I had quite a bit of empty spaces left, so I utilised them for printing weekly headers and other vintage-inspired graphics like the writing hand with a pen.
Next, I labelled the daily sections by using an alphabet stencil, and then colouring the letters in with a Tombow dual brush pen.

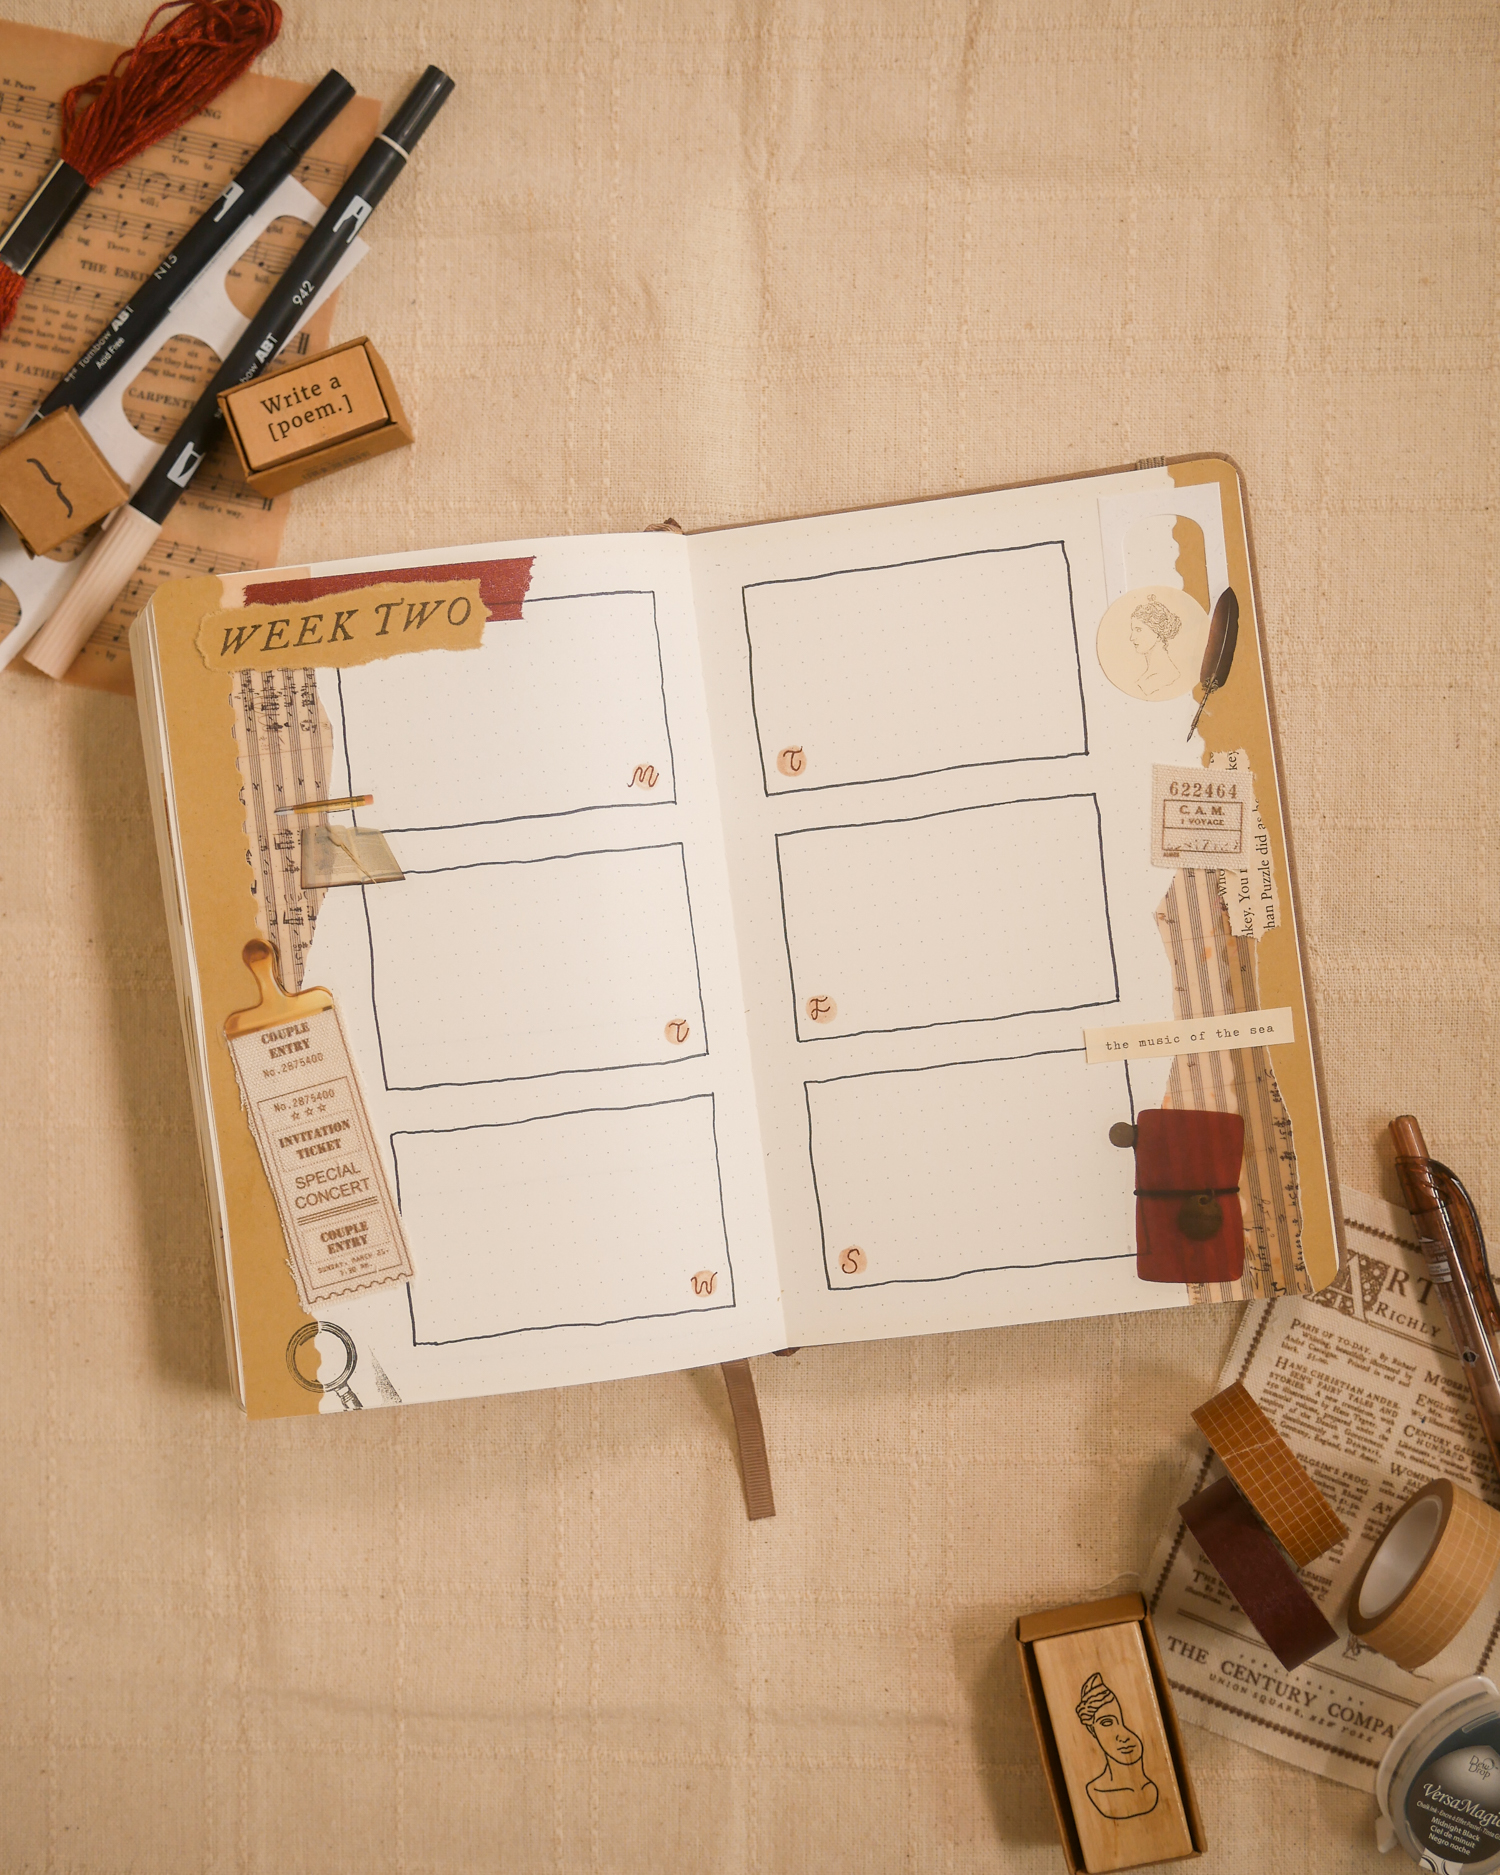
The second weekly spread also uses a horizontal layout, and this time I collaged at the sides of the pages instead of at the top. Leaving spaces in between the boxes creates a more organised look, and I’ve been really into doing that lately.
Here’s a quick tip: Mark out the boxes first before collaging in case the collage gets too huge and gets in the way of your writing space. You can also decide whether you want to layer some elements over the boxes create more interest in the layout.


Subscribe to my YouTube channel for more bullet journal setups! Check out these videos for my setup for the previous months:
***
If you enjoyed this article, share the love with your bujo pals! To stay updated on future blog posts, subscribe here.
Related articles, videos and resources:
Disclaimer: Some of the links above are affiliate links, meaning I earn a small percentage of commission via those links, but it doesn’t cost you anything extra!
