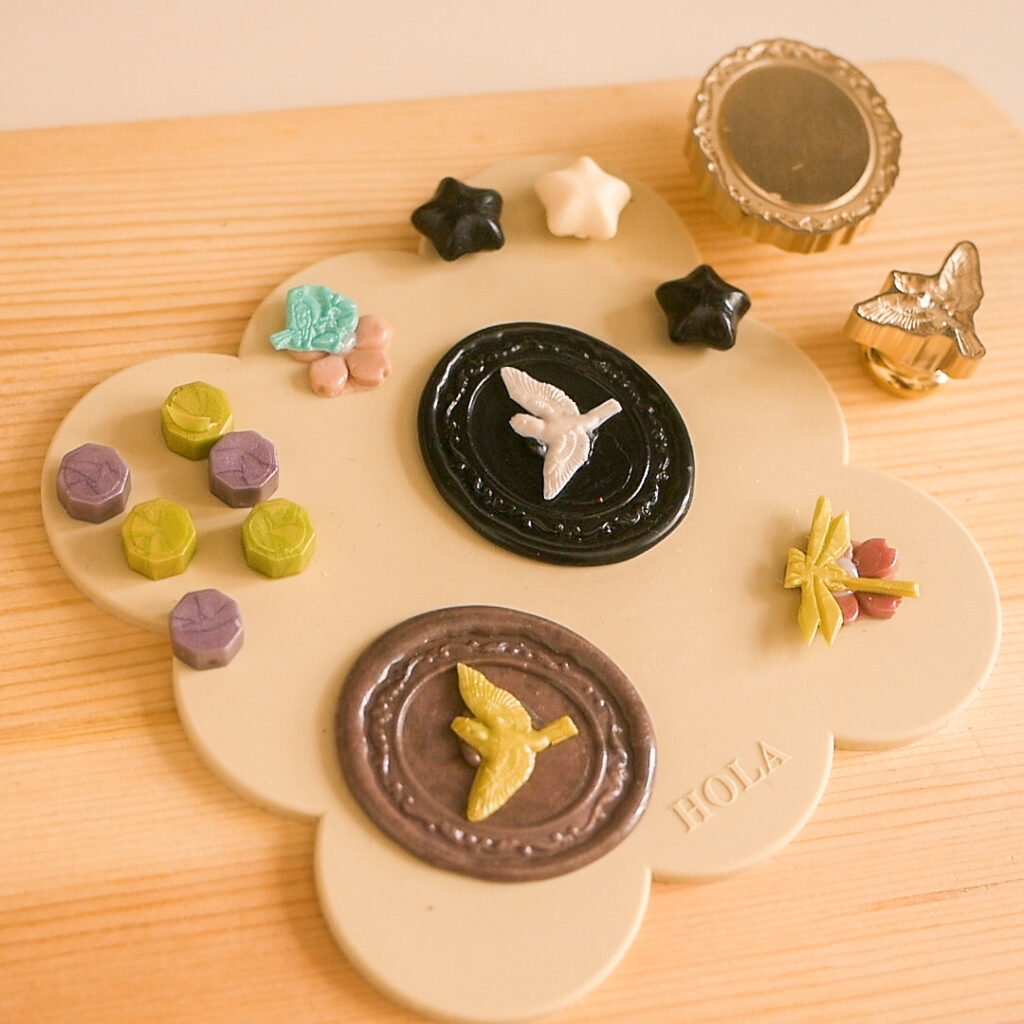
HAY, how art you? I received some gorgeous wax seal stamps recently, and I had loads of fun experimenting with a few methods to create non-conventional wax seals. If you are looking to up your wax seal game, check out this article for four creative wax seal ideas. Keep scrolling to see more!
***
Check out the following video to watch the wax sealing process!
Here is a list of supplies I used. Feel free to use any other supplies that you have on hand!

There are a couple of ways to create two-tone wax seals. One such method is to create a wax seal, cut out the design, place the cut wax back onto the stamp and stamp on melted wax of another colour.
The complexity of this method depends on how intricate the design of the stamp is. The dragonfly above is slightly challenging to cut, but I found that using a small pair of craft scissors makes the process easier.
Another tip I have for this method is to warm the stamp head slightly before pushing the cut piece of wax back on. The heat helps it to stay on the head for the second round of stamping.

The second method to create two-tone wax seals is to attach two seals together using melted wax. I prepared the bird wax seal and the oval frame wax seal in different colours before attaching them together using a drop of melted wax. This creates a nice three-dimensional effect which I adore! This method also allows seals of different designs to be combined.
To make the “glue” less noticeable, you can also melt translucent wax beads to attach two wax seals together. Just remember to move fast before the wax hardens and loses the glueing ability!

Want to add some shine to your wax seals? Glitter and sequins can be added, but this time I tried adding tiny beads to the melted wax before stamping. I love how these wax seals turned out! The beads added an interesting touch to the wax seals.
To ensure that the beads stay around the border, pour a good amount of melted wax, then apply the stamp. Next, quickly place a few beads around the wax border. A toothpick can be used to nudge the beads into place.
If you do not have beads lying around, you can also make little beads using wax. Each time after making a seal, you should notice a small amount of wax left in the spoon. I always feel that it is a waste to discard the wax, so sometimes I drip the wax quickly to create micro wax beads. They can be kept for the next wax sealing project after they harden.
I also found two ways to use these micro wax beads. Firstly, after pouring wax, I scattered a few micro wax beads before stamping to create a polka dot pattern (see the tulip wax seals above). Secondly, these micro wax beads can be attached to the border of melted wax to create a cute collage effect (see the bird wax seals above).
What do you think about these creative wax seal ideas?
For more wax sealing ASMR and inspiration, check out the following video:
Subscribe to my YouTube channel for more DIY projects! Check this out for an easy DIY beaded ring project:
***
If you enjoyed this article, share the love with your DIY pals! To stay updated on future blog posts, subscribe here.
Related articles, videos and resources:

Disclaimer: Some of the links above are affiliate links, meaning I earn a small percentage of commission via those links, but it doesn’t cost you anything extra!
