HAY, how art you? One of the most exciting parts of welcoming a new year is setting up a brand new bullet journal. I wanted a theme that is classic and timeless, so I went with a floral theme using kraft and cream papers. I also tried my hand, quite literally, at hand embossing and I think I am officially obsessed to it now. If you’re curious how that turned out, keep scrolling to see my 2024 bujo setup!
***
2024 Bujo Setup Video
Watch the following video for the setup process and plan with me!
You know that awkward flappy page right after the name page? Cut it off! I used the paper to make a mobile grid spacing guide, and kept it in a kraft paper pocket right beside the name page.
To make the grid spacing guide, start by numbering the dot grids vertically. I did it in fives so that it does not look too overwhelming. Then, I used washi tapes to mark out sections of halves, thirds and quarters. These are the divisions that I usually use, so it helps to calculate the intervals and note them here first.
Flip over and do the same for the horizontal measurement. This guide can also be used as a “ruler” to measure the number of dot grids (which I did often last year). Just align the guide to wherever you want to start the counting from, and you can see from a glance how many dot grids there are!
Name Page
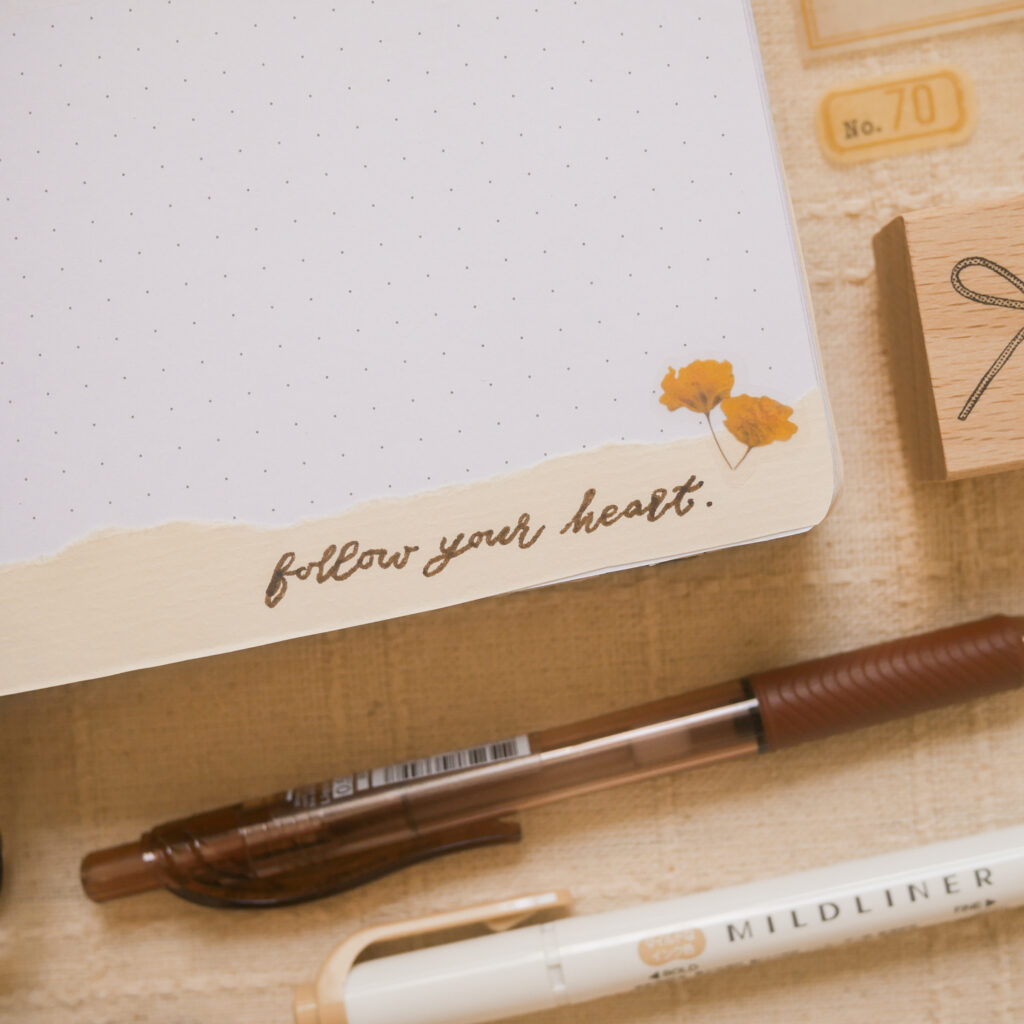
The name page is kept minimal. I stamped my initials, and decorated the page with stickers, paper scraps and washi tapes. I decorated this page last, so that I can use up the leftover materials.
2024 Bujo Setup – Cover Page
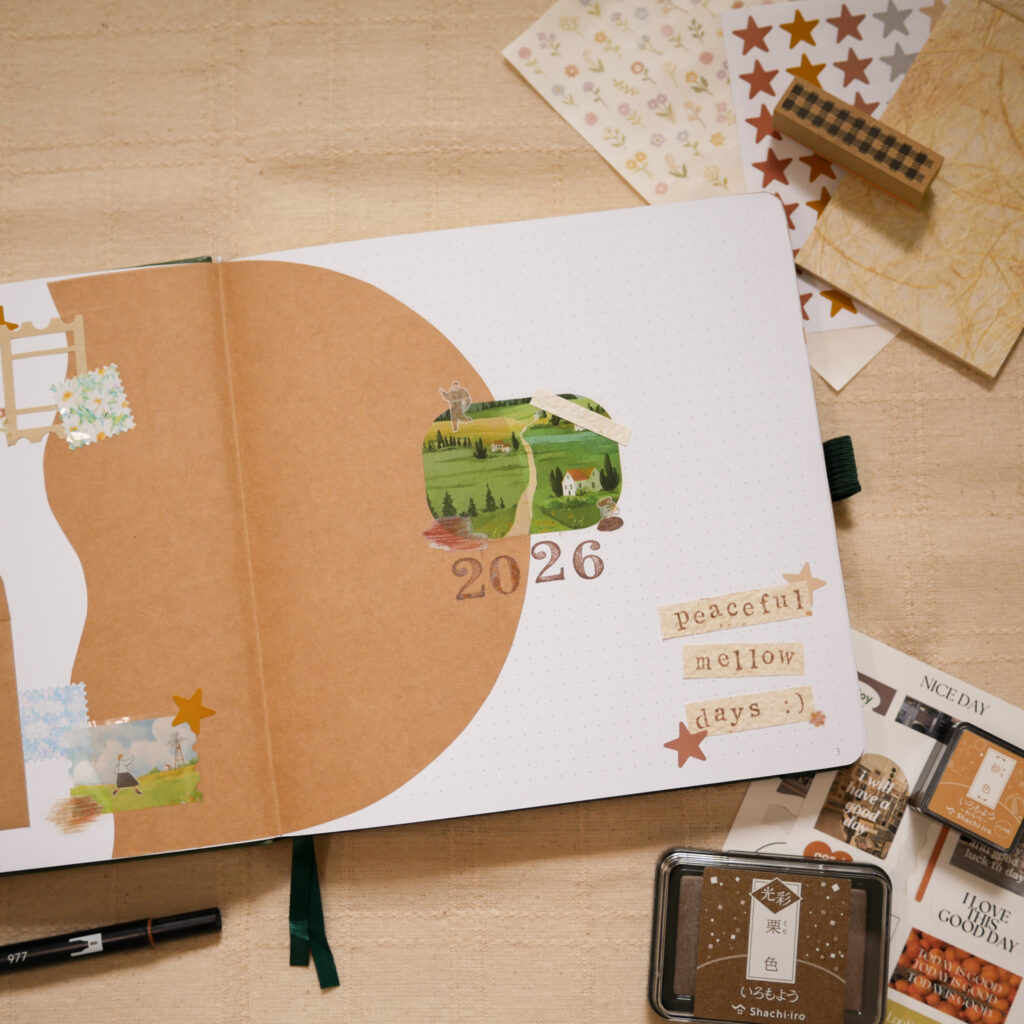
Cover Page
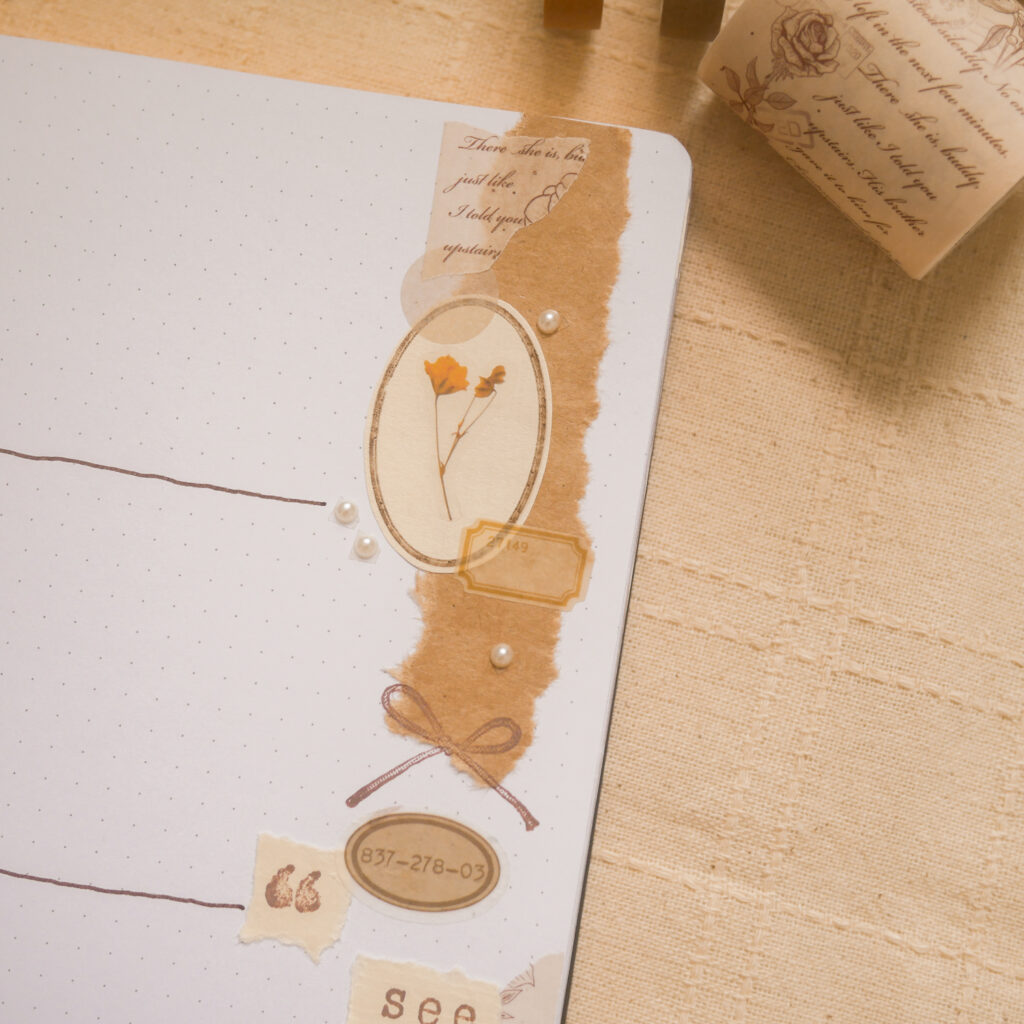
The cover page features an oval cutout using kraft paper. Through the cutout is a strip of cream paper embossed with the numerals 2024 (more on how I did that below!). On the left page, I embossed my word of the year “consistent” and pasted it near the bottom. On top of it is a rustic bouquet, made by combining various stickers. Throughout the spreads, I pasted faux pearl stickers around the collages to add an interesting texture.
How to Emboss Paper by Hand
Prepare a stencil or template with the characters you want to emboss. I used a plastic alphabet and number stencil. You can also cut a piece of card paper to make the stencil.
Trace the mirror image of the characters on paper. Take note that the paper should not be too thin, as it might tear easily. Thick paper will require more effort to emboss, but it should work too.
A light box will be useful for this step. I used my iPad as a makeshift light box. Place the stencil (mirror image) on the light box. Align the traced character with the stencil.
Use a round, blunt object to push the paper into the stencil. The back of a paintbrush works perfectly for this! Work thoroughly through all the edges of the character to get an obvious embossing.
Continue until all the characters are embossed. Repeat the steps if there are any edges missed out.
2024 Bujo Setup – Goals & Quote Spread
Goals Page
The back of the cover page is the goals page. The cutout shows the bouquet perfectly. To frame the oval, I cut a kraft paper border and pasted it around the cutout. The goals header was embossed using a smaller alphabet stencil, and all the headers in the following spreads are made in the same style.
Quote Page
Besides the cream paper strip with the embossed numbers, I stamped a quote to fill up this page. This quote left the deepest impression on me while I was researching for New Year quotes on Pinterest!
2024 Bujo Setup – Future Log
I did not make a Future Log spread last year, and I thought I would revisit it this year! The contrast between the kraft paper and the cream paper makes them a nice decoration framing the top and bottom. I got the monthly headers stickers from Daiso last year but did not manage to use them. They are perfect for this spread!
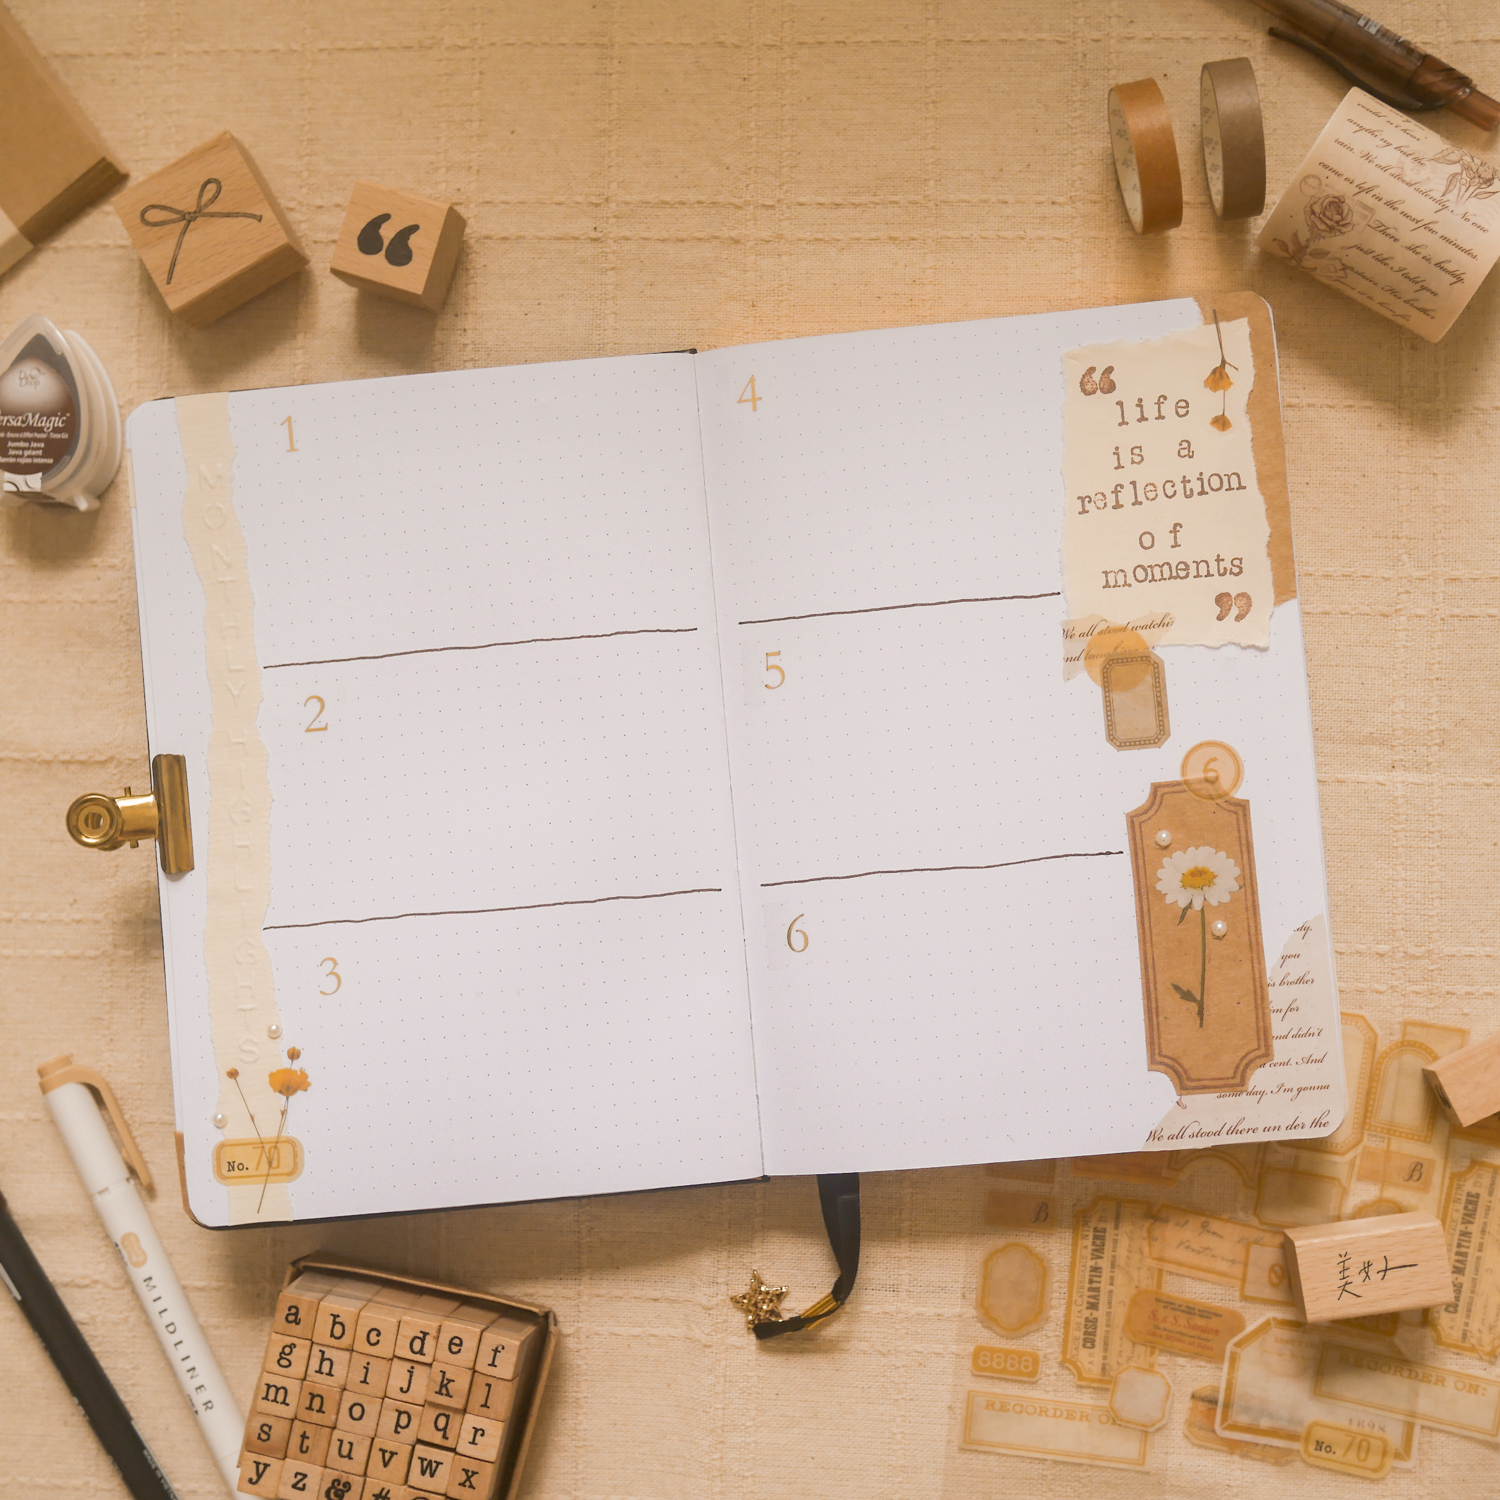
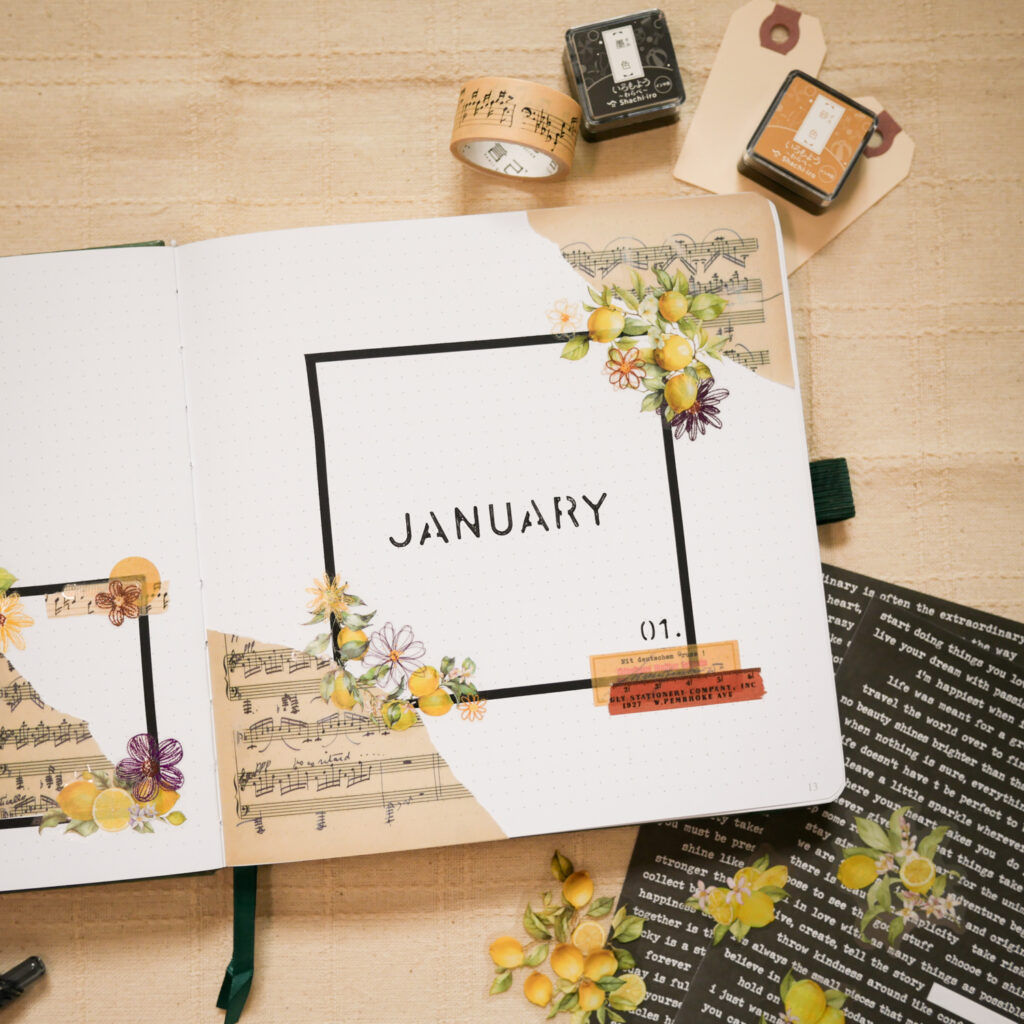
2024 Bujo Setup – Monthly Highlights
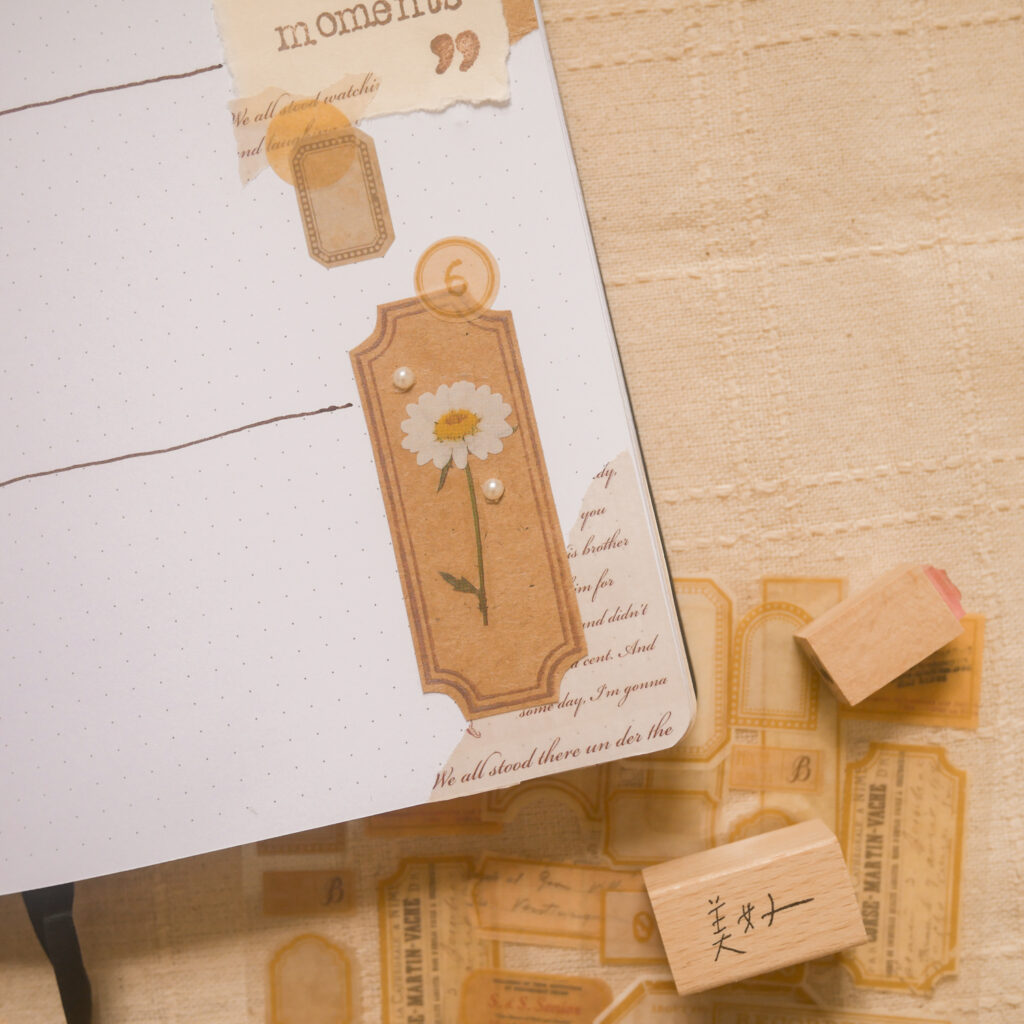
I went with a simple horizontal layout for the monthly highlights spread – one for January to June and one for July to December. I plan to print a mini photo each month and paste it here to record my monthly highlights.
2024 Bujo Setup – Social Media Tracker & Self-Care Spread
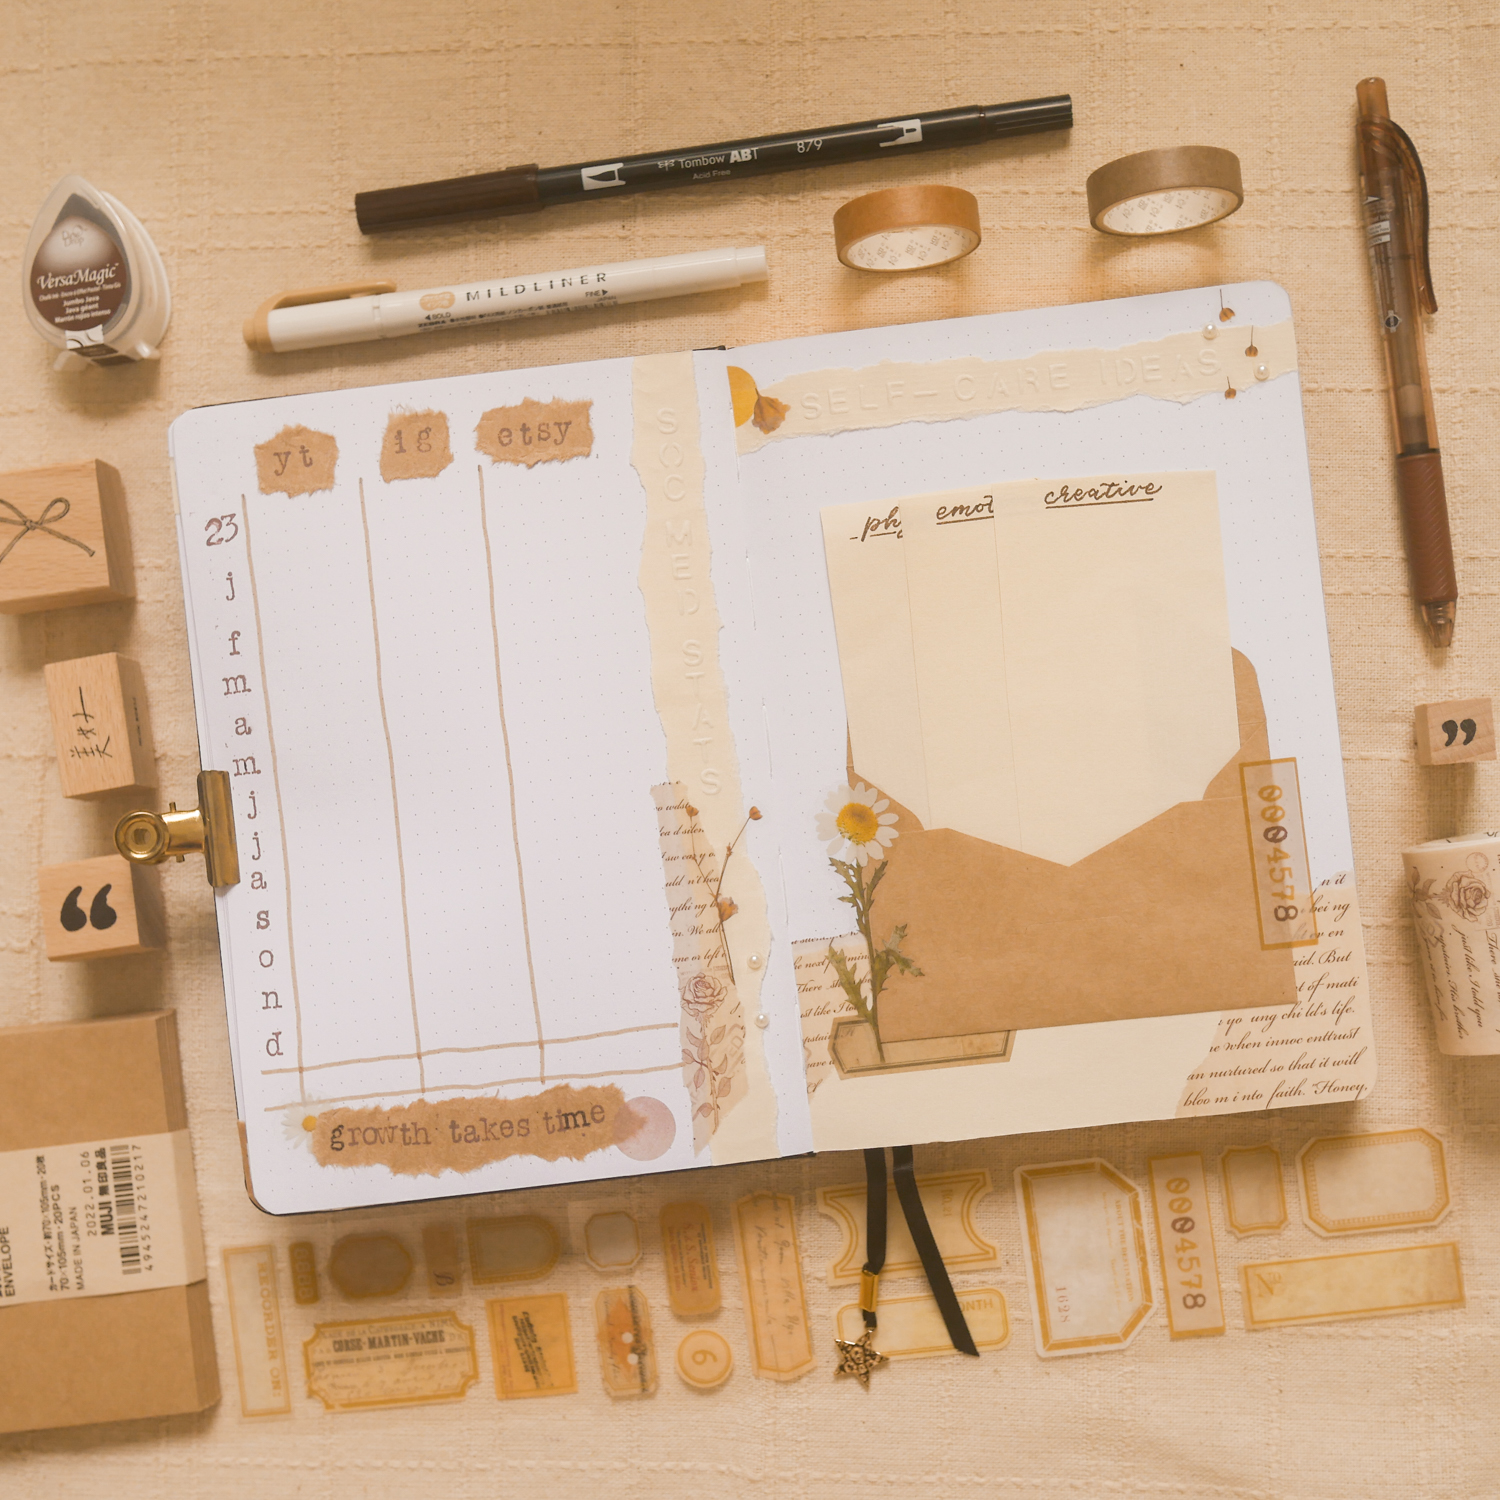
Social Media Tracker
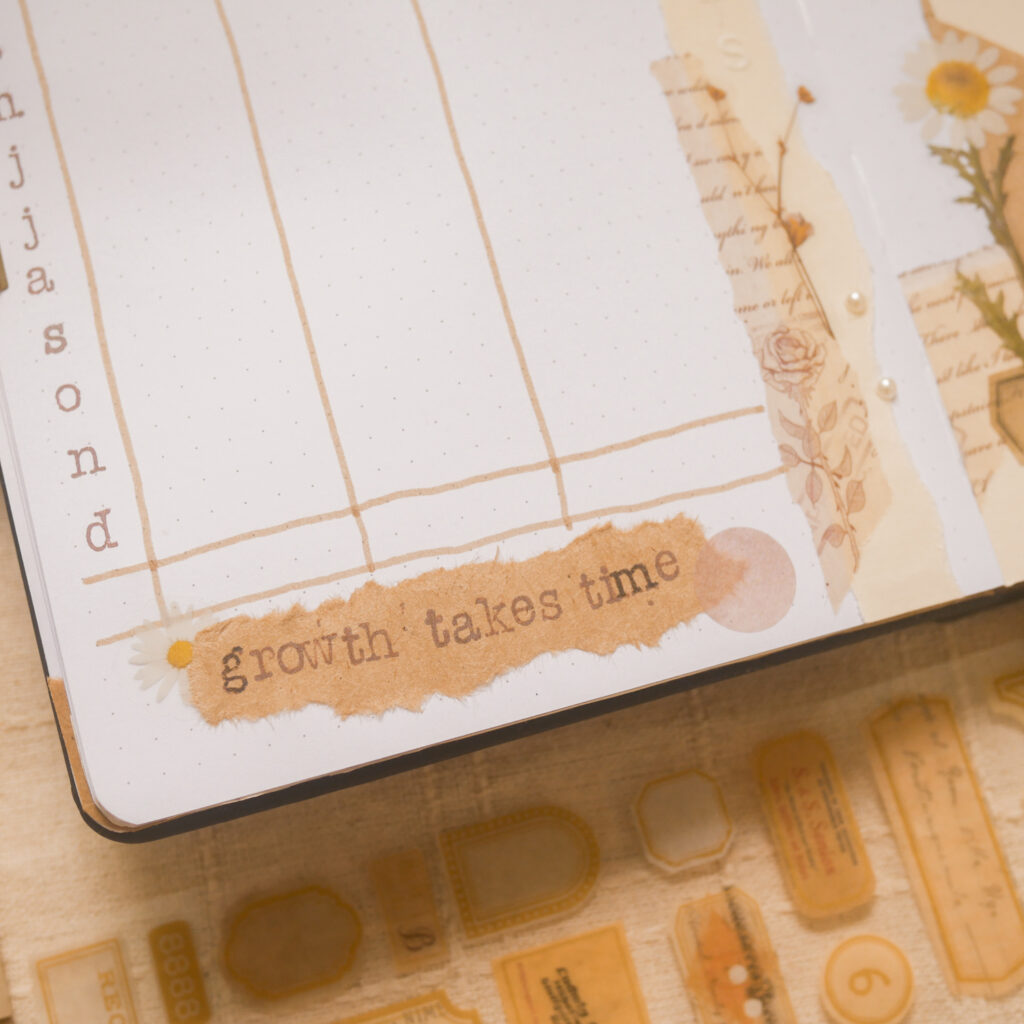
I haven’t been tracking my stats since I’ve always thought that they are something beyond my control, but this year I decided to make a spread to document my growth. I think it will be interesting to see how the numbers change at the end of the year! The first row is for documenting the stats from 2023, while the final row is for noting down the number change from 2023 to 2024.
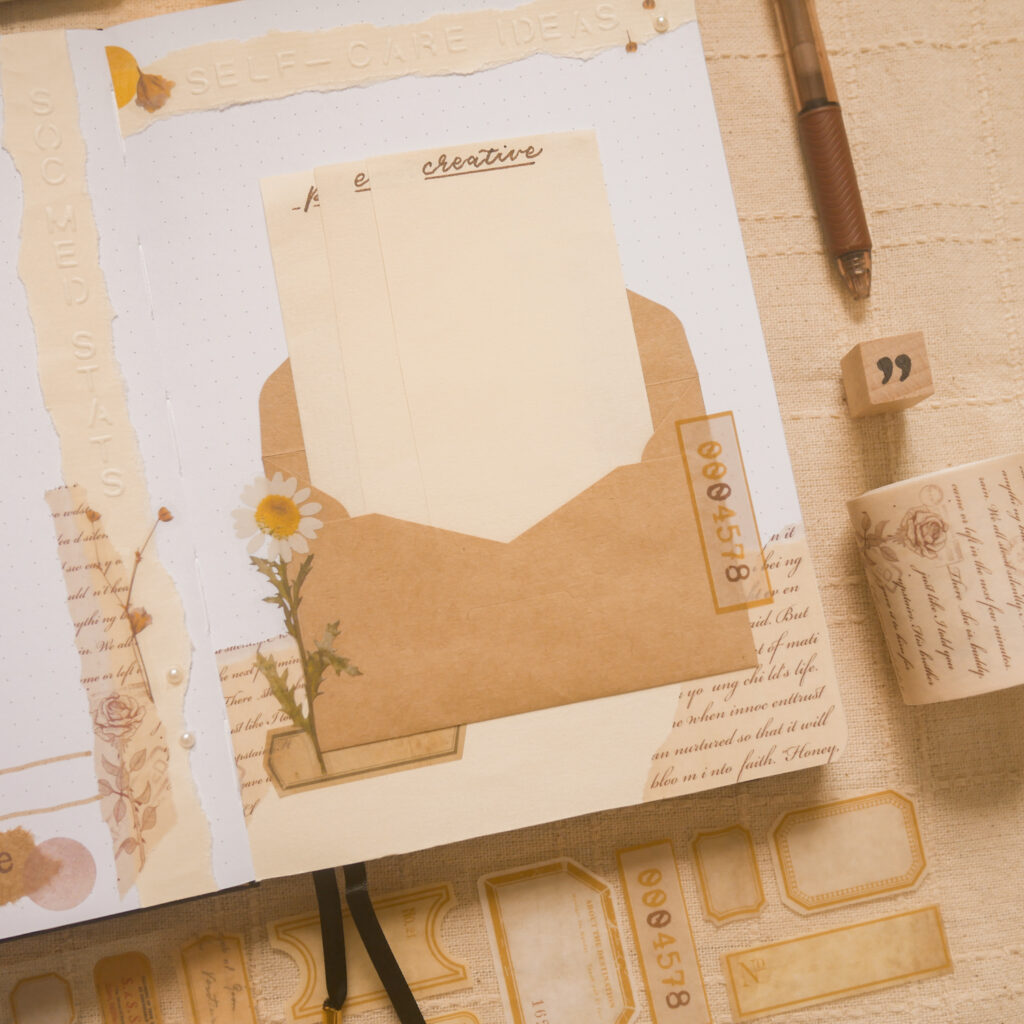
Self-Care Ideas
The last page for my 2024 bujo setup is a self-care ideas page. I pasted a small kraft paper envelope here and placed three pieces of cream papers inside. They are titled Physical, Emotional and Creative to document ideas for different aspects of self-care.
More Bullet Journal Ideas
Subscribe to my YouTube channel for more bullet journal setups! Check out these videos for my setup for the previous months:
***
If you enjoyed this article, share the love with your bujo pals! To stay updated on future blog posts, subscribe here.
Disclaimer: Some of the links above are affiliate links, meaning I earn a small percentage of commission via those links, but it doesn’t cost you anything extra!
Enjoyed this post? Spread the joy!
☆ Pin this image to help this article reach more people. ☆