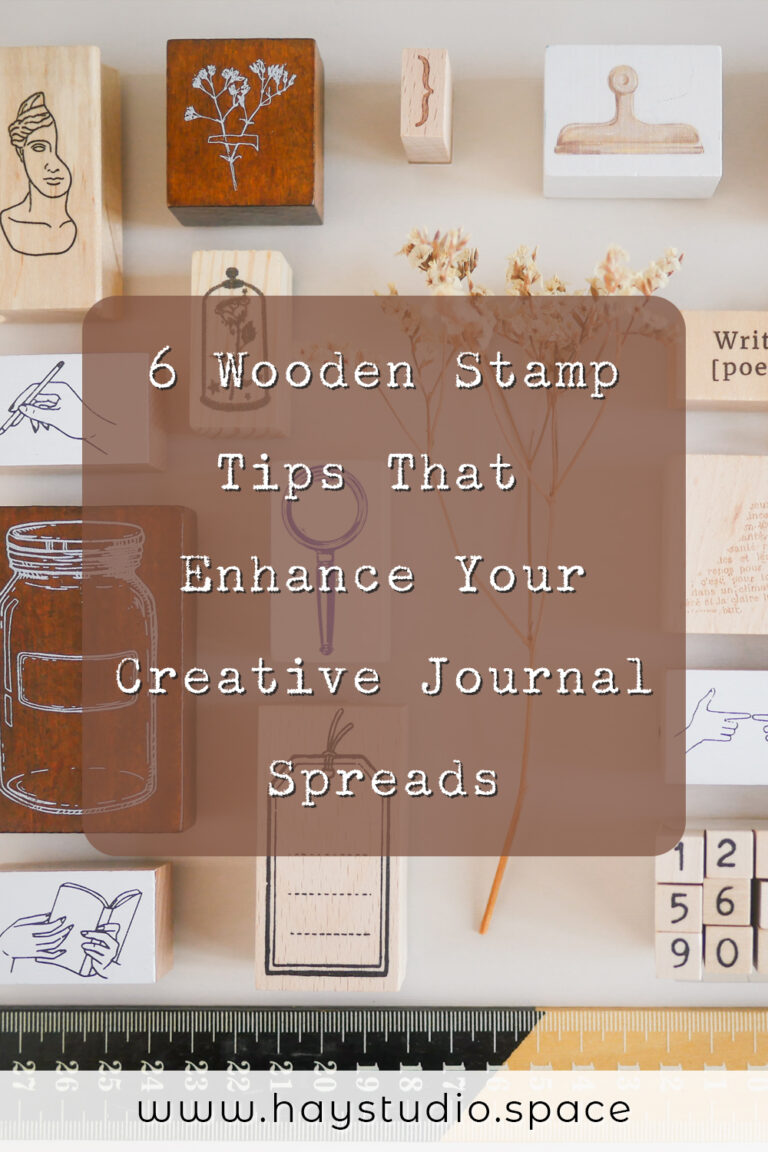
HAY, how art you? I love using stamps for creative journaling as I find that it is an effortless way to add personality and interest to my journal spreads. I have a soft spot for wooden rubber stamps over clear acrylic stamps, because of their rustic and vintage-ish appearance. There are 6 wooden stamp tips and tricks I discovered that make using stamps during journaling more efficient and creative. Read on to know more about them!
***
Watch the demonstration video
Before scrolling down, you might want to know that I demonstrated all 6 wooden stamp tips in the following video (yay!):
Wooden Stamps Tips – #1: Using the Right Amount of Pressure
The first tip is using the right amount of pressure. This sounds like a no-brainer but using the right amount of force is crucial in getting the perfect stamp results. Smaller stamps don’t require a lot of pressure, so a slight tap would give a clear print. If too much pressure is used, ink might bleed through the paper and show up on the other side.
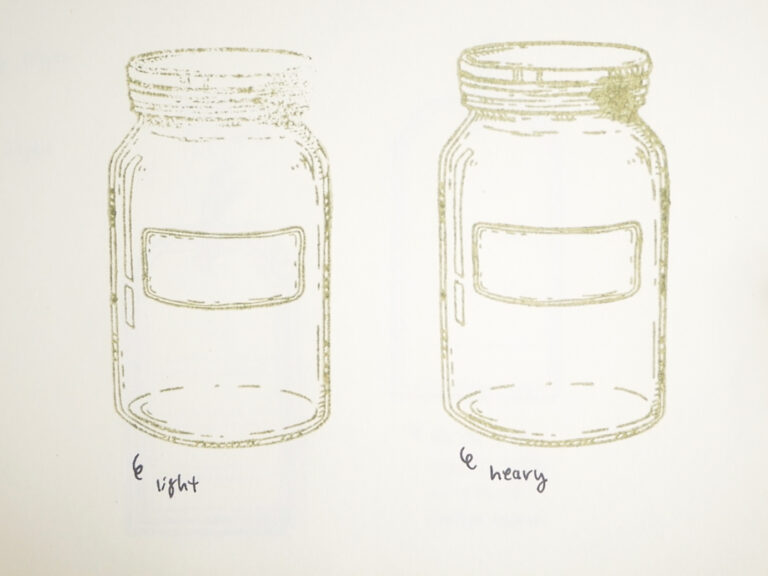
Bigger stamps would require more effort and more pressure. If insufficient pressure was used, the print might become incomplete or too light. So, always make sure to apply more pressure across the entire design to get a complete print.
Using light pressure resulted in an incomplete print for this mason jar stamp
wooden stamps tips – #2:Getting Clean Edges
The second tip is how to get a clean edge during stamping. One trick is to wipe off the excess ink with a piece of tissue paper before stamping in your journal. You can also lightly tap the stamp on a piece of scrap paper first.
On the other hand, if the print turns out to be incomplete, you can simply use a pen of a similar colour to fill in the blank areas. If the print is too light due to insufficient ink or pressure (refer to tip #1), you can also carefully outline the design with the pen. An attempt at re-stamping would be unlikely to work because it is very tough to align the stamp perfectly on the previous print.
Fill in the incomplete print with a pen instead of re-stamping
wooden stamps tips – #3:Aligning the Stamps
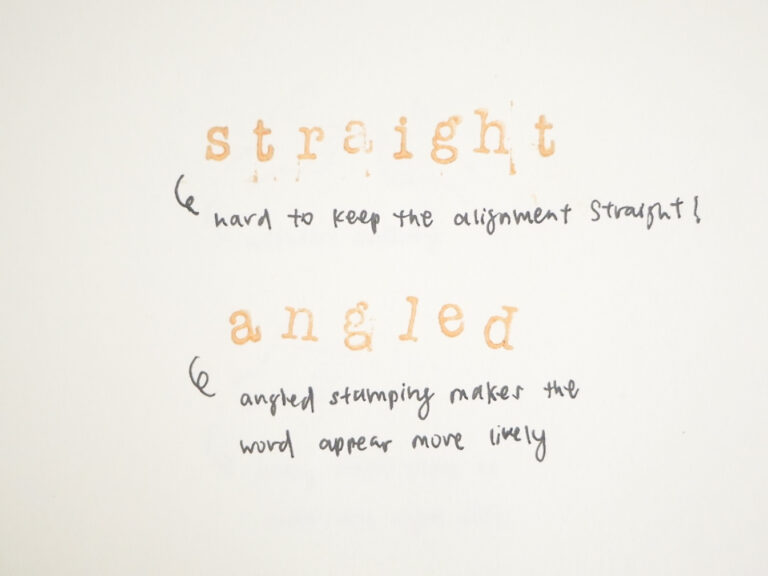
Tip number three is about the alignment of multiple stamps. Alignment is usually needed for stamps like letters or numbers when you combine several stamps to form a word. How I align stamps is simply not to align them at all. This sounds silly but I find it really tough to align each letter with equal spacing and in a straight line. What I like to do is to stamp each letter at differing angles. Angled stamping also makes the word look more whimsical and lively.
Straight vs. angled
wooden stamps tips – #4:Washi Tape Cover Up
If there is a certain part of your stamp that you don’t want to show, you can simply cover that area with washi tape after inking. This prevents that section from showing up on paper. This is my favourite hack to get the most out of the stamps in my collection!
Cover unwanted sections with washi tape before stamping
wooden stamps tips – #5:Use Brush Pens as Ink Pads
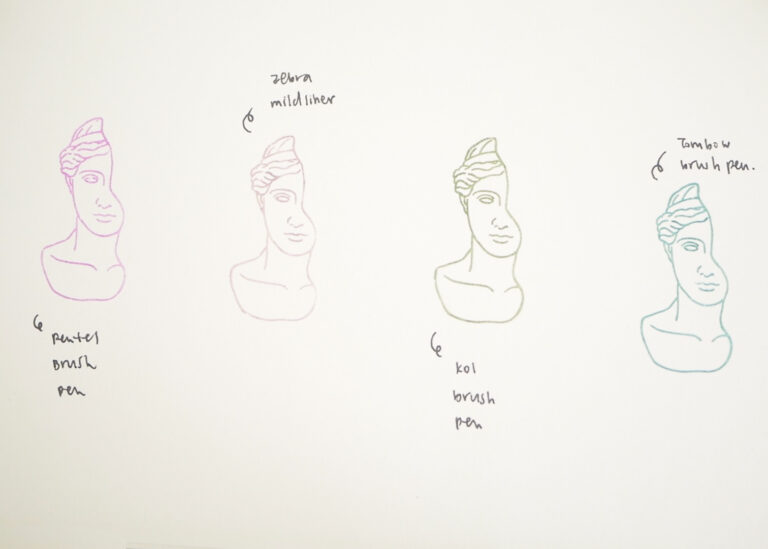
Instead of buying many ink pads of different colours (which I am guilty of), did you know that you can use brush pens as ink pads? I have tried using some brush pens as stamp ink and these are the ones that worked pretty well:
This hack is really money-saving if you already have a large brush pen collection. You will find that you have a lot more colour choices when using your stamps.
Use brush pens as ink for your stamps!
wooden stamps tips – #6:Batch Stamping
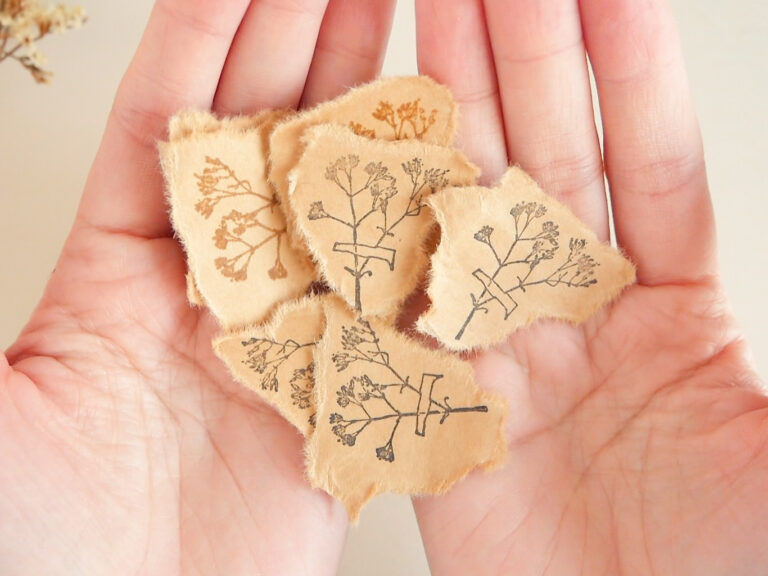
The last tip is batch stamping, which means creating many copies of the same stamp in one sitting. This is a time-saving hack, as you would not have to spend time choosing a stamp, taking out your ink pad and then cleaning it afterwards just for one stamp design. After batch stamping, you can keep the stamped paper as it is, but I like to tear them to size and file them for later. In this way, when I’m journaling, I can simply grab the pieces that I wish to use and glue them on immediately.
I batch stamped a bunch of florals (pun intended)
More Creative Journaling Ideas
Subscribe to my YouTube channel for more creative journaling ideas! Check these ones out for more inspiration:
***
I hope these stamp tips are useful for you. Have fun creative journaling!
If you enjoyed this article, share the love with your journal pals! To stay updated on future blog posts, subscribe here.
Disclaimer: Some of the links above are affiliate links, meaning I earn a small percentage of commission via those links, but it doesn’t cost you anything extra!
Enjoyed this post? Spread the joy!
☆ Pin this image to help this article reach more people. ☆