HAY, how art you? February is the month of love and Valentine’s Day is just around the corner. In this article, I’ll be sharing a quick and easy tutorial for making these aesthetic waterfall cards, perfect as handmade V-day gifts. Nothing beats the warm and fuzzy feeling of receiving a handcrafted card from your soulmate or bestie, do you agree? Keep reading for the Valentine’s Day card DIY tutorial!
***
Watch the tutorial video
Watch the video process for a full walkthrough of the DIY steps:
Materials Needed
Before getting started with the tutorial, here are the materials you will need for this DIY project:
Card stock paper that is not too thick and not too thin (I’m using a page from a sketchbook)
Patterned paper, coloured paper, paint, or colouring materials (depending on how you want to design the cards)
Blank cards (or make your own using card stock paper)
Ruler
Scissors
Pencil
Eraser
Glue stick or adhesive tape
Step #1: Making the Waterfall Cards
First, measure out two strips of card paper that are 20 by 5 cm. For one of the paper strip, divide it into four 5 by 5 cm squares. Then, cut them out accordingly.
To decorate the cards, I’ll be cutting out four geometric heart shapes on a piece of patterned paper. To speed up the process, I cut the paper to get a 10 by 10 cm square and folded it before cutting, so that I can cut out all four hearts at the same time. Next, I pasted the heart shapes on the individual square cards.
On the other longer strip of card paper, measure 5 cm from the right side, and also mark out three 1 cm intervals towards the left side. Fold the card according to the lines drawn, and make sure to really flatten out all the folds (tip: Use a hard object to smoothen out the folds). This will make pulling the waterfall cards smooth and easy later on. Then, apply a thin strip of glue at the top of each square (about 1 cm width) and paste them on one by one. Fold the longer flap down towards the back.
Prepare a small strip of paper that measures about 1.5 by 12 cm. Slot it behind the bottom-most card and fold it towards the back. Apply glue to secure the strip. Ensure that the strip is not glued on the back on the long flap, if not the cards won’t be able to move!
You can leave the cards as they are, but I prefer to trim the bottom area into a triangle. I also pasted the same patterned paper to match the heart shapes.
Step #2: Valentine’s Day Card DIY
Next, I decorated the blank card by pasting the corners with the matching patterned paper. Then, I used a Pentel brush sign pen in a matching shade of pink (exact pen shade is pale pink, if you’re wondering) to letter Happy Valentine’s Day at the centre.
Feel free to personalise the message on the waterfall cards and make the message special for you and your loved one! Here’s an example of the message you can write – “Just dropping by to say“, “I“, “love“, “you” – on each of the four square cards. I also labelled “Pull Here” at the bottom triangle so that the receiver knows how to reveal the messages. To secure the waterfall cards, simply apply some glue on the small paper strip and paste them at the centre.
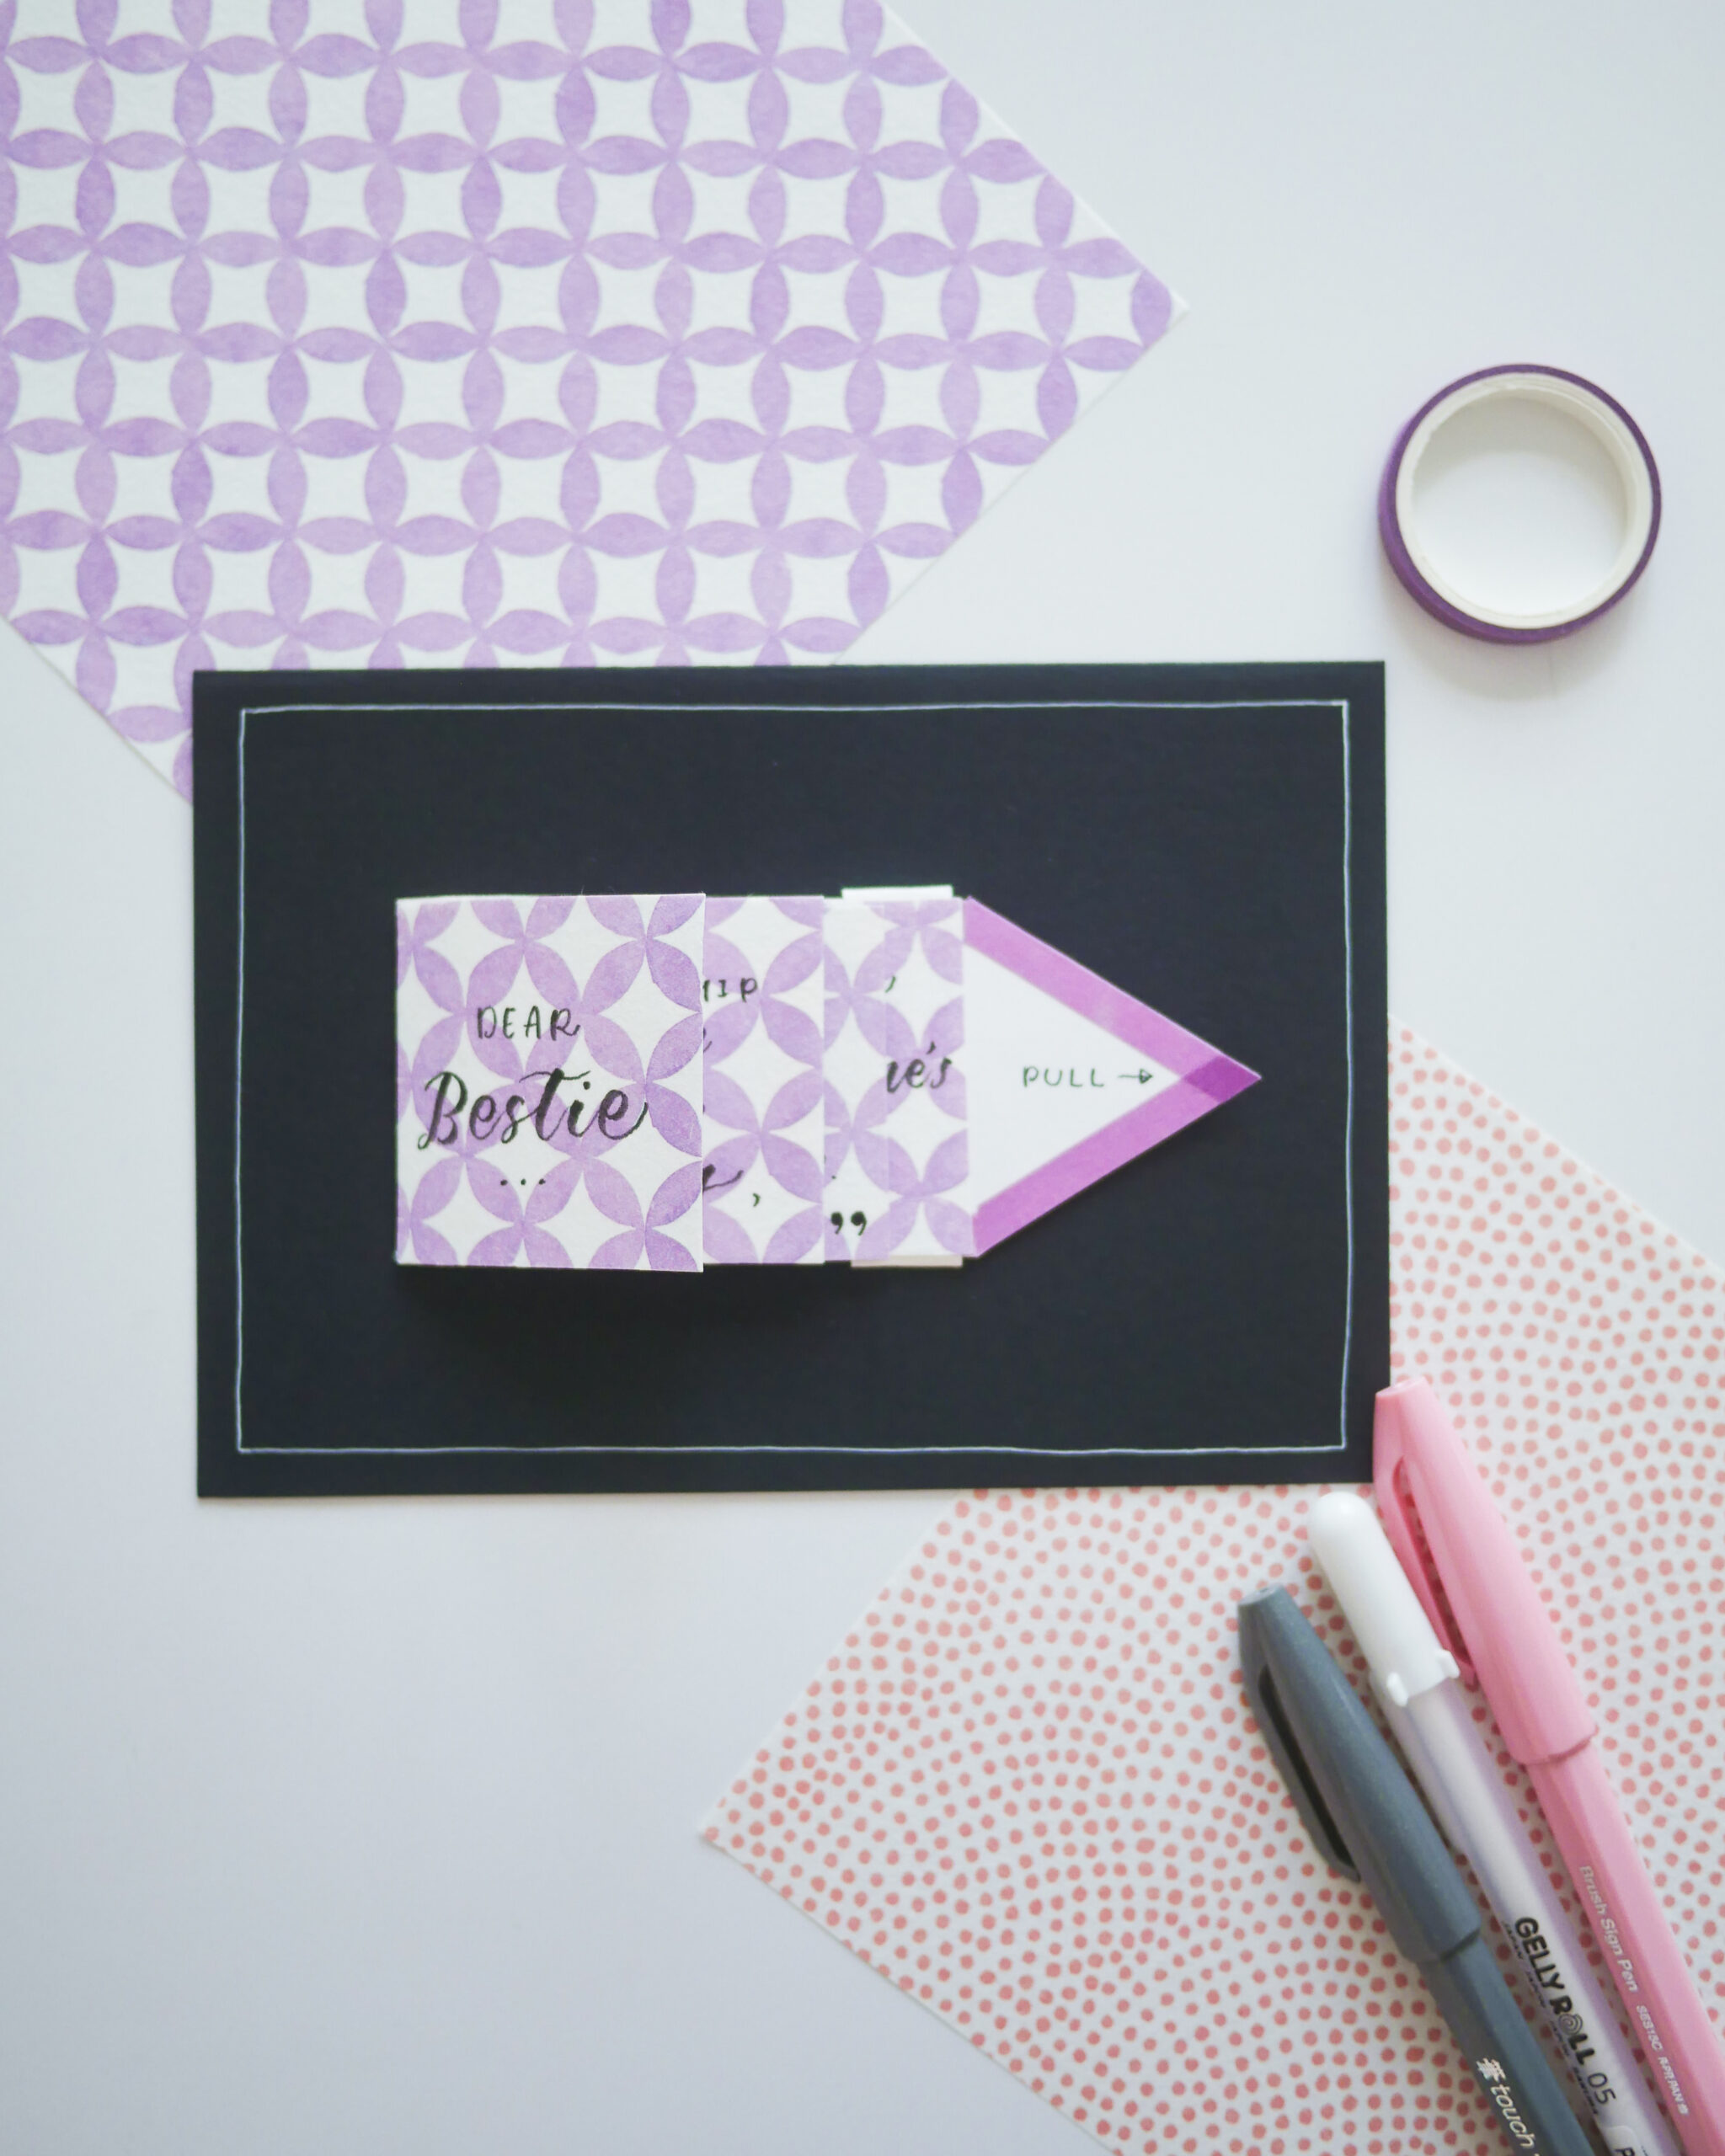
I also made another card for friendship, using another patterned paper.
You can also personalise the message on each square card. I wrote “Dear Bestie“, a quote that says “Friendship is not a big thing, it’s a million little things“, and also “Happy Valentine’s Day” on the last square card.
More DIY Ideas
Subscribe to my YouTube channel for more DIY tutorials! Check this DIY wall decor project:
***
That’s it for this tutorial; isn’t the card really simple but aesthetic? Have a wonderful Valentine’s Day!
If you enjoyed this article, share the love with your DIY pals! To stay updated on future blog posts, subscribe here.
Disclaimer: Some of the links above are affiliate links, meaning I earn a small percentage of commission via those links, but it doesn’t cost you anything extra!
Enjoyed this post? Spread the joy!
☆ Pin this image to help this article reach more people. ☆